So you’re building an AR-15, or an AR-10, or an AR-47, or an AR-whatever.
Awesome!
Building a rifle is one of the best things you can do to improve your knowledge as a shooter, and it means you end up with a rifle that’s uniquely yours.
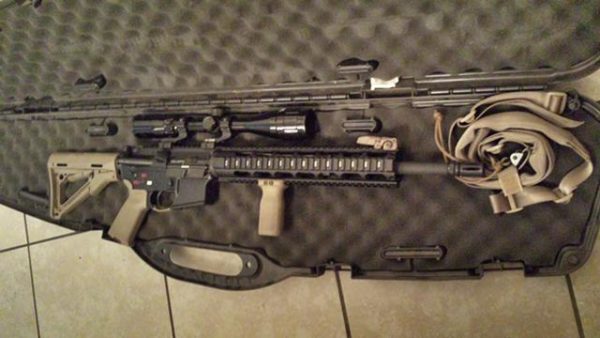
What’s the most important thing to have when you’re building your rifle?
Bingo, your parts list!
Today, we’re going to talk about all the little parts and pieces you need to build an AR-15, where you can buy them, how to choose them, and the tools you’ll need to assemble everything.
This should cover basically everything you need to build an AR of any caliber, except for the actual build process, which you can find here.
The actual parts you will need are:
Lower Parts List
- Stripped Lower
- Lower Parts Kit
- Trigger (If not using parts kit trigger)
- Buffer Kit (Buffer, buffer tube, buffer spring)
- Stock
- Pistol Grip
Upper Parts List
- Stripped or Assembled Upper
- Forward Assist (If using a Stripped Upper)
- Dust Cover (If using Stripped Upper)
- Barrel
- Handguard
- Gas Tube
- Gas Block
- Bolt Carrier Group
- Charging Handle
- Muzzle Device
Tools Needed
- Vice
- Upper Vice Block
- Lower Vice Block
- Pin Punches
- Armorer’s Wrench
- Mallet
- Utility Knife
- Hex Key Set
- C-Clamp or Roll Pin Pusher
Alright, if you just wanted to make sure you weren’t missing a part, you’re all done! Good luck with your build, and make sure to let us know how it went in the comments below!
If you want a little more info about each of these parts, keep reading.
AR-15 Lower Parts List
- Stripped Lower: You can get a stripped lower from a lot of different places, and there’s not going to be a huge amount of difference between the best one and an average one. In general, buy from a brand you like, or buy one you like the rollmark on. This is going to be the heart of your build, so make sure you go with something you’ll like looking at a year from now. If you aren’t sure, check out our list of best AR-15 lowers.
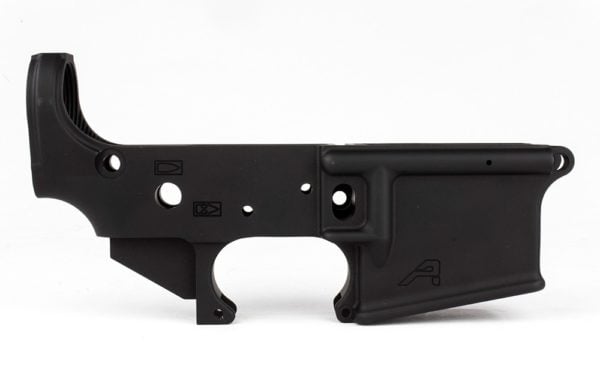
Aero Precision Lower
- Lower Parts Kit: This contains all the springs and pins and detents and other hardware that will go into holding your lower together. You can also get them with or without a trigger, depending on if you want a basic Mil-Spec-style trigger, or want something a little bit nicer.
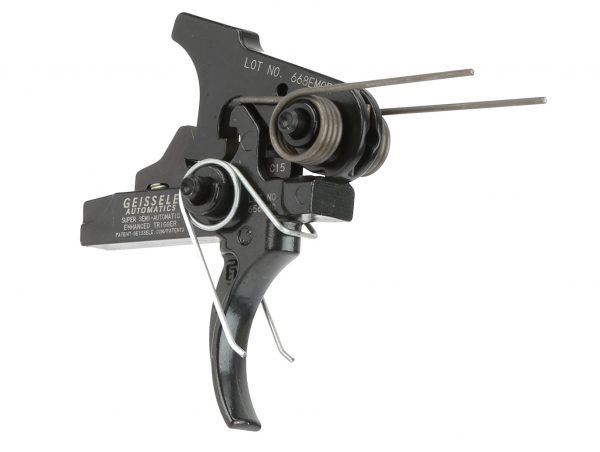
- Trigger: The quality of your barrel is going to have a huge effect on your accuracy, so it makes sense to spend a little money here, even if it means saving a little money elsewhere. Check out our list of Best AR-15 Triggers if that’s something you’re interested in.
- Buffer Kit: Your buffer system is what manages the recoil of your rifle and allows the rifle to cycle. There’s a lot to be said about choosing a buffer weight, so be sure to check out this article on how to choose the proper buffer for your system.
- Stock: MagPul or gtfo. Just kidding. There’s about a million AR stock manufacturers out there, so just pick one you like the look of, or choose one that fits your purpose for the rifle, so a nice light stock like the standard MagPul MOE stock for a run-and-gun rifle, or something like a PRS stock for a precision rifle.
- Pistol Grip: Same deal as the stock, unless you’re doing a featureless build and need something to comply with your state’s gun laws (I’m looking at you California).
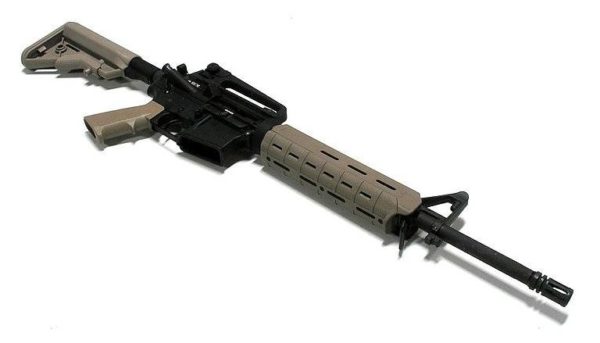
That does it for your lower parts. Be sure to follow our AR-15 lower build guide if you want to make sure you’ve got all your parts in the right place, or just want to take a look at how we build our rifles.
AR-15 Upper Parts List
- Stripped or Assembled Upper: A “stripped” upper is just the upper. An “assembled” upper comes with your forward assist and dust/ejection port cover. A “complete” upper will include the barrel, handguard…well, everything. Hence “complete”. The final option is good if you don’t want to buy the tools to build an upper, or if you don’t want to mess with an upper at all and just want to slap something on a complete lower that works. Also, people are going to tell you that building an upper is hard. Those people are wrong. It’s easy, it’s safe (AR’s are self-headspacing for the most part, so you’re not going to accidentally build a hand grenade, and if you’re worried, you can get a No-Go or headspace gauge. So, I recommend getting a stripped or assembled upper, the latter of which just comes with your ejection port and forward assist installed, and is what I’d suggest if you don’t want a fancy dust cover. If you absolutely have to have your Punisher logo or whatever, get a stripped one. All our suggestions here.
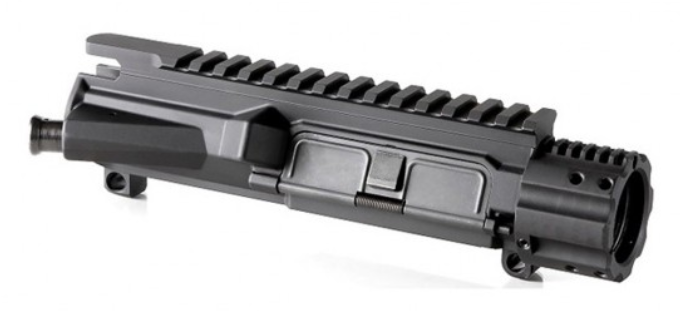
Aero M4E1 Enhanced Upper
- Forward Assist: I have…never, in my life, needed a forward assist on a rifle. I know people with multiple tours of duty in very dry, sandy places who have never touched a forward assist outside of training. I can count one one hand the number of times I’ve heard of people ever needing a forward assist. Ostensibly, it’s on there if you need a little extra help getting a round seated in a dirty gun. Realistically, especially if you’re cleaning your AR the way you should be, you’ll never need one, and I’d be fine running an upper that doesn’t have a slot for one. You may feel differently, and that’s fine. I totally understand the “better to have it and not need it” mindset as well. That’s the great thing about building your AR, you can get exactly what you want, not what some asshole on the internet (me) tells you to get.
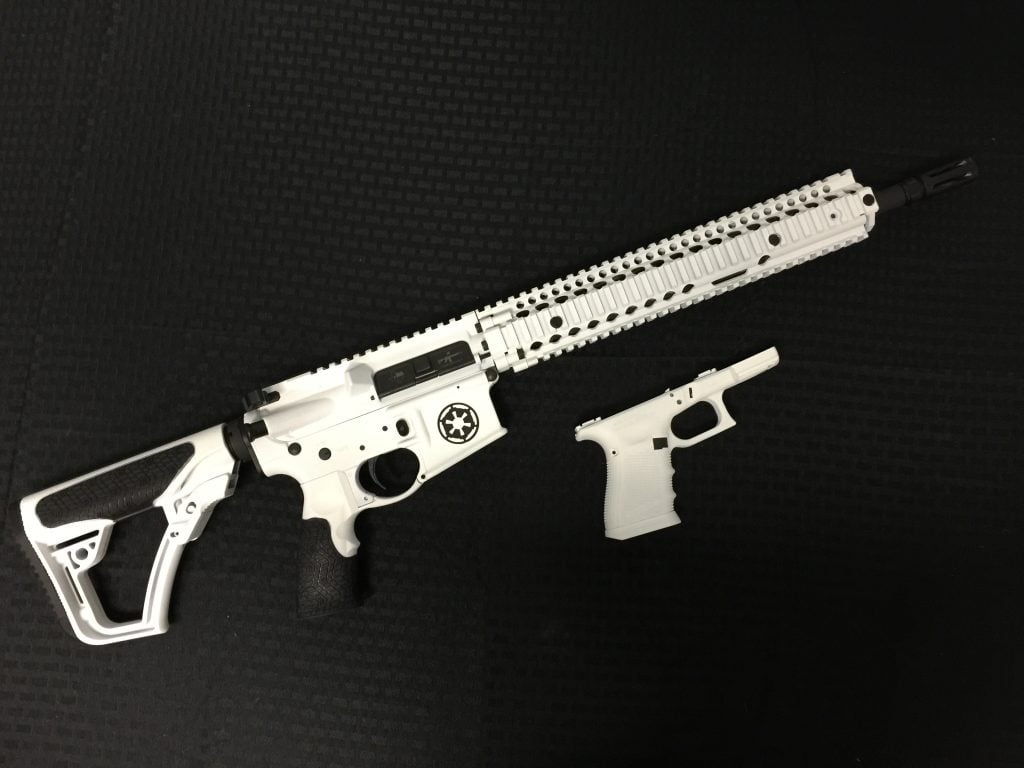
- Dust cover: Your dust cover (also called an ejection port cover) goes over your ejection port to keep out dust. Pretty self-explanatory. The only thing I’ll say is that you can get ones with cool designs, so if looking fashionable at the range is important to you, or you want to do a custom build around a theme, like this Storm Trooper build from IACoatings.com.
- Barrel: Other than the trigger, your barrel is going to be the biggest factor impacting your accuracy and the overall performance of the rifle. There are a lot of factors to think about when choosing a barrel like rifling twist, length, steel or fancy-shmancy carbon fiber, lining options, and more. Be sure to check out our list of the best AR-15 barrels if you want to learn more about solid options, or how to choose a barrel for your build.
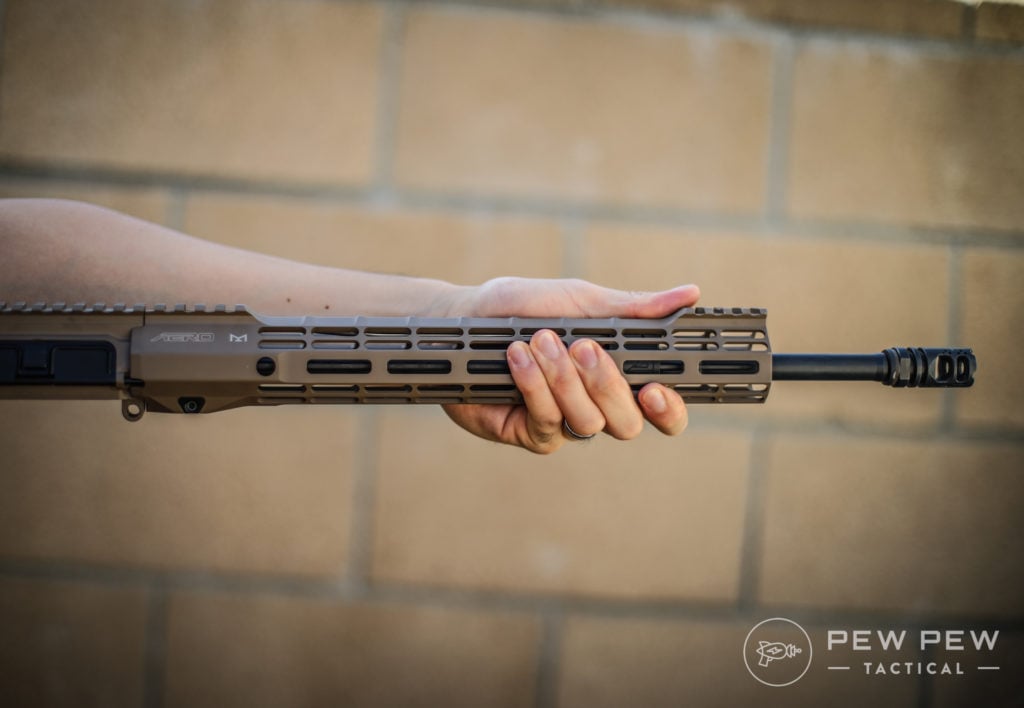
- Handguard: Your handguard should reflect what you’re using the rifle for, and there are literally hundreds of options out there. Pick one that suits your needs, and you’ll be all good. This is an area of intense personal preference, so pick something you’ll like. Personally, I likes my rifles nice and light, so I usually go for minimalist options without all the rails and such. If you want to hang four flashlights and a coffee grinder on your gun, you’ll want the rails though, so again, pick something that fits your purpose. Here’s our picks of the best AR-15 Handguards.
- Gas Tube: It’s a tube that transports gas. Really, there’s not much to say here other than to match the gas tube to your barrel’s system length (carbine, rifle, mid-length) and pick from a brand you trust. Worst case, they’re like $20 unless you’re building a piston-based upper, so don’t stress too much over it.
- Gas Block: This is another area where you have to pick your poison yourself. You might be fine with a plain old gas block, you might be running a suppressor sometimes and need an adjustable gas block. Get something that matches your purpose. I’d recommend an adjustable gas block for all rifles if you have the money though, as it’ll let you fine-tune your gas system to minimize recoil. More functionality is almost always a good thing because it let’s you get a rifle that’s more suited to your specific needs and style.
Seekins’ Adjustable Gas Block
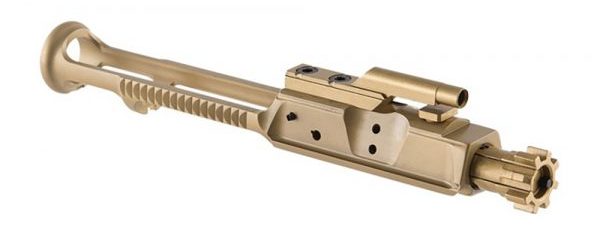
- Bolt Carrier Group: The BCG is the part that handles the actual firing and extraction of your rounds. In general, what you want to think is “light and smooth”. The lighter your BCG is, the less recoil you’ll have, the less muzzle movement, the more accurate you can be, especially during rapid fire. The smoother the BCG is, the more reliable and the more consistent your AR will be, and the well, smoother it will be to shoot. There are a number of coating options that’ll make your gun a little smoother, and there are a number of lightweight BCGS out there. The BCG is one of the easiest parts to swap out, and indeed you’ll be pulling it out every time you clean your gun anyway, so it’s okay to cheap out at first if you want to get a basic gun built that you can upgrade later. Check out our BCG guide for more info.
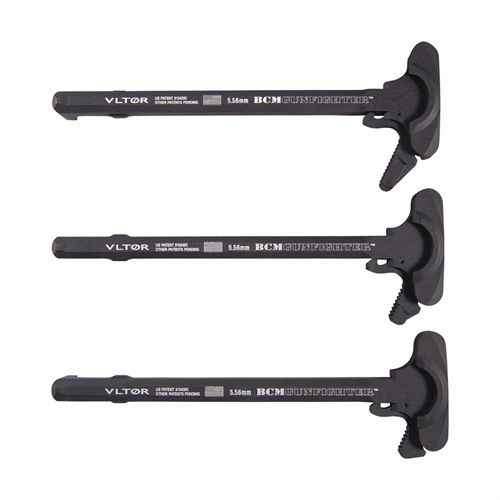
- Charging Handle: This is what you will use to chamber a round in your AR. If you’re going with a basic build, go with a basic charging handle. If not, go with something nicer. I will say, if you’re a leftie, or building a rifle for someone who is, or you just want a slightly more useable rifle, get yourself an ambidextrous handle. If you just want a quick, high-quality recommendation, BCM’s Gunfighter handle is on all my rifles, and I love it.
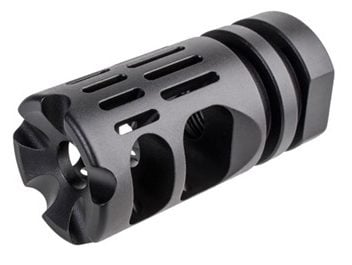
- Muzzle Device: Compensators, Flash Hiders, Suppressors, Brakes, there’s all kinds of things you can slap on the end of your rifle, and they all have their benefits. Check out our muzzle device guide to figure out what you need for your build.
That does it for our upper parts, so check out our AR-15 upper build guide if you want to make sure you got all your parts in the right way.
AR-15 Build Tools Parts List
- Vice: Necessary for keeping everything stable while you’re hammering and punching and such. I use a basic bench vise, but you can use whatever works for the space you’re in. You can also get by without one if you’re very, very, very careful, and creative. I’ve seen people building rifles in caves using nothing but a box cutter, a screwdriver, and an old brick, but I wouldn’t recommend it.
- Upper Vice Block: This let’s you safely and effectively hold your upper in place, which is especially important while you’re installing your barrel. I use this DPMS block.
- Lower Vice Block: Less important than the upper block, still highly recommended if you want to make your life easier while building your rifle.
- Pin Punches: Brass is recommended so you don’t mar your finish. I like these.
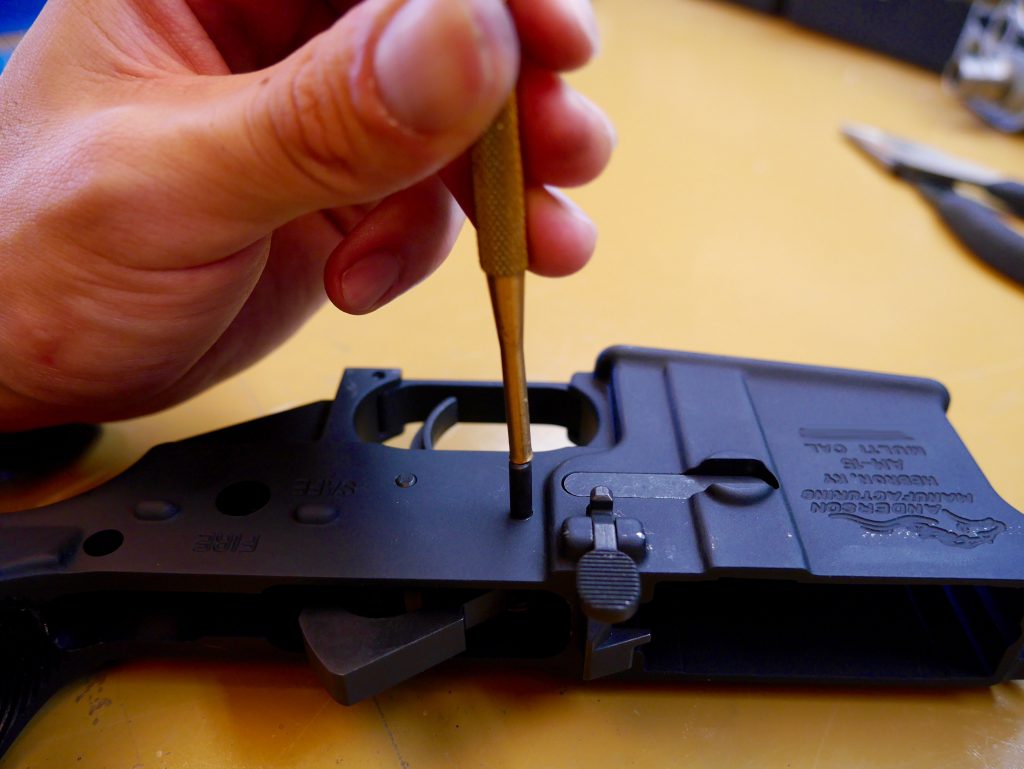
- C-Clamp: Buy a cheap 3 Pack off Amazon and use them as needed to install your roll pins.
- Roll-Pin Pusher/Drift Tool: Not strictly necessary, still highly recommended if you’re going to be building multiple rifles. Makes roll-pin installation much easier
- Armorer’s Wrench: Needed for tightening your barrel nut, delta ring, castle nut, etc. They’re relatively cheap, and is also one of the only purpose-built tools you’ll need. We recommend this guy.
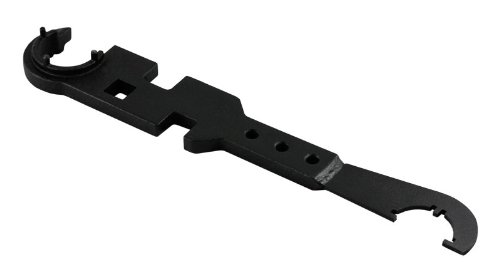
- Utility Knife: A box cutter is the best way to install some of your detents, trust me.
- Hex Key Set: Needed for installing some handguards, as well as things like your gas block, and often your trigger guard.
That about does it for the tools you’ll need. I’m sure there’s a million and one other things out there that you can use, and I’d love to here about tools that could make the job easier, or about the…creative ways you all have built your rifles, so let me know in the comments below.
How To Build One
We’ve got you covered here too!
And for more recommendations down to individual parts…check out our AR-15 Definitive Resource.
Parting Shots
That about does it for our parts list. There’s probably something I’m forgetting so let me know in the comments below if I left something out, and let me know about any builds this helps you with. I can also help you out if you have any questions about the parts we’ve talked about today.
What did you think of our parts list? Did this help you with your build? Let me know in the comments!
The post AR-15 Parts List: Building a Rifle? Start Here! appeared first on Pew Pew Tactical.
via Pew Pew Tactical
AR-15 Parts List: Building a Rifle? Start Here!
