[How-To] Zero a Rifle Scope Quickly & Easily
https://ift.tt/3sqsPIu
There are some basic life skills that everyone should have…how to change a tire, how to sharpen a knife, how to steal the Declaration of Independence.

Sure, you could have someone do it for you — but it’s better to just learn the skill yourself.
The same can be said for zeroing your rifle scope.
It’s quick, it’s easy, and you’ll never need to rely on someone else to do it for you.
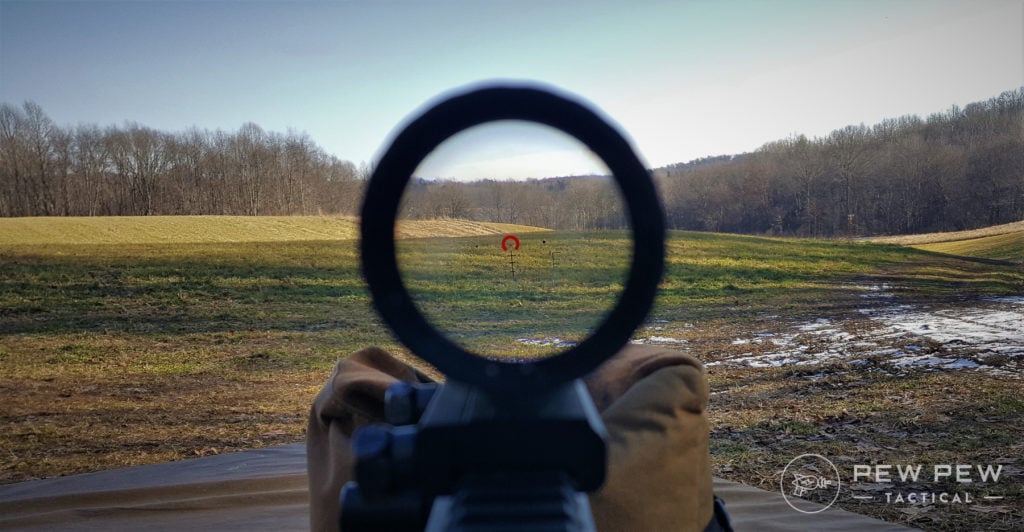
In this article, we’re going to cover the important aspects of zeroing you need to know.
From basic terminology to the actual steps involved in getting your rifle on target, you’ll get a good grasp on what it takes to zero any scope.
So, read on to learn more…
Table of Contents
Loading…
Basic Terms And Important Info
If you want to learn to zero a scope, I’m going to bet that you’re either a very new shooter or at least very new to optics.
Either way, let’s cover some terms and other basic info that will help you out down the road.
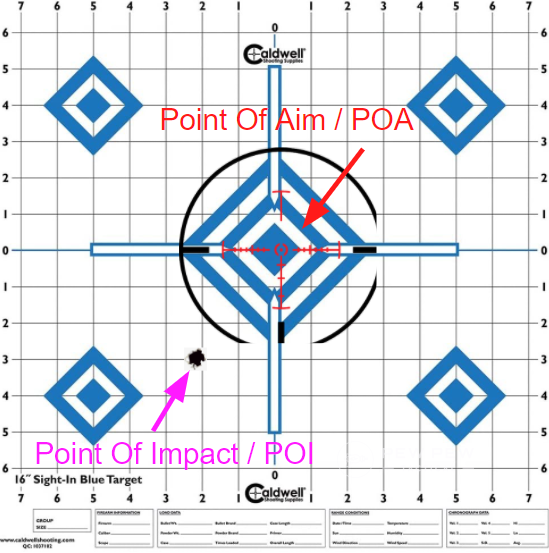
POI vs. POA
Very simple, your point of impact and your point of aim.
They are both exactly what they sound like.
Point of impact (POI) is where your round hits the target.
Point of aim (POA) is where your reticle or sight is on the target.
Turrets
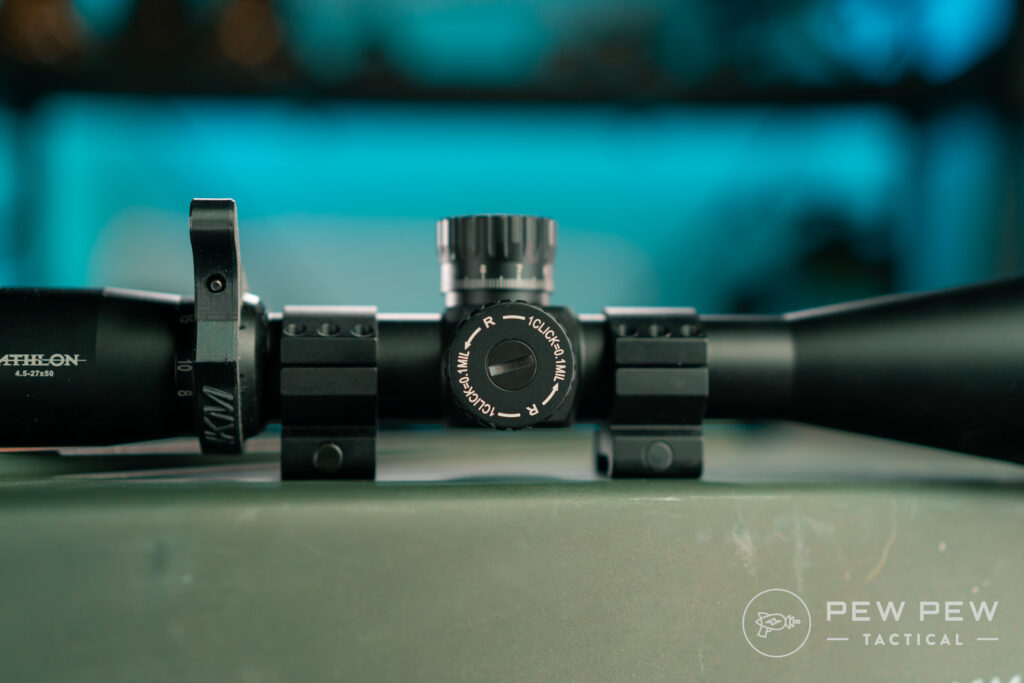
They come in many flavors but they should have some common characteristics. Turrets turn and should be marked with hash marks and maybe numbers.
Each mark should be one “click” and you should be able to feel the turret’s detent literally click as you turn the turret.
Some are more clicky than others though. The cheaper the scope the less likely you’ll get good firm clicks.
Each of those marks and clicks correspond to how much your reticle moves. While it depends on your scope, the most common adjustment increments are 1/4 MOA, 1/2 MOA, and 0.1 MILs.
Normally on your turret or on the cap for the turret, it will tell you how much your clicks are.
MOA vs. MIL
For zeroing your scope it really doesn’t matter if you’re in MILs or MOA.
If you’re counting and trying to math your way to a zero, then you’ll need to know what your scope is calibrated in.
But that’s about it.
Yards vs. Meters
Kind of like MOA and MIL, it’s not critical what unit of measurement you use.
Keep in mind that MOA and MILs are angler measurements. They can BOTH be used with EITHER yards or meters. It just changes the math a bit.

Normally — MOA is going to be in yards and this is the most common measurement in general.
Whatever unit you pick, stick with it. It’s important to keep things consistent so that you don’t have to do conversion after conversion.
Bullets Travel in an Arc! (kind of but not really)
Something you might have been told or might think yourself is that bullets travel in an arc. That’s…not really true. Kind of.
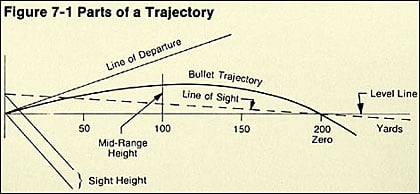
If you’re aiming level, your bullet will not rise significantly before falling. Gravity is going to do what gravity does and start pulling that bullet down to earth as soon as it leaves the barrel.
A bullet fired level to the ground and a bullet dropped from the same height will hit the ground at the same time.
Where the arc comes from is in how we aim. Because we know gravity is a thing and it’s constant, it’s easy to account for.
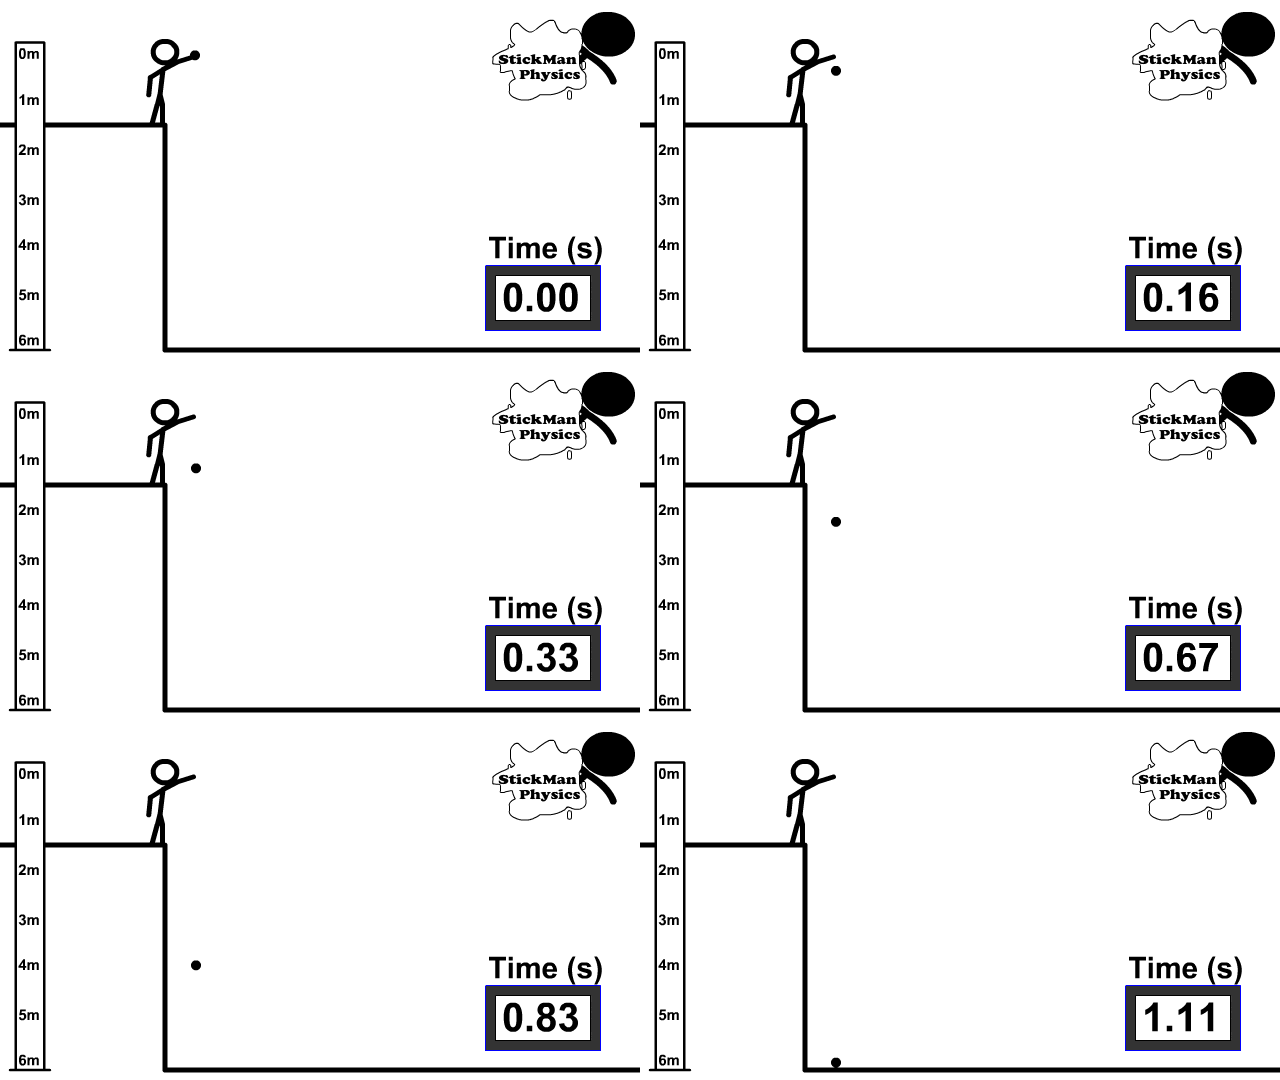
When you zero a rifle, you’re generally zeroing it so that the barrel is angled up and away from you. While your line of sight remains flat and on target, the barrel is pointed slightly up.
When you fire, the bullet leaves the barrel traveling upward first — then starts to fall thus giving an “arc.”
We can exploit this for our own gain, but more on that later.
What Distance Should I Zero?
Before you hit the range, think about what distance you want to zero your rifle.
The normal standard is generally 100-yards for a centerfire rifle and 25/50-yards for a .22 LR rimfire rifle.
If you’re not sure what to zero your rifle at or want to make it easy, just pick one of those.
Honestly, unless you’re trying to be fancy, it doesn’t matter which one you choose.
If you want to go a little deeper though, you might consider the Maximum Point Blank Range method.
Maximum Point Blank Range
Remember six sentences ago when I said we could exploit the arc for our gain? Well, this is how.
Draw a straight line through your ballistic arc and the lines will intersect twice — once closer to you and once further away. This gives you two zero points such as a 25/300, 36/300, etc.
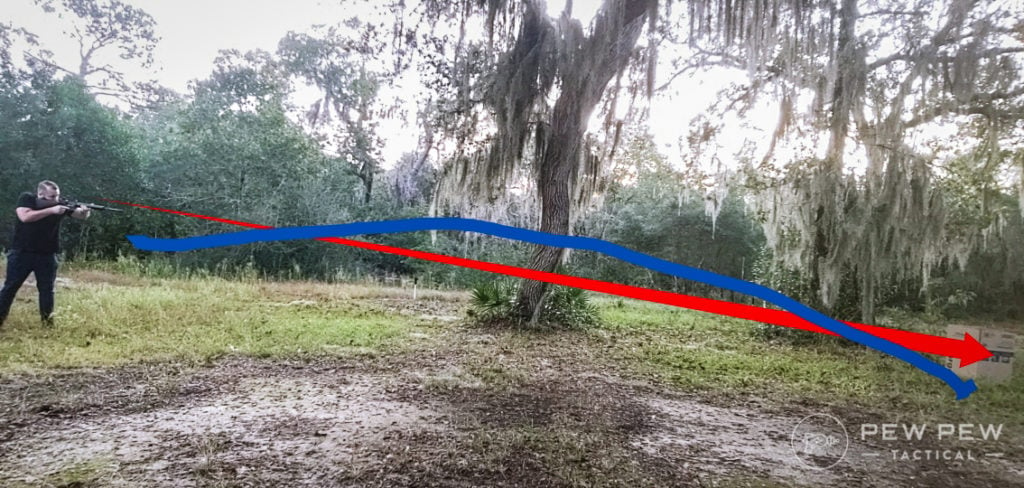
MPBR is the range that your rifle can shoot with minimal elevation change. Note, this is not for precision shooting. This is for kill-shot shooting.
Think of it this way: if a whitetail deer’s heart and lung area is roughly a 7-inch circle, it’s not critically important if you hit the top, bottom, or center of that circle.
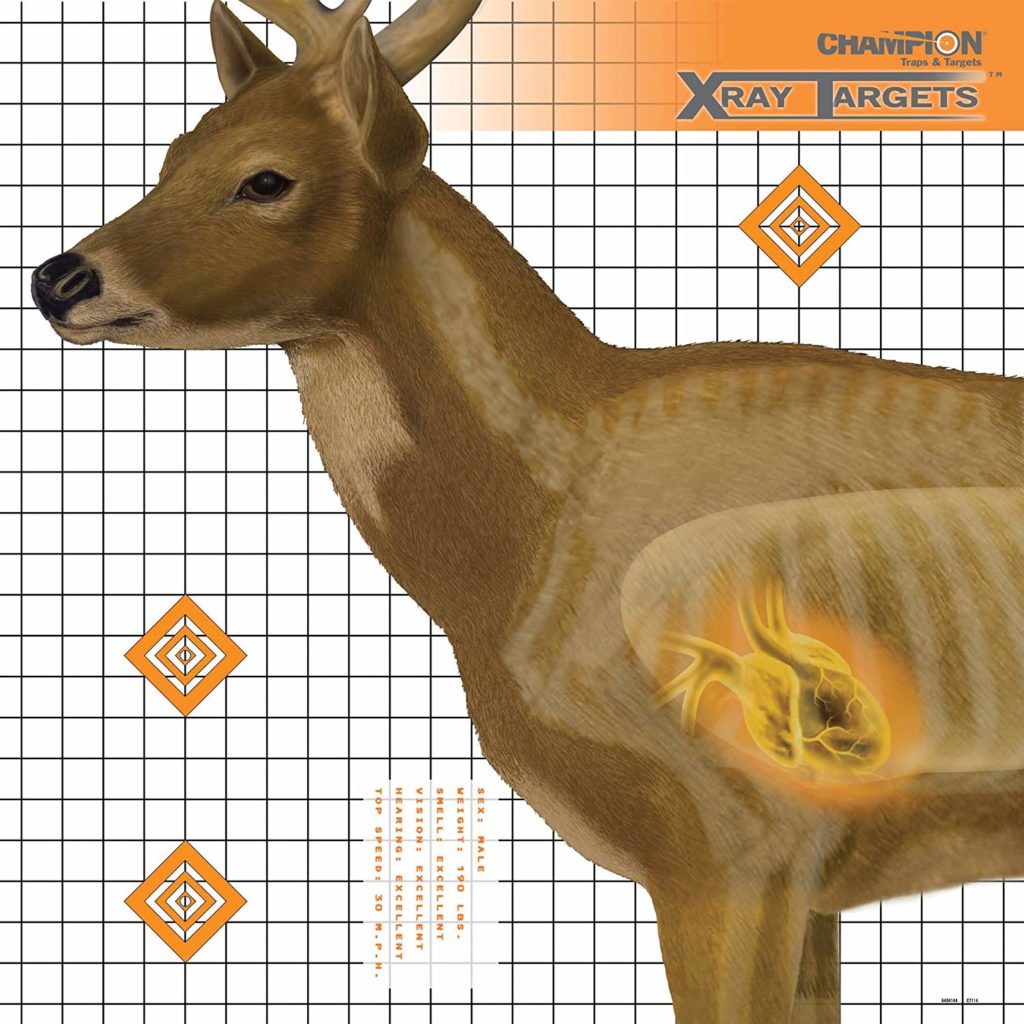
With a little ballistic math, you can zero your rifle so that at any distance out to 200-, 300-, or even 400-yards your shot elevation will be within that circle.
When you’re in the field, just account for wind and point and click on the center of your target to fill your freezer.
This is also how military zeros work, normally called Battlesight Zeros. 25/300-meters and 36/300-yards are the US Army and USMC standards for 5.56 NATO and work the same way as an MPBR.
Keep in mind that an MPRB only works if you have good data and use the same ammo consistently.
If you zero with .30-06 M2 ball and then hunt with .30-06 Hornady ELD-X, your zero is going to be wrong.
If you want to dive into the why and how behind it all, take a look at the Best AR-15 Battlesight Zero. But for now, just trust the magic.

I use an MPBR for my home defense rifle off a 25/225-yard zero.
From 0-yards to 250-yards, I’m never more than 3-inches high or low from my point of aim. My rifle has a red dot, so 250-yards is at the upper limit that I would push the rifle.
What About REALLY Long Range?
100-yards for centerfire, 25/50 for rimfire.
Unless you’re shooting ELR at something crazy like 2,000+ yards, just zero at 100-yards.
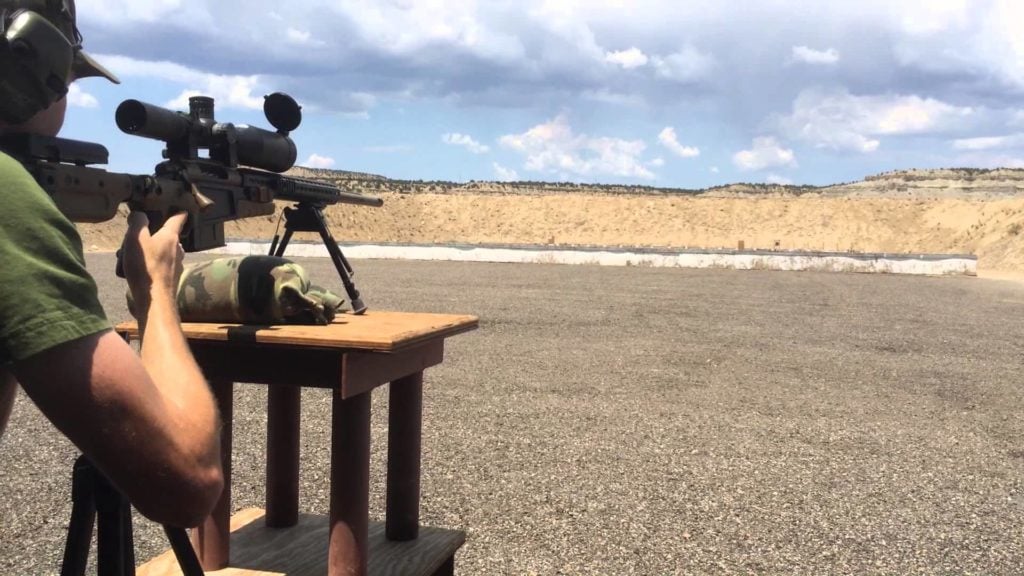
There is no real advantage at zeroing past 100-yards even for long-range shooting and 100-yards gives you an easy base to go off of.
Unless…you can’t. If you’re using a 20, 30, or more MOA base — you might have a problem.
20, 30, 40 MOA Bases, Rails, and Rings
Okay, we’re starting to get in the weeds here but bear with me.
If your scope rings, base, or rail says it is 20, 30, 40, or really anything more than zero MOA this means it’s machined on an incline to allow for you to use more of your scope’s internal elevation adjustment.
For centerfire 20 MOA is pretty common, for rimfire 20-40 MOA can be found.
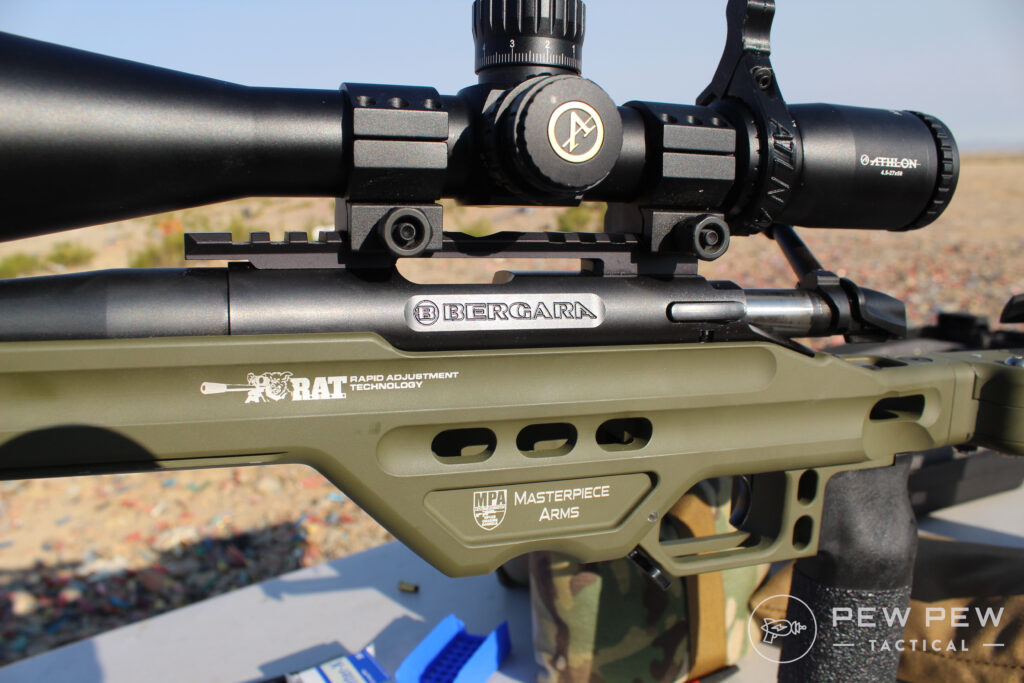
If your bases/rail/rings don’t mention MOA or say zero MOA, then they are machined normally and you don’t have to worry about this.
Generally, I would recommend that you simply avoid the issue unless you know that you need it. If you’re not sure, then assume you don’t need it.
If you do use one and cannot zero at 100-yards, zero for 200.
How To Zero Your Scope
There are probably two dozen or so different ways of zeroing your scope. None of them are wrong and some of them are easier than others.
All of them are pretty quick and painless though so it really comes down to personal preference.
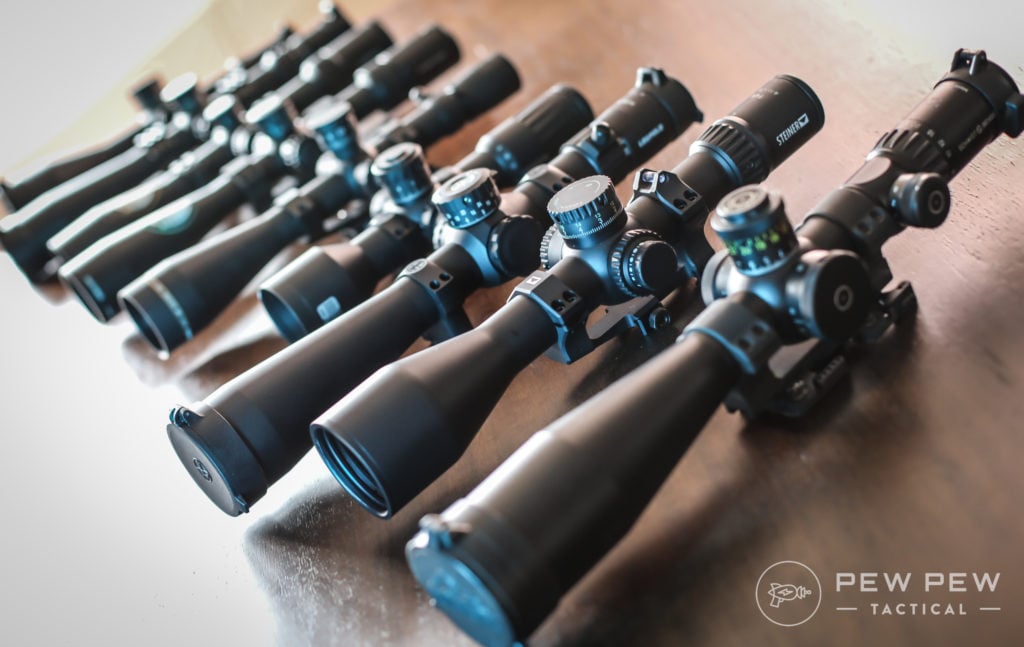
Having zeroed loads of optics in my time at Pew Pew, I’ve tried many of the methods and have gradually built what I like best.
1. The No-Tech Method
Regardless of where your final zero will land, your first step is to just get your rifle on paper.
“On paper” meaning your point of aim and your point of impact is close enough that you’re at least on the target.
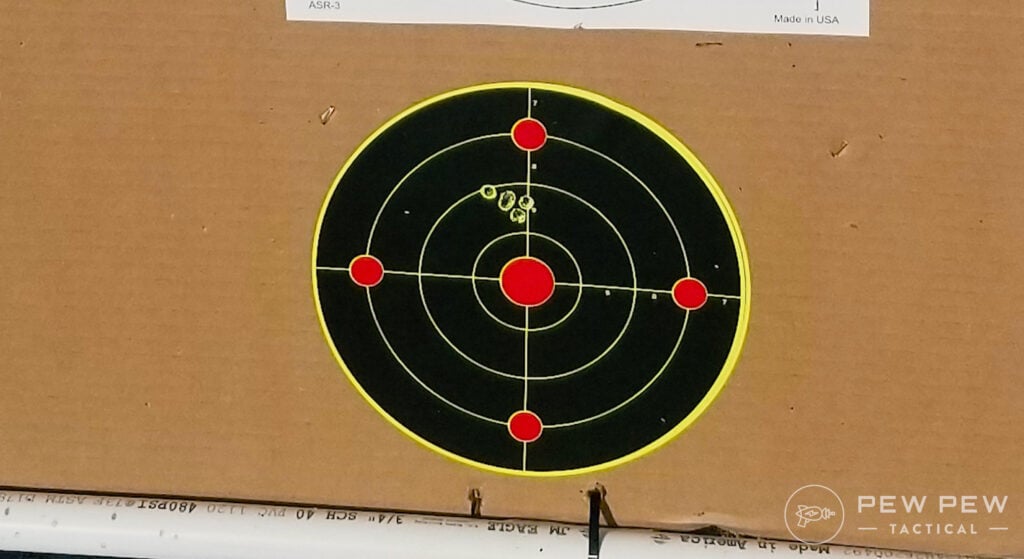
It’s always best to zero a scope using a firm rest. Don’t try to do this off-hand or unsupported. Get some bags and shoot off them, use a shooting bench, use a shooting rest, use whatever you want — just do it supported.
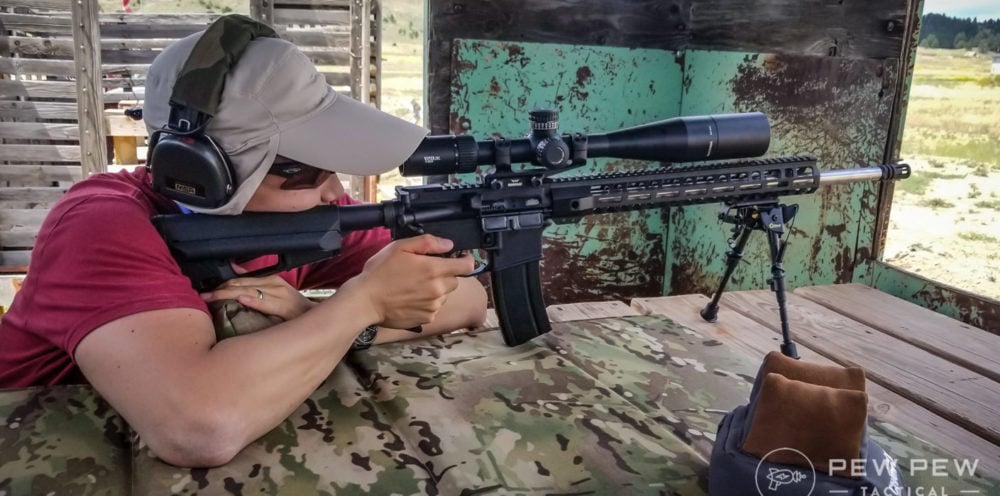
I normally use a front bag or bipod and a rear bag in either a sitting at a bench rest or prone position.
The simple way of doing this is to shoot first at a relatively short range and then work your way back to your zero distance. If I’m going no-tech, I start with 25-yards.
Aim for a bullseye, take a shot, and with the rifle still in a rested and secure position place your crosshair back on the bullseye. Then adjust your turrets until they are over the shot while moving the rifle as little as possible.
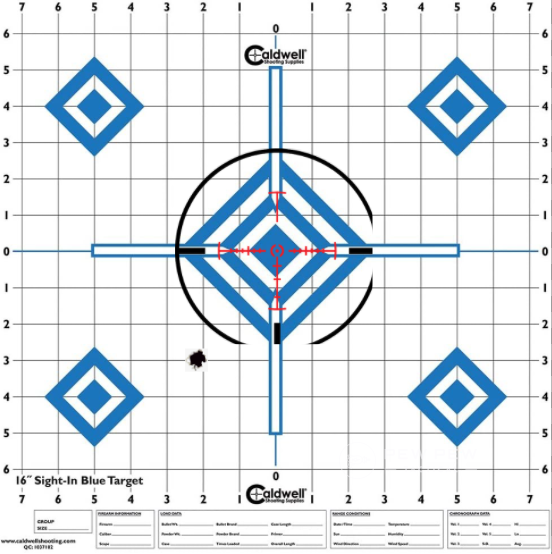
This takes a firm and steady hand, but once you do it a couple of times it’s super easy. Aim at the bullseye again and take a shot to confirm zero and readjust as needed.
Do it right and you can zero a rifle with just two shots.
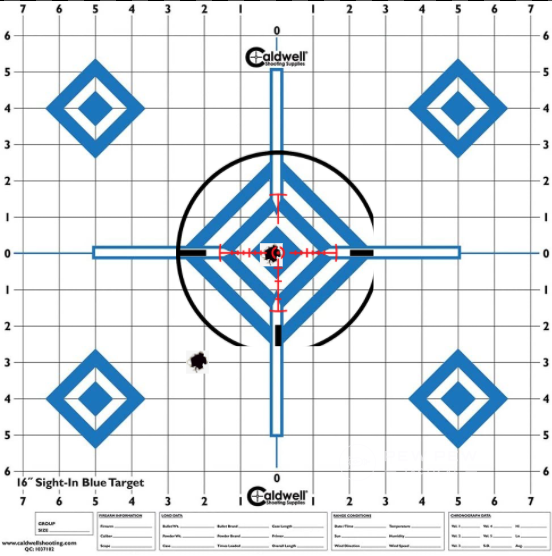
Once you’re on at 25-yards, you can normally move your target back to wherever you want your final zero to be and zero at that range.
Math And Counting
If you find that your hand isn’t steady enough for this method, then switch to a target that has a grid on it.
A target with a grid makes counting inches a LOT easier.
Once you can count how far off your point of impact is from your point of aim, you can just convert that number into clicks and adjust your scope based on that.
For example, let’s say you’re using an MOA scope with .25 MOA click adjustments at 25-yards and your shot was 3-inches low and 2-inches to the left.

1-inch at 100-yards is (roughly) 1 MOA. At 25-yards 1 MOA is 1/4-inch. 3-inches at 25-yards would be 12 MOA low.
12 times 4 is 48 clicks.
Adjust “up” (normally counter-clockwise but check your scope and follow the up arrow) 48 clicks.
For the 2-inches to the left, 8 clicks “right” and you should be pretty on target.
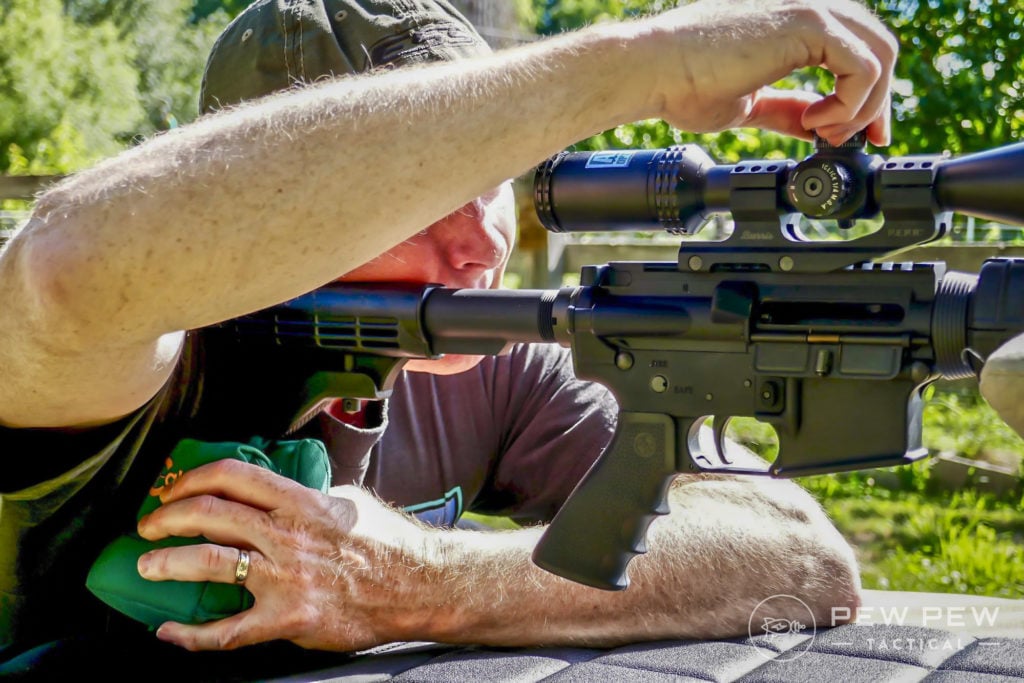
Now personally, I hate this method because…numbers and math and counting and ugh. But hey, if your brain works better with numbers — go for it.
If you want to learn more about MOA or learn about MILs, take a look at the MOA Vs. MRAD article!
2. The Low-Tech Method
If you want to skip needing to paper the gun at a shorter range you might want to look at getting a bore sight.
For me, I have to zero and re-zero a LOT of guns and a LOT of scopes — so I have a Wheeler Pro Bore Sight and it was worth every penny of the $100 I spent. YMMV.
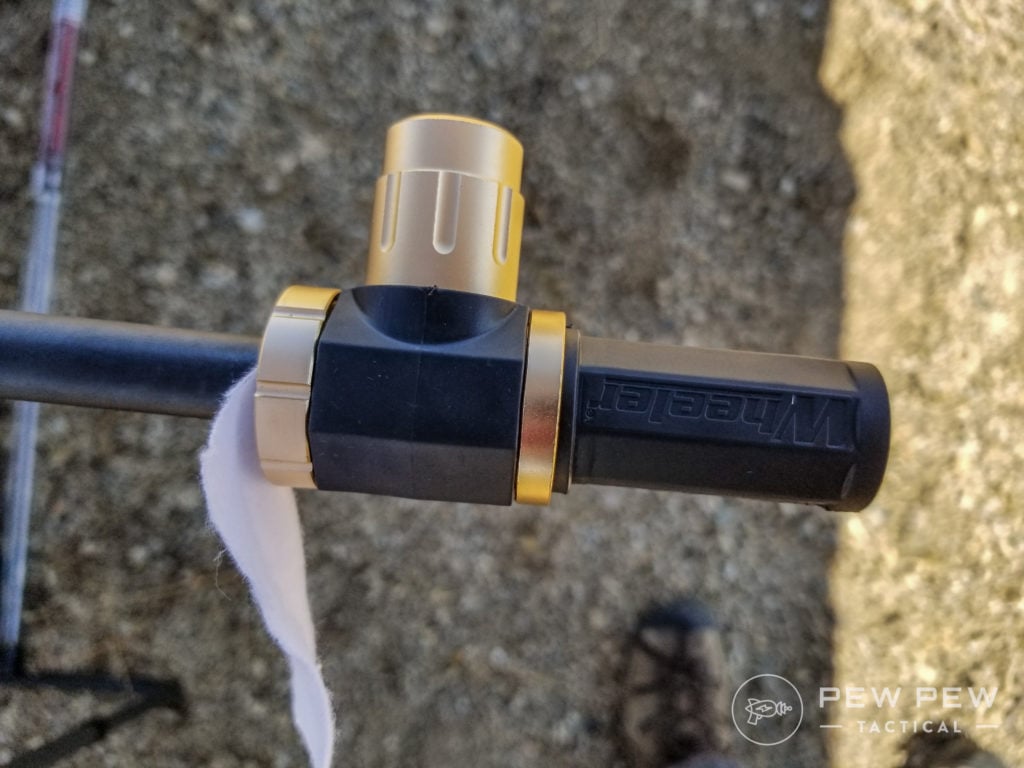
If you want a cheaper option, there are some decent ones in the $20ish range.
We have a ton more info on that in the Best Laser Bore Sights hands-on testing.
Simply install the bore sight per the instructions, turn it on, and at your zero range adjust your scope so that the dot matches your crosshairs.
Prices accurate at time of writing
Prices accurate at time of writing
With this, you should be pretty close to a true zero and most definitely on paper.
Then just zero your scope like normal and you’re good to go.
So which method do I use?
As you can probably guess, I use a bore sight and the 2-shot zero method. I normally bore sight at home and then final zero at the range.
I have a back wall that is exactly 55-yards away from my backdoor. It’s easy for me to stand in the dining room with a rifle pointed at a piece of paper I keep in a ziploc on a stick at the base of the wall.
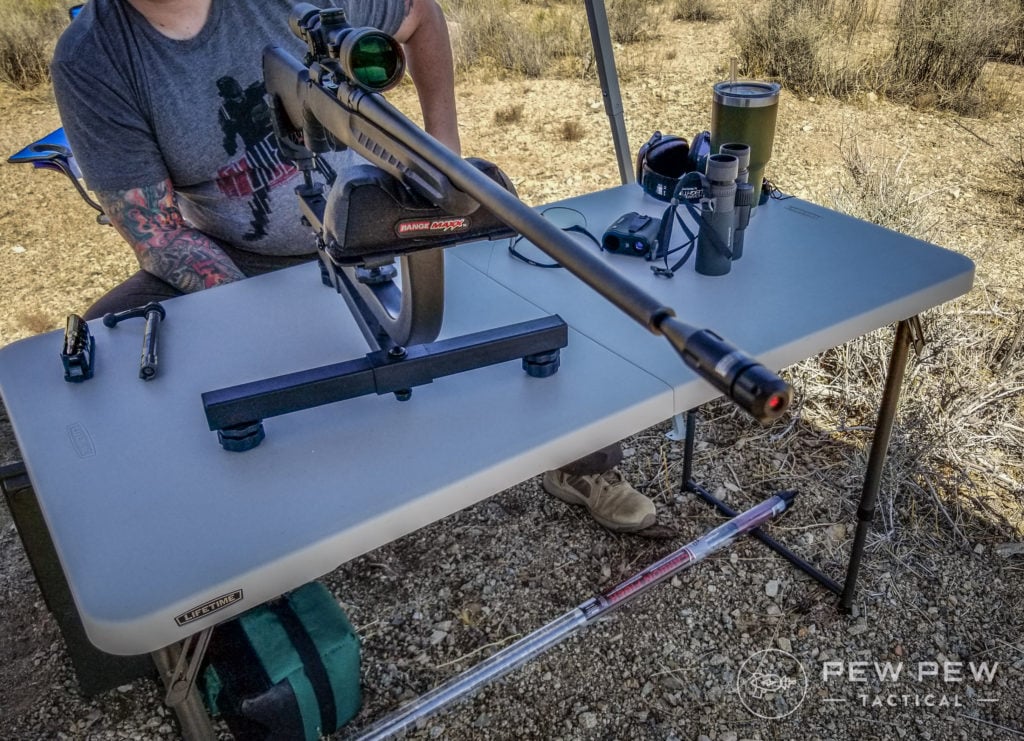
No disturbing the neighbors, no having to bore sight at the range, and I can almost always zero a rifle with literally two shots once I’m at the range.
Once I have my zero I always confirm with a 10-shot group.
Conclusion
Zeroing a rifle is easy to talk about and pretty easy once you do it once or twice, but that first time can be a ride. Maybe you’ll get it in a few shots, maybe you won’t.
If you don’t, it’s okay. If you need to reset and restart, do it.
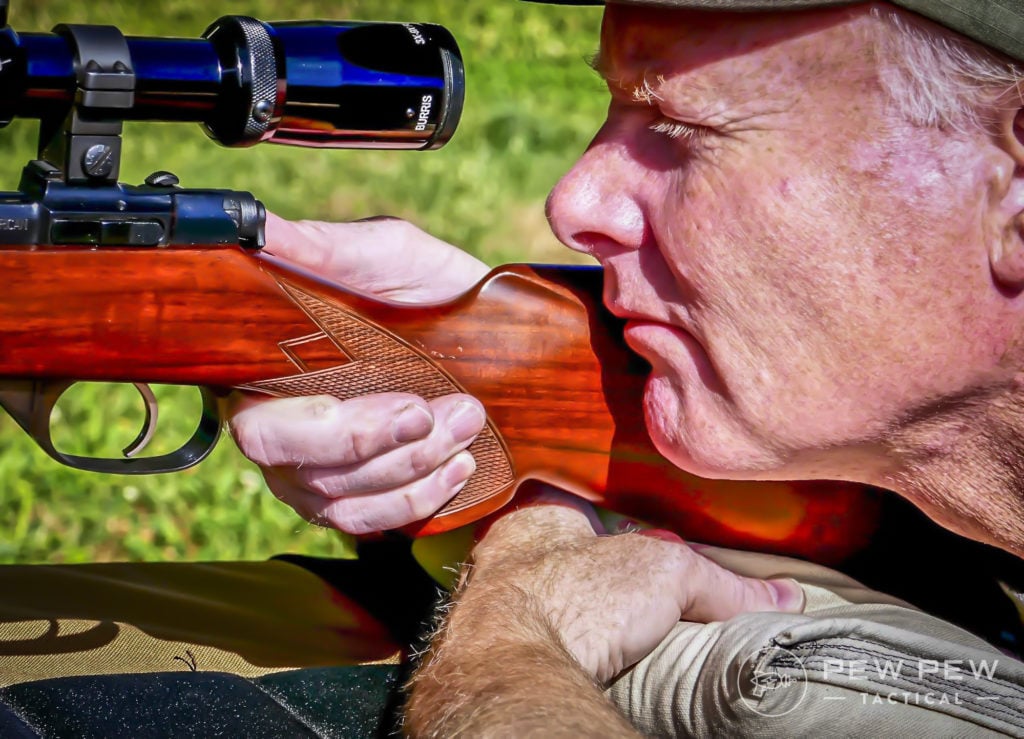
While none of us like to admit it, most of us screw up zeroing our rifles at one time or another. So take it slow and don’t be too hard on yourself.
What’s your preferred zeroing method? Share your thoughts in the comments below. Meanwhile, check out our guide to the Best Rifle Scopes for All Budgets to find the perfect model for you.
The post [How-To] Zero a Rifle Scope Quickly & Easily appeared first on Pew Pew Tactical.
guns
via Pew Pew Tactical https://ift.tt/2m7cc0U
January 11, 2021 at 05:33PM