[How-To] Make The Best Homemade Beef Jerky
https://ift.tt/2N17cho
Who doesn’t love beef jerky? Seriously, beef jerky may be the most delicious food on the face of the planet.
But it’s also expensive.
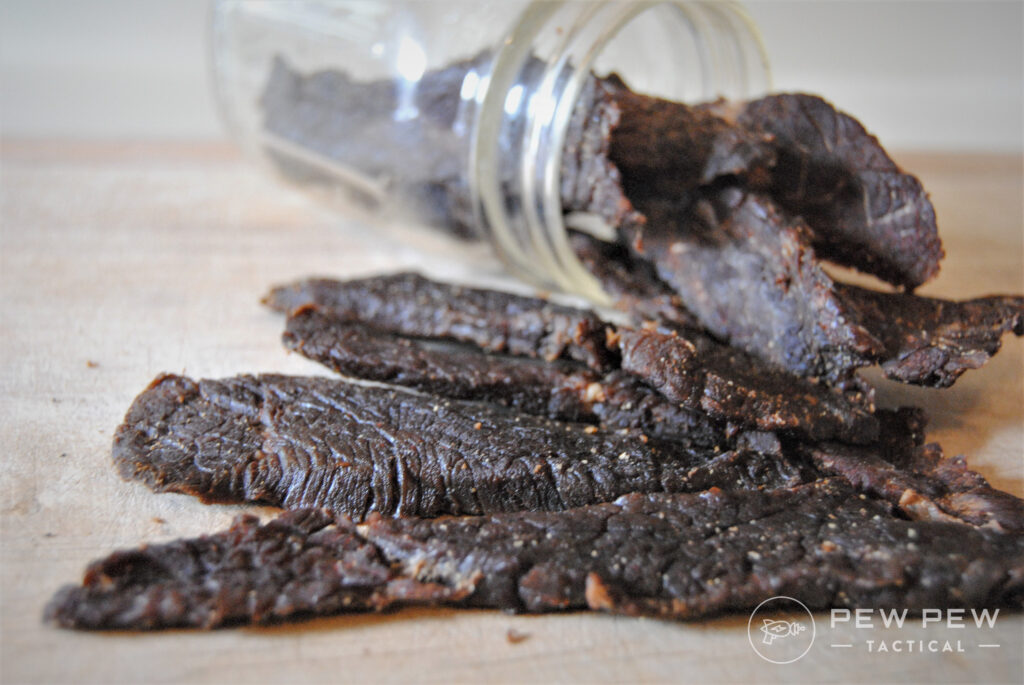
Working the price of beef jerky (or any other type of mouth-watering meat jerky) into my limited snack budget is no easy feat.
Honestly, my main goal in life is to become so successful that I can just snatch bags off the convenience store rack without batting an eyelash.

Thankfully, making jerky at home is relatively easy, much less expensive, and insanely delicious.
If you crave dried meat as I do, but rage at the cost of that fancy, overpriced packaged stuff, I have the answer to your protein-packed prayers.
I’m going to walk you through the jerky-making process. You’ll be eating like a king (or queen) in no time.
Table of Contents
Loading…
What is Jerky?
In its most basic form, jerky is simply dried meat.
It was invented by early humans as a means to keep protein sources edible for longer periods of time. By dehydrating the meat from large kills (usually in the sun), our 20x great-grandparents (who had no access to the modern Frigidaire) were able to prevent bacterial and fungal enzymes from reacting with their food source. This process helped preserve the meat, increasing the amount of time it could be safely eaten.

Jerky is also a lightweight, and highly portable food source, making it perfect for early nomadic cultures, not to mention modern backcountry hikers.

There is archeological evidence of dried meat in Egyptian tombs that dates back to 1338 BC. However, there is some version of dried meat traditional to nearly every culture on the face of the planet.
What Type of Meat to Dry?
The biggest factor in making fabulous-tasting jerky is the cut of meat you use. If you plan to make traditional beef jerky, you can’t go wrong with a big beautiful flank steak. I know it’s a little more expensive, but your tastebuds will thank you later.
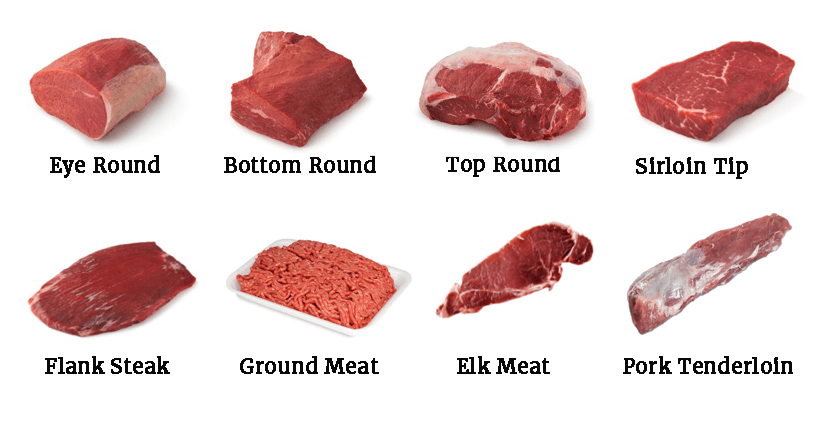
If you can’t bring yourself to fork out the dough for flank steak, London broil, eye of round, sirloin, and top or bottom round also work well. Go as lean as possible. Avoid cuts with lots of marbling (intramuscular fat), and trim off any visible outer fat before you begin.
Fat is a fast-track ticket to moldy, rancid jerky. It is the enemy. Avoid it as much as possible.
Because lean meat makes great jerky, game meat like elk, deer, and moose are terrific options for homemade jerky. Just be careful. Since drying concentrates flavors, ditch the meat that may have gotten a little gut juice on it in the field. Trust me, gut juice is not the flavor you want to intensify.

Making the Cut
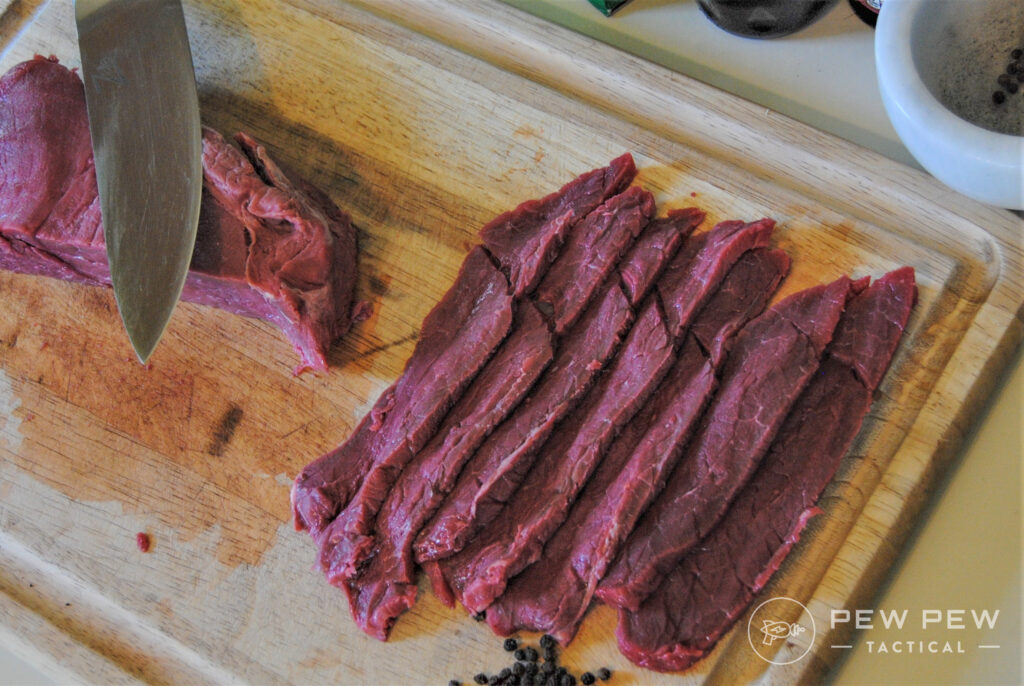
Starting with a large cut of meat that can be easily sliced into thin strips will make your jerky-making much easier. So if you’re sourcing your meat from a grocery store, start with a large roast rather than pre-cut steaks.
Popping your meat in the freezer for an hour or so will make it easier to slice. And you definitely want to use a sharp knife.
Like wood, muscle meat has a grain. The grain is simply long lines of muscle fiber that run in parallel lines. When carving up a piece of meat for steaks, you always, always, ALWAYS slice perpendicular to the grain.
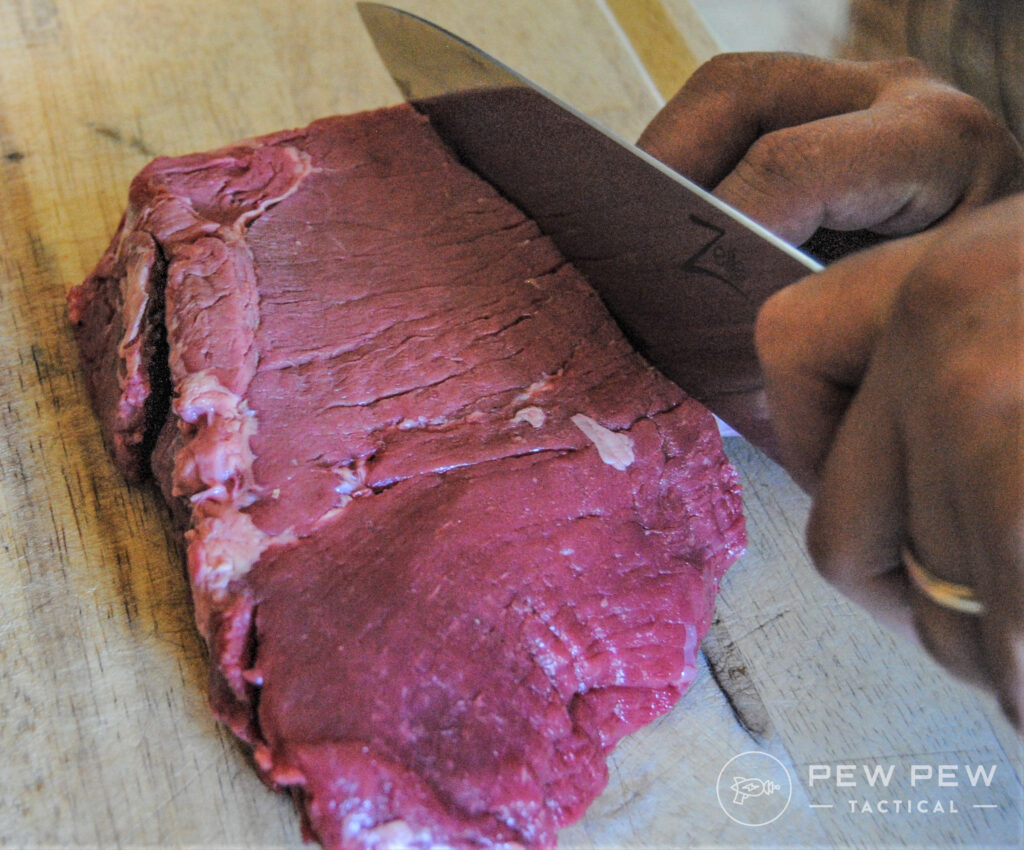
However, when making jerky, you can make your cuts either with or against the grain. Strips cut perpendicular to the grain will be softer and easier to chew. Cut them parallel to the grain, and your jerky will be tougher and super chewy.
Most commercial jerky is made with strips cut against the grain. However, some people prefer to suck on their jerky like a lollipop through an afternoon hike. Others like to wear down their teeth on their jerky.
If you’re one of those people, feel free to (literally and figuratively) butcher that backstrap by cutting parallel to the muscle fibers. Just be aware that I’m silently judging you.

To ensure your jerky pieces dry evenly, you want to cut uniformly thin steaks. Your strips should be between ⅛” and ¼” thick. Some people prefer thick-cut jerky. It definitely makes for a hearty, satisfying snack. However, when done right, paper-thin jerky feels like a melt-in-your-mouth luxury.
Grind It Out
You can also make ground-meat jerky. This works particularly well if you’re using less-than-stellar cuts of meat.
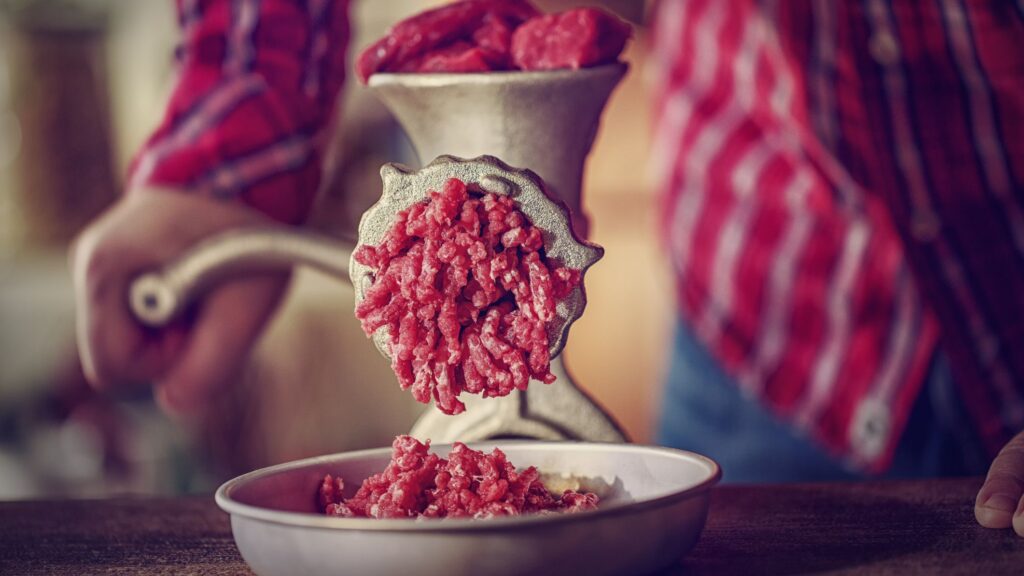
To make ground-jerky meat sticks, you’re going to need a good grinder. Don’t waste your time with the old-fashioned crank grinders…unless you like a good arm workout. If that’s the case, knock yourself out. But you might want to chug a pre-workout before you get started.
A quality electric meat grinder will make the process a zillion times easier. And they last practically forever.
Prices accurate at time of writing
Prices accurate at time of writing
After you’ve trimmed away all the fat, toss your meat in the grinder and run it through the smallest grinder plate possible. Then when you’re done, run it through the grinder again.
Season it up and stuff it in a jerky gun, and you’re on your way to the best Slim Jim knock-offs this side of wherever Slim Jims are made.

….Are Slim Jims made?
Prices accurate at time of writing
Prices accurate at time of writing
Spicing It Up
Once you have your meat prepared, you’ll want to add some seasonings to spice things up. There are a ton of marinade recipes out there floating around the internet. The most common ingredients are black pepper, garlic, onion powder, soy sauce, Worcestershire sauce, and red chili flakes.
Finding the perfect marinade recipe depends on your personal tastes. There are some that are sweet, spicy, salty, or some combination of all three.
That said, here is my favorite jerky marinade. I like mine a little sweet and spicy, so be advised. The recipe makes enough to flavor about two pounds of meat.
- ½ cup soy sauce
- 2 Tablespoons Worcestershire sauce
- ¼ cup brown sugar
- 2 teaspoons red pepper flakes
- 1 teaspoon ground black pepper
- 1 teaspoon garlic powder
- 1 teaspoon onion powder
- 1 teaspoon paprika
If you aren’t skilled in the culinary arts, you can always purchase pre-made jerky seasoning. I’ve tried Jim Melton’s Jerky Marinade and it makes pretty tasty jerky. Plus, if you follow the directions, this method is basically idiot-proof.
Prices accurate at time of writing
Prices accurate at time of writing
For best results, toss your marinade into a large Ziploc bag with your meat strips. Give it a few good squishes to make sure all the strips make contact with the marinade.
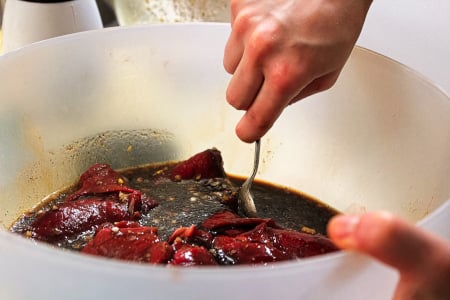
Then, leave it in the refrigerator for at least an hour, but not more than 24. Give the bag a few firm squeezes from time to evenly distribute the flavor during the marinating process.
The longer you let it marinate, the more flavor your jerky will have.
The Cure
No, I’m not talking about the 80s English rock band (Gawd, I am showing my age). I’m talking about adding “cure” to your homemade jerky.

The cure (sometimes called curing salts or Prague Powder) acts as an additional preservative for the jerky. This is an optional step that makes the end product more shelf-stable.
Prices accurate at time of writing
Prices accurate at time of writing
Drying Methods
Humans have been drying meat since our ancient ancestors killed their first woolly mammoth. Traditionally, meat was hung in the sun to dry. However, if you’ve ever seen road kill baking in the late July sun, you probably understand why we might want to try a slightly more modern method.

Modern jerky chefs leave the sun-drying for roadkill and use more hygienic drying methods, like ovens, smokers, and dehydrators.
The Oven Method
Since pretty much everyone has an oven in their kitchen, oven-drying is the simplest way to make jerky. All you have to do is drape your meat strips on a clean oven rack and turn the oven down to 160 degrees. (If your oven doesn’t go that low, you can prop the oven door open to keep the interior temperature from getting too hot.)
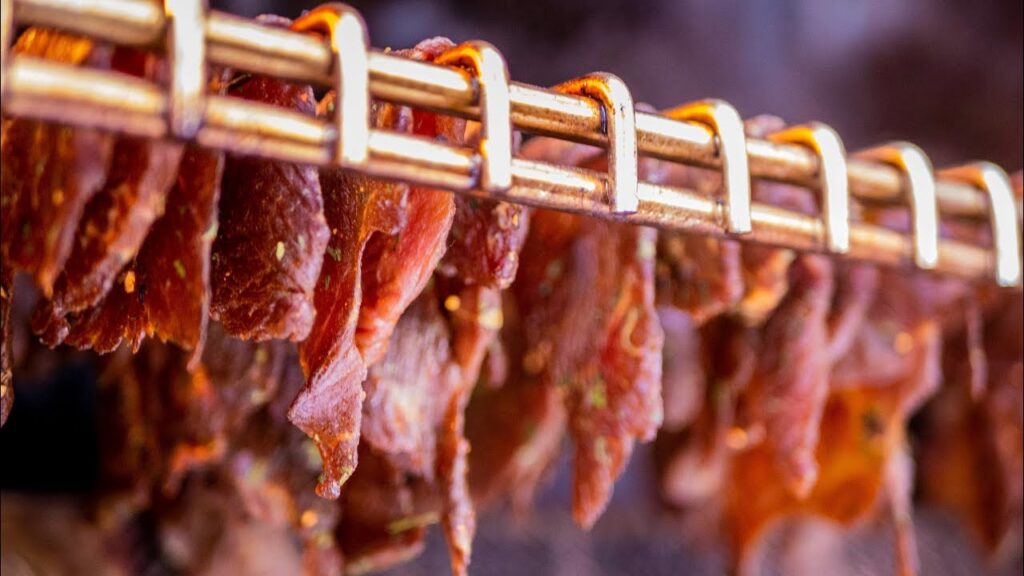
In about three hours, you’ll be devouring mouth-watering homemade jerky.
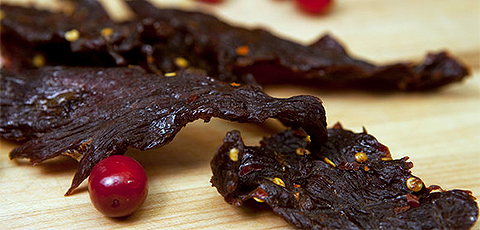
When making jerky, you can’t really set a timer. Instead, you’ll need to keep an observant eye on your drying meat. The jerky is done when it is dry and firm, yet still pliable enough to chew. When you bend a piece, it should bend and crack without snapping.
The USDA recommends heating meat to an internal temperature of 160 degrees to murder dangerous microbes like salmonella and E. coli.
The Smoker Method
Smoking meat is all the rage these days, and it is a surefire way to add some really intense flavors to your jerky. Wood-fired pellet grills are perfect for making jerky.
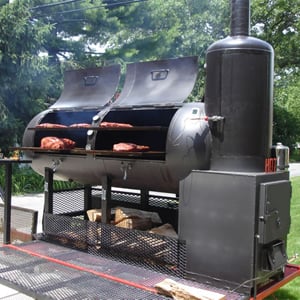
To make jerky in a smoker, first, pat your marinated strips with a paper towel to remove excess moisture. Lay your strips evenly across the grill grates, making sure none of your strips are touching.
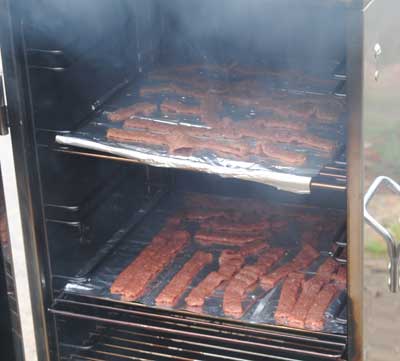
You’ll need to smoke your strips for four to five hours to complete the drying process. Be sure to keep the temperature of your smoker between 160 and 200 degrees to kill off harmful bacteria and prevent spoiling.
The Dehydrator Method
Don’t be intimidated by the modern dehydrator. It is basically just a low-heat oven that circulates air to dry your jerky.
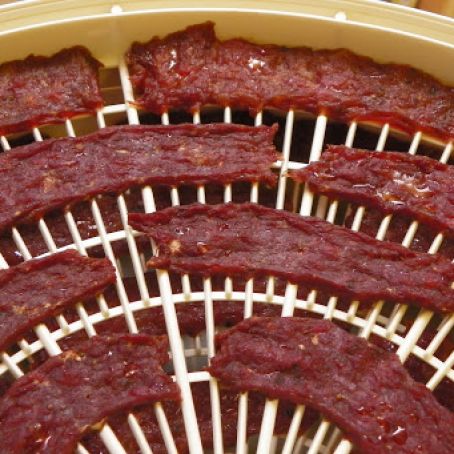
I’ve been using a relatively cheap dehydrator from RedHead for nearly a decade. I’ve made a butt-ton of jerky in it (totally an accurate measurement), and it has never let me down. The customer ratings are kind of low, so apparently, not everyone has enjoyed the same jerky-making success.
If you want something fancier, might I recommend the COSORI Premium Food Dehydrator Machine? It’s like the Lamborghini of food dehydrators.
Prices accurate at time of writing
Prices accurate at time of writing
To make jerky in a food dehydrator, lay your marinated meat strips in a single layer on the dehydrator trays. To ensure proper air circulation, make sure the strips aren’t touching each other.
Follow the directions in your model’s owner’s manual for the best results. Most dehydrators take anywhere from 7 to 10 hours to finish the drying process.
Storing Your Jerky
Once your jerky has cooled, it’s time to package it up. Moisture is the enemy when it comes to safely storing your homemade jerky. You may want to keep your jerky in a plain paper sack for a few days to expel any lingering dampness in the finished product.
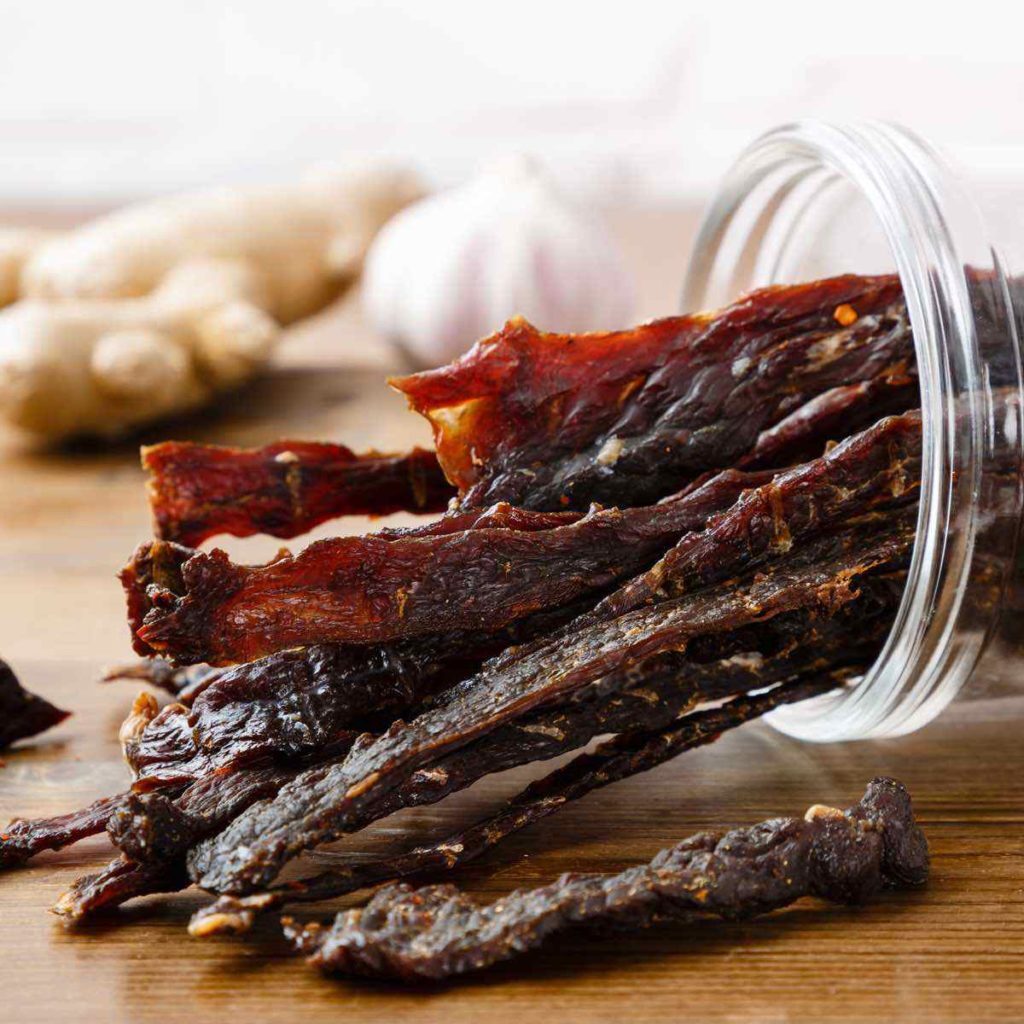
Most dried meat aficionados store their jerky in airtight containers like zip-lock storage bags or Mason jars. To keep your jerky fresh, toss a food-grade oxygen absorber into your container. This will help prevent bacteria from taking up residence inside your packaging and spoiling your snacks.
To maintain the quality of your homemade jerky, store your packages in a cool, dry place. Most jerky kept at room temperature will last about a week (up to two weeks if you’re lucky). If you can’t eat it all in that time, it will keep longer (3-6 months) in the refrigerator.
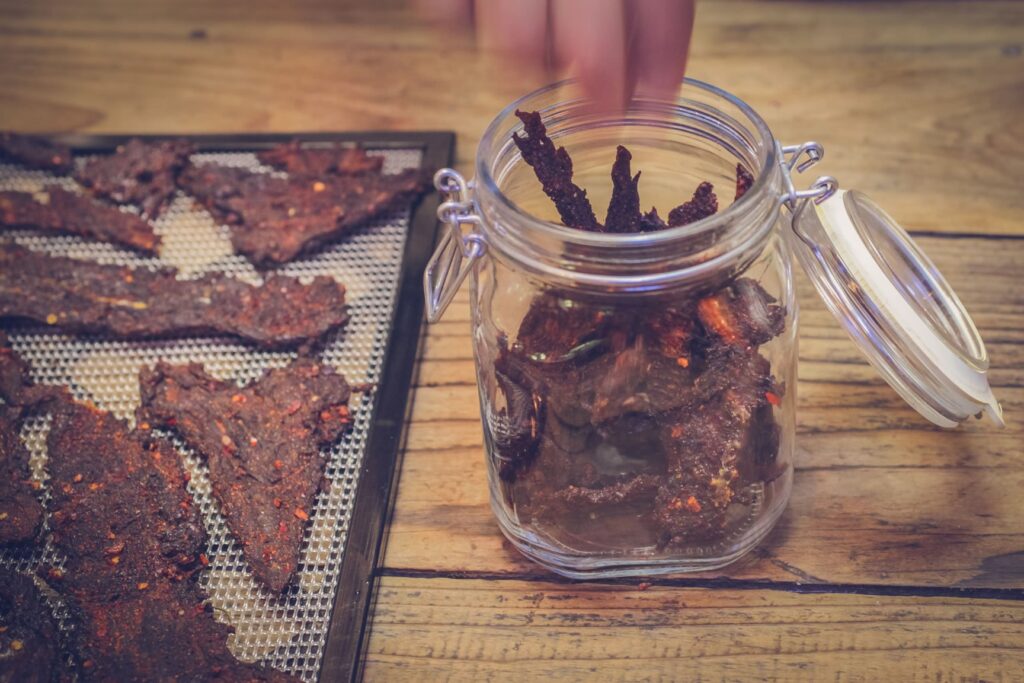
Or if you’ve made a huge batch of jerky, it can keep for up to a year in the freezer, although freezing can alter the flavor and texture of your jerky.
Conclusion
Jerky is a classic snack enjoyed by muscle-bound gym rats and lazy couch potatoes alike. It’s also perfect for munching while hunting, backpacking, or just studying for that tough final exam.
Plus, honing your jerky-making skills now could potentially save your skin in a long-term emergency situation…or maybe woo some lucky guy, gal, or pal?
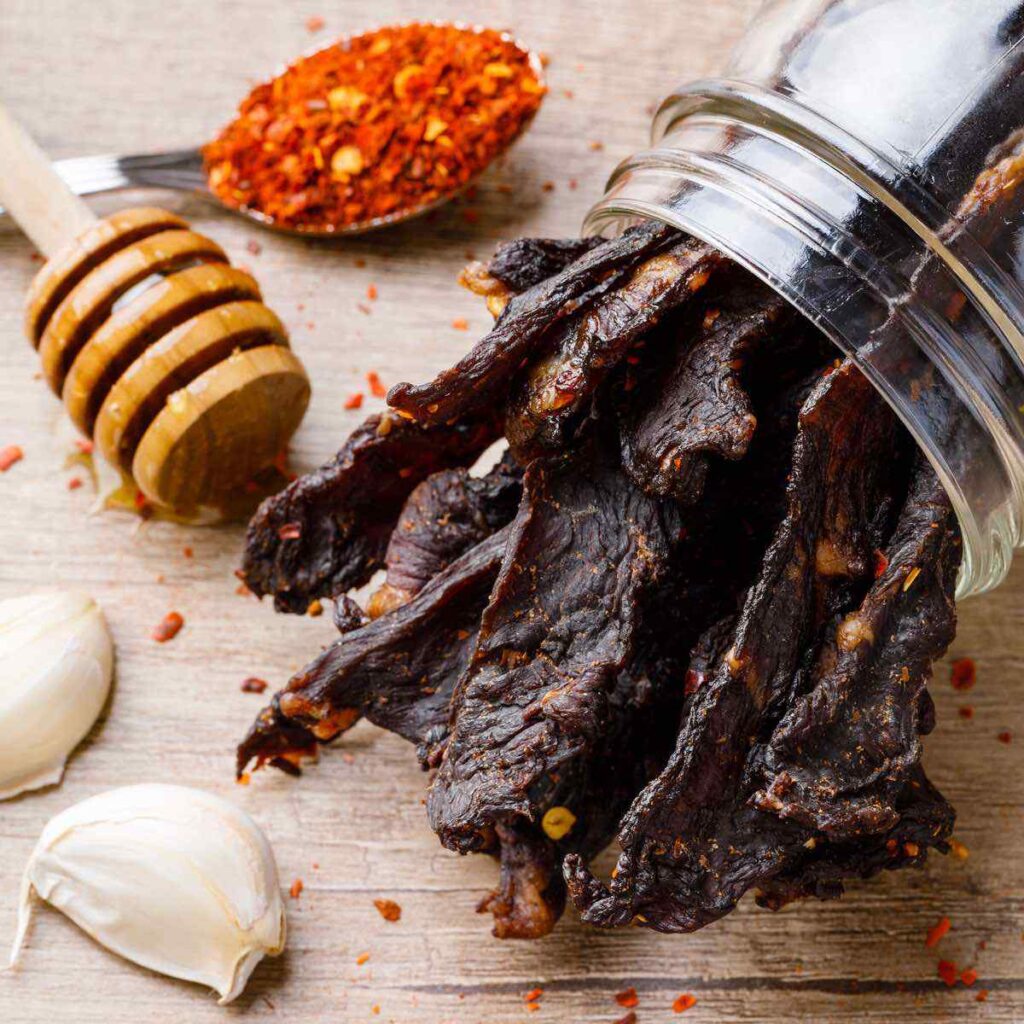
For now, my jerky-making motivation is to save some cash. At least until I hit the big time and the cost of beef jerky no longer makes my head spin.
Do you have your own jerky recipe you’d like to share? Or maybe you just want to sing the praises of this protein-packed snack? Tell us all about it in the comments below! Are you preparing for the end of the world or another inconvenient lock-down? Check out our article detailing How To Stockpile Food & Water for Emergencies.
The post [How-To] Make The Best Homemade Beef Jerky appeared first on Pew Pew Tactical.
guns
via Pew Pew Tactical https://ift.tt/2m7cc0U
February 5, 2021 at 06:32PM