Super Mario Bros. came out in 1985. But what if it were 1885? Composer JunWu created this impressive classical arrangement of the game’s score. The piece reimagines the game’s 8-bit soundtrack as something much grander. He put it together using MuseScore 4 and the MuseSounds library. Imagine how great this would sound played by a live orchestra.
Editor’s note: This post originally appeared on The New Stack and is republished with permission. The original version is available here.
Key Takeaways
S3’s durability and global availability remove the need to co-locate data with compute.
Decoupled storage enables ephemeral clusters, event-driven workflows, and automatic tiering.
TiDB X uses S3 as its shared backend for independent scaling and faster recovery.
Object storage-first architecture matches the elastic, on-demand needs of AI agents.
For decades, database designers have built distributed databases around the assumption that storage must live close to compute.
The farther data travels over the network, the reasoning goes, the greater the potential for delay. Local RAID (redundant array of independent disks) arrays, network-attached storage (NAS), and cluster file systems keep data close, making it quick and easy to access.
But in a distributed system, keeping the entire data store close to compute makes scaling slow, cumbersome, and expensive. Each time you replicate a node or cluster, you must replicate its associated data as well.
It isn’t ideal, but until recently, there wasn’t any reasonable alternative. Databases had to scale. Teams had to meet service-level agreements (SLAs). Wide-area networks weren’t reliable enough to support high-performance databases at scale. Database designers accordingly spent a great deal of energy solving problems related to coordination, consistency, and replication logic.
But imagine things were different. What if they didn’t have to worry about the network, where their data lived, or how to get it from Point A to Point B? How would they design a database then?
That’s the intriguing question raised by the advent of cloud object storage services like AWS S3, Google Cloud Storage, and Microsoft Blob Storage.
What is Cloud Object Storage?
The structure of cloud object storage services couldn’t be simpler. They’re essentially giant heaps of data, accessed via an API, through key/value pairings.
Their unlimited storage capacity and their “everywhere” availability make them revolutionary. They can hold billions of records — images, logs, training data, whatever you need — and crucially, they can make every one of those records available to compute anywhere in the world, at any level of workload.
S3 is extremely reliable. AWS designed S3 for 11 nines of durability (that’s 99.999999999%) and 99.99% availability, and it replicates data automatically across Amazon’s regional facilities. This means data on S3 is extremely safe and highly available without the need to manage physical disks or replication.
In addition, S3 scales seamlessly. There are no fixed volumes. No need for capacity planning. You can store practically unlimited data, and performance scales with parallel access rather than a single-server bottleneck. These guarantees free architects from worrying about low-level storage failures, capacity, and edge cases involving consistency.
In short, cloud object storage provides a highly durable, always-on, strongly-consistent single source of truth. It’s not as fast as local storage, but it doesn’t have to be. What services like S3 lack in sheer speed, they more than make up for in reliability and ease of maintenance. Instead of worrying about shards, segmentation, and software-defined networks, a database can simply retrieve data with confidence that it will be delivered in a reasonable amount of time.
What this means is that for the next generation of distributed databases, cloud object storage will, for all intents and purposes, be the network.
Architectural Patterns Emerging Around Object Storage
Building on cloud object storage enables several architectural patterns that were previously impractical.
Ephemeral compute clusters: Keeping object storage separate from compute makes it easier to spin up clusters temporarily for a specific job and tear them down afterward. This is especially useful for AI agents, which often construct temporary databases to accomplish tasks. Compute can be spun up at will without the overhead of data replication.
Event-driven workflows: The arrival of a new object in S3 can trigger a Lambda function, start a training job, or notify downstream consumers. This sort of workflow would be impractical in a system with highly replicated data, but it’s trivial when data is centralized in a single store.
AI and ML pipelines: Many distributed machine learning workflows benefit from a centralized object storage data store. Training datasets, feature stores, model checkpoints, and experiment logs all commonly live in object stores. Frameworks like TensorFlow, PyTorch, and SageMaker are designed to stream data directly from object storage.
Tiering storage at large scale: Databases often classify data as either in-demand (“hot”) or rarely accessed (“cold”). Hot data is stored on high-speed flash storage, while cold data is stored on a more cost-efficient spinning disk. Provisioning hot and cold storage normally requires manual intervention and careful capacity planning. But with cloud object storage, the database can automatically handle tiering, shuffling data between the object store and the high-speed cache based on demand. The availability and infinite capacity of the object store make planning unnecessary.
Example: TiDB X
Now let’s see how these capabilities translate into a real-world design. PingCAP uses cloud object storage as the foundation for TiDB X, the latest version of our popular open source distributed SQL database, TiDB.
Figure 1. TiDB X’s architecture with built-in object storage.
As shown in the diagram above, TiDB X fully separates compute and storage, using S3 for the shared backend. Compute nodes scale independently up and down. Fast local caches and Raft ensure consistency and low-latency access for hot data. Instead of keeping the entire data store close by, TiDB X keeps only the most active data near compute. TiDB X monitors query patterns, latency targets, and data characteristics, then reshapes itself in response to demand.
Its object storage-based architecture streamlines recovery and backup processes. By using S3 for primary data persistence, TiDB X reduces the overhead of traditional backup maintenance, enabling significantly faster completion times. This design also mitigates the impact of node failures: since local state functions primarily serve as a cache for durable, replicated storage, a failed instance can be replaced by retrieving its required state directly from object storage to resume operations.
From an operational perspective, cloud object storage makes TiDB X both highly adaptable and extremely cost-efficient. Its autoscaler responds not just to preset infrastructure thresholds, but to contextual signals like query patterns, latency targets, and data types. This enables it to reshape its resources in real time to address different tasks.
Keeping large relational data stores close to compute resources has always been a compromise. It was an expensive solution to a problem created by the limitations of traditional networking.
With architectures like TiDB, we see that the sheer power and scale of services like S3 have made the old workarounds unnecessary. They’ve rendered traditional architectures increasingly obsolete. More than that, they’ve enabled practices, such as ephemeral compute, suited to a world where users are more likely to be AI agents than humans.
As AI reshapes business organizations and best practices, the database itself is changing form. In large part, it’s services like S3 that are making that shift possible. By making data placeless, ubiquitous, and effortlessly accessible, cloud object storage is overturning the assumptions that once guided database design. The result will be databases that are more flexible and resilient — ones that are simpler to manage and scale almost effortlessly.
In 2025, MySQL celebrated its 30th anniversary—and to mark the milestone, Oracle University (together with the MySQL Community team) offered free MySQL training and free certification exams from April 20 through July 31, 2025. The goal was simple: make it easy for developers, DBAs, architects, and newcomers to build practical skills and validate them with […]Planet MySQL
Steve and Timpani moved from California to Texas in the hit series Californians Move To Texas. There were a few cultural differences they weren’t prepared for in going from California wokeness to Texas freedom. Now their story continues…
In the all-new season, Steve and Timpani’s continued adjustment to all things Texas hits a speed bump when Timpani’s sister, Brittuni, arrives to talk some "California sense" into her gun-loving sister. Can Steve and Timpani’s love survive the wedge slowly being driven between them? And who knows what other surprises may be in store.
Catch the trailer here and get hype:
Episode 1: The Rodeo will premiere on YouTube on April 7 at 7PM PT:
And we have a winner! It was a busy weekend of match ups and we have our champion.
Round 2 Results
#1 Oracle vs. #2 MongoDB – Winner = Oracle
Oracle has too much enterprise credibility to overcome and they outlast the document database fans to win its matchup.
#1 MySQL vs. #3 DuckDB – Winner = MySQL
While in-process analytics are gaining in importance, the versatility and transactional nature of MySQL makes this a comfortable win for MySQL.
#1 PostgreSQL vs. #2 Snowflake – Winner = PostgreSQL
This was a match up of heavyweights with a battle of OTLP leader vs. OLAP leader. A classic matchup of different styles. Ultimately, the open source community of committers and extensions carried PostgreSQL to the victory.
#1 SQL Server vs. #2 Databricks – Winner = SQL Server
Another battle of styles, where the enterprise chops of SQL Server go up against the momentum of Databricks in data management. Ultimately, Microsoft ability to to recruit from the transfer portal was enough to squeak by Databricks in this last second decision.
Round 3 Results
#1 Oracle vs. #1 MySQL – Winner = MySQL
It’s the age-old story of the protege vs. the parent figure. Oracle is the owner of both databases but only one is open source. That open source ability allows the community to pull together to push it to victory. This was really a match up of proprietary vs. open source, and today, at least, open source has carried the day.
#1 PostgreSQL vs. #1 SQL Server – Winner = PostgreSQL
In what has become a theme of the tournament, it’s an open source juggernaut vs. the incumbent proprietary database. While SQL Server had all the support of the windows community, the overall open source community were able to hold on to win. The unsung hero was the extension authors that make PostgreSQL the innovation platform it is.
Championship Game Results
#1 PostgreSQL vs. #1 MySQL
I think we can all agree that tournaments and databases are better when there are two open source powerhouses to compete. This is the renewal of a 30+ year rivalry and it surely didn’t disappoint. The community and extensions of PostgreSQL showed up when it counted and had MySQL on the ropes in the second hard. Ultimately, the multi-threaded nature of MySQL and its default replication wich have been the bedrock of MySQL usage, were able to hold of Postgres and seal the victory and the championship.
Champion = MySQL
Summary:
What a thrilling end to the tournament. In the end, it was going to a two horse race by the open source OLTP leaders. It was just a question of which was going to outlast the other. The real winner was open source and the communities that support them, so keep supporting your favorite open source project.
Congrats to MySQL! The winner of the 2026 Tournament of Databases.
To get more database news and updates, subscribe to the Village Crier or checkout VillageSQL on Github.
The first trailer for Masters of the Universe set the tone, and now this second one digs deeper, gets bigger, and really lets us know what we can expect later this summer. There’s more Eternia, more fan-favorite side characters, and more Prince Adam, who finds himself in our world to protect the secrets of his home.
Directed by Travis Knight, Masters of the Universecomes to theaters June 5. It’s the long-awaited, highly anticipated return to live action for the popular toy line/animated series that found new life on Netflix. Here, though, Nicholas Galitzine stars as He-Man, alongside Camila Mendes as Teela, Idris Elba as Man-At-Arms, Alison Brie as Evil-Lyn, Morena Baccarin as the Sorceress, James Purefoy as King Randor, and, who could forget, Jared Leto as Skeletor.
Check out the new trailer for Masters of the Universe below.
We sincerely hope this film can find that tonal balance that Knight found with his Bumblebee movie, but we aren’t so sure. In this day and age, are general audiences ready to embrace such an out-there, fantastical world? Especially one that’s so based on decades-old nostalgia?
We’ll find out soon and have much more on Masters of the Universe in the coming weeks. For now, let us know what you thought of the trailer below.
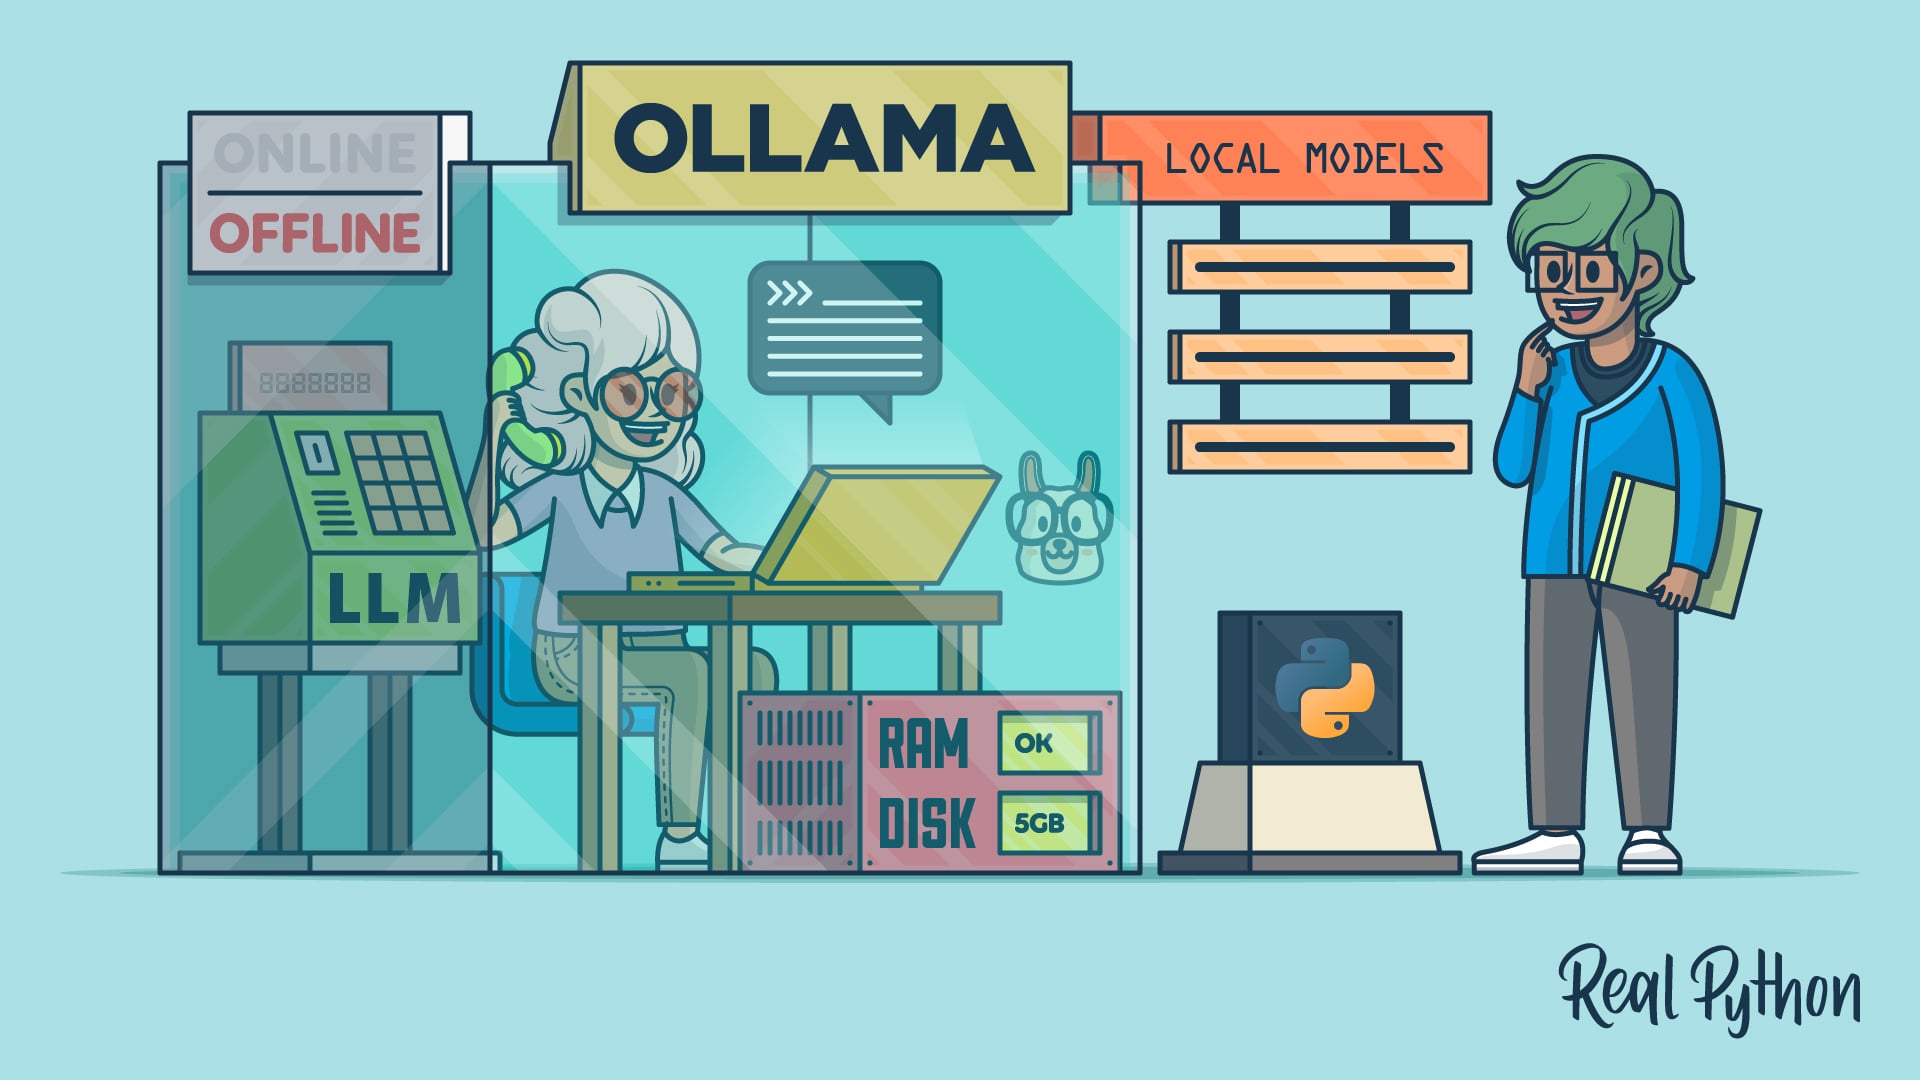
Running Ollama in your terminal allows you to start chatting with a local large language model (LLM) quickly. You won’t need API keys, cloud services, or ongoing costs. Ollama is a free, open-source tool that lets you download and run models directly on your machine. By following this guide, you’ll install Ollama, chat with local models from your terminal, and use them to power agentic coding tools:
Example of Using Ollama to Run an LLM Locally
Large language models traditionally require expensive API subscriptions and a constant internet connection. Ollama eliminates both requirements by running models directly on your hardware. Because everything runs locally, your prompts stay on your machine, and no per-token fees apply.
Take the Quiz: Test your knowledge with our interactive “How to Use Ollama to Run Large Language Models Locally” quiz. You’ll receive a score upon completion to help you track your learning progress:
Test your knowledge of running LLMs locally with Ollama. Install it, pull models, chat, and connect coding tools from your terminal.
Prerequisites
To follow this guide, you’ll need the following software and hardware:
macOS 14 Sonoma or newer, Windows 10 or newer, or a recent Linux distribution
At least 8 GB of RAM, or 16 GB or more for larger models
5–16 GB of free disk space to store models
Basic skills with the command line or terminal, including opening a terminal and running commands
No Python installation is required for this guide, and no prior experience with LLMs or AI is needed. If you want to integrate Ollama with Python after finishing here, check out How to Integrate Local LLMs With Ollama and Python.
Step 1: Install Ollama and Pull Your First Model
To quickly install Ollama on your operating system, run the following command based on your platform:
Once this command finishes, Ollama will be installed on your system.
Note: In some Linux distributions, you may need to install curl to download the installer and the zstd library for extraction. On Debian/Ubuntu, you can install them with the following command:
Shell
$ sudoaptupdate&&sudoaptinstallcurlzstd
Alternatively, you can download a dedicated installer for Windows and macOS. Visit Ollama’s download page to get the installer for those operating systems.
Note: Ollama has a GUI application for macOS and Windows users. This quick guide focuses solely on the command-line (CLI) tool. See Ollama’s app announcement if you want to explore that option.
After installation, you can verify that the CLI is available with the following command:
Shell
$ ollama-v
ollama version is 0.17.7
The Ollama service should be running in the background. Normally, you don’t need to start it manually. It runs on port 11434 by default. If you get a warning after running the command above, then you may need to run the background server manually:
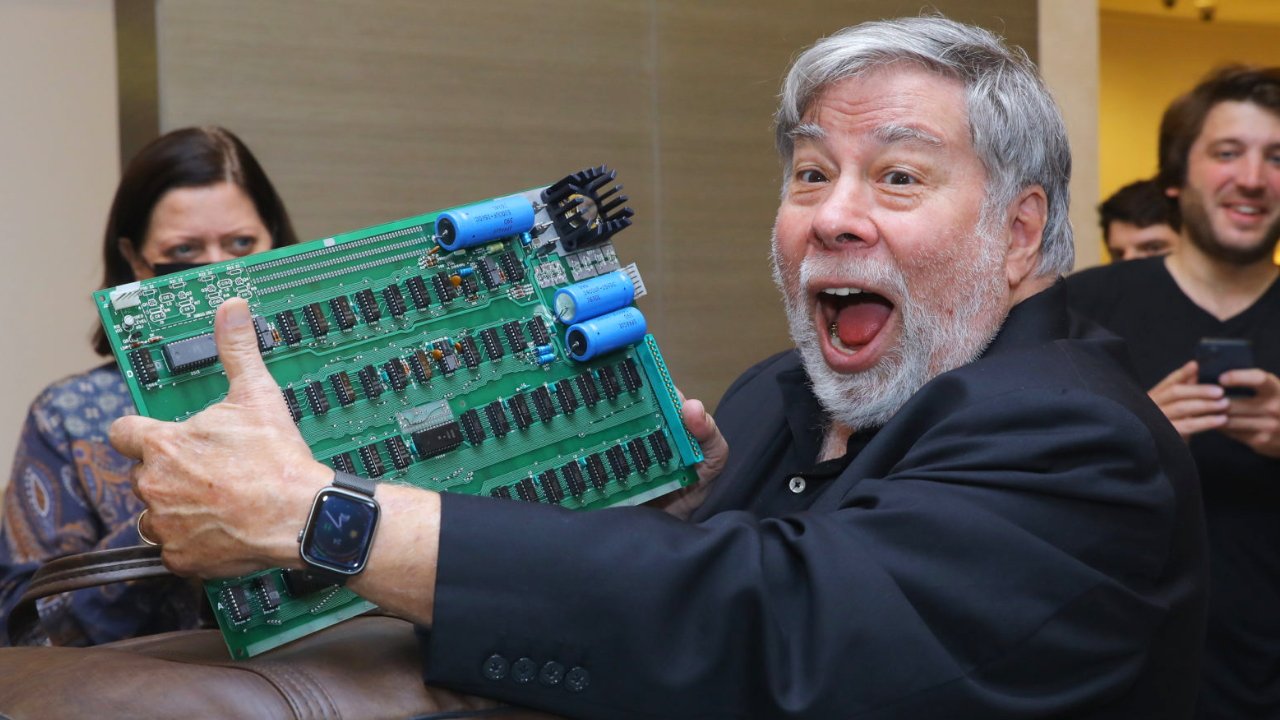
https://photos5.appleinsider.com/gallery/48649-95006-000-lead-Woz-xl.jpgApple’s 50th anniversary is also the anniversary of the Apple-1. The Apple-1 isn’t the only world-changing product that came out in 1976, with many other world-changing inventions sharing the stage.
The Apple-1 came out in 1976, but it wasn’t the only history maker
In 1976, Steve Wozniak, Steve Jobs, and Ronald Wayne shipped Apple’s first product — the Apple-1. Fifty years later, absent all three founders for various reasons, the company stands as one of the world’s largest technology companies by revenue. Not only is Apple vastly profitable, it has made incredible globe-spanning strides in computing, smartphones, wearables, and more.
While the Apple-1 is undeniably one of the most important devices in the home computing revolution, it was hardly the only heavy-hitter that came out that year. As it turns out, incredible strides were being made across many industries, ranging from spaceflight to medtech, consumer electronics to cryptography, with many of the inventions laying groundwork for products and systems we see today.