https://www.pewpewtactical.com/wp-content/uploads/2020/03/Food-TP-Bullets-1024×683.jpg
I don’t think that anybody would argue that the past year and a half has been absolutely insane for gun sales.
I mean, seriously, we should all make congratulatory t-shirts or something. Part of the chaos of 2020-2021 has revolved around the gun industry as well.
We all know that firearms, ammunition, black powder, and other components have virtually disappeared from shelves throughout the nation.
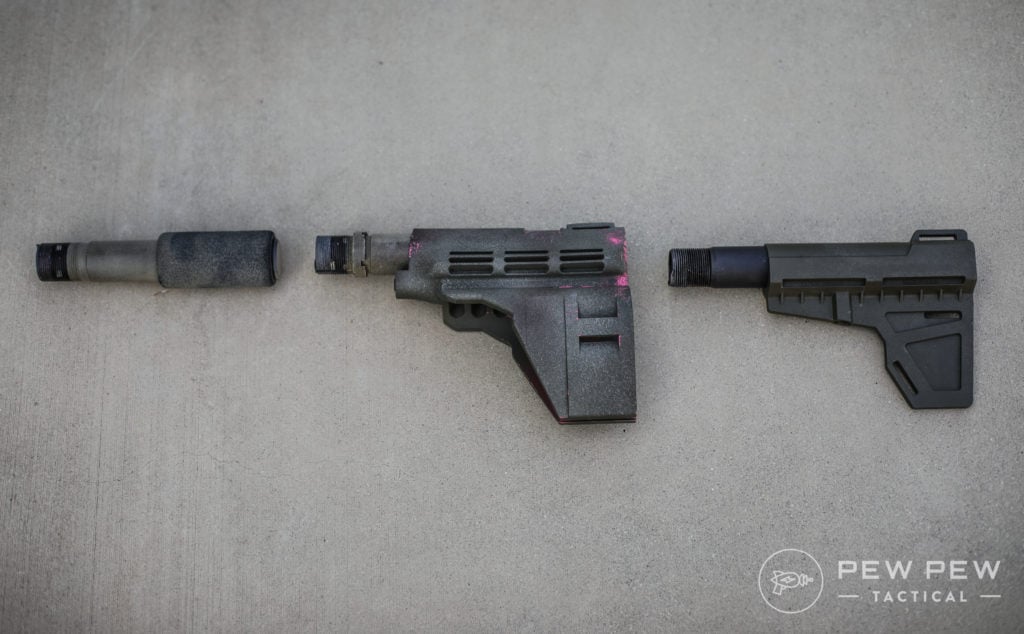
And President Biden has positioned the Department of Justice to tackle topics like pistol braces and 80% receivers.
But we wanted to know what kind of impact the past year and a half has had on the world of 80% receivers.
So, if you’ve been curious about how 80% receivers have fared recently, keep reading to learn more.
80% Receiver Sales Spike
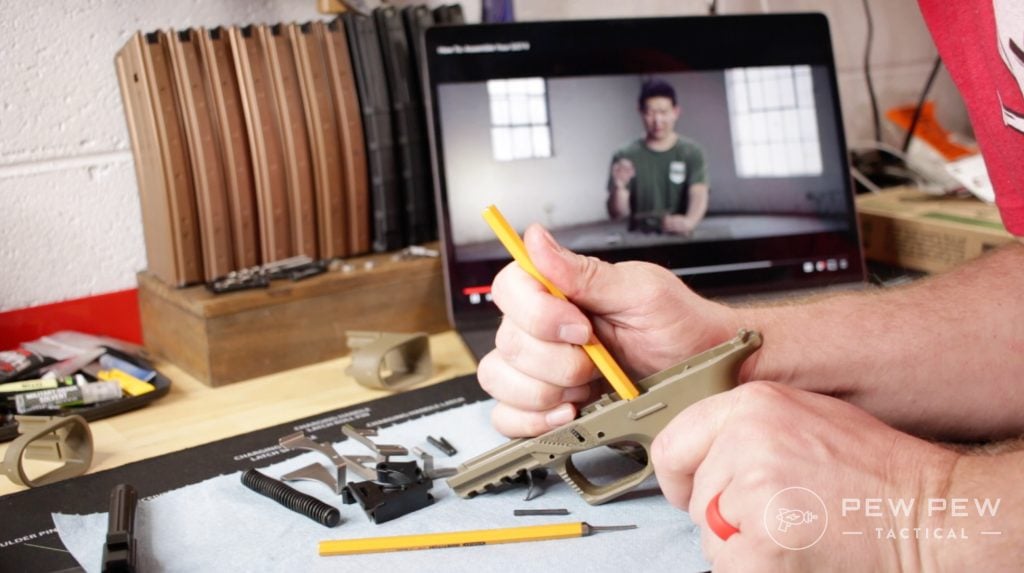
Since 2020 when guns began disappearing off gun store shelves, more Americans began turning to 80% receivers as it was one of the few options available.
As a result, people began buying them in droves. While Pennsylvania-based JSD Supply was already planning on expanding their capabilities before 2020, last year pushed them into expansion even further – almost accidentally, CEO and owner Jordan Vinroe stated.
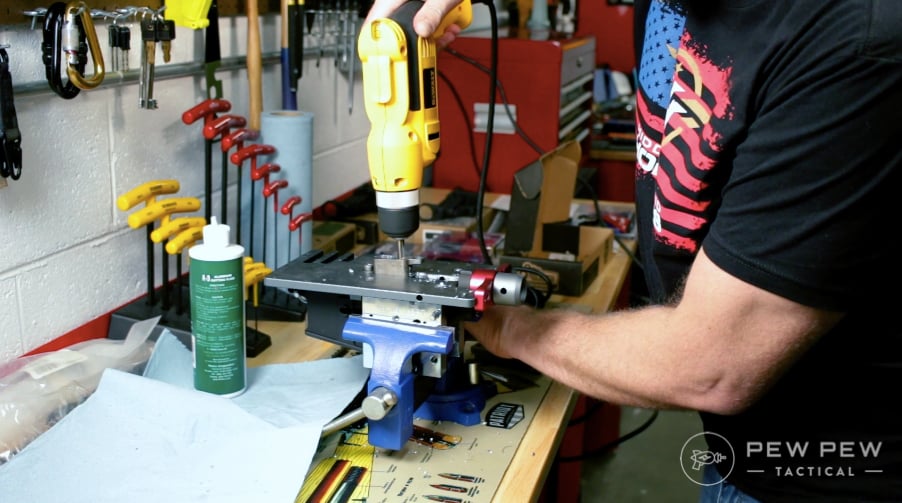
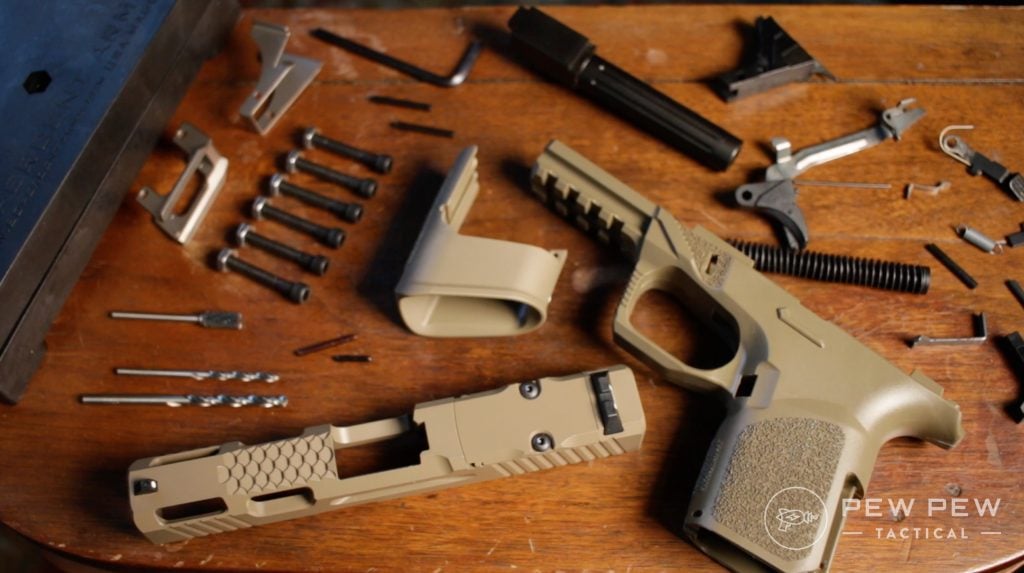
JSD Supply is primarily geared towards the do-it-yourself firearm maker, with a host of products revolving around the DIY sector — including 80% AR-15 lowers, AR-10 lowers, and the like.
Vinroe said business was booming. But what caused this increase?
Executive Actions
“It’s most certainly due to government overreach. Anytime people try to restrict a right, people exercise that right as much as they can.”
Vinroe noted that when politicians talk about guns, gun sales always increase exponentially. History has proven that politicians often make the best gun salesmen.
In April, President Biden issues several Executive Actions targeting both braces and 80% kits. (You can read more about that here.)
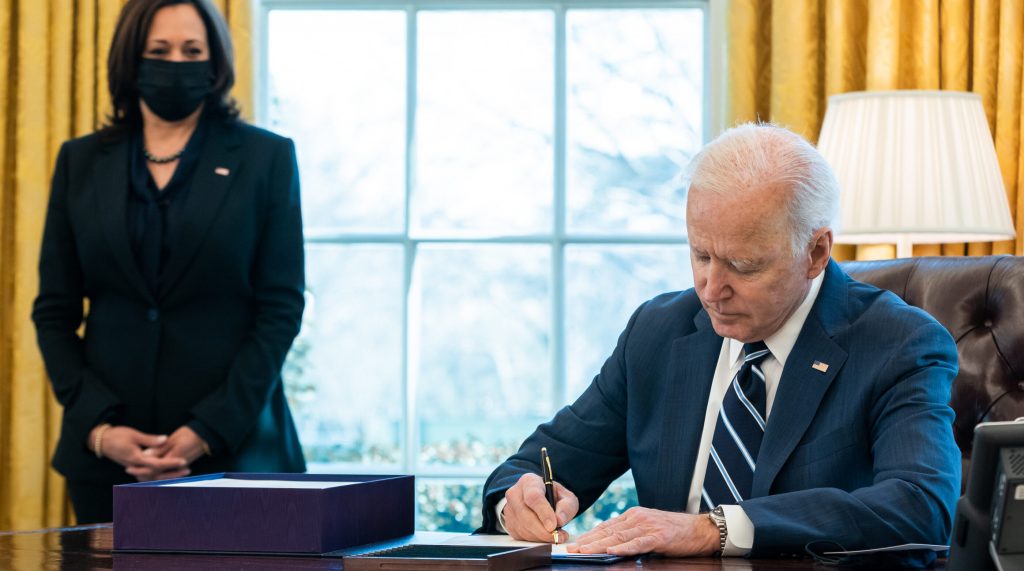
“We’ve been expecting (and preparing) for legislation and regulation to come to the national stage for a while now, and today’s press conference from the White House confirms it. 80% Lowers are the main target of an aggressive executive push to undermine the community of home builders,” 80% Arms said in a statement shared with Pew Pew Tactical at the time.
“We believe the best way to ensure 2nd Amendment rights is to provide a method that allows citizens to manufacture their own firearms at home,” the company added.
Following the Executive Actions, the ATF issued a 115-page set of proposals attempting to reclassify a firearm’s “frame or receiver.” You can read more about that in our ATF’s Proposed Rules on Firearms, Receivers [Guide].
Nathan Deters of Anderson Manufacturing explained his company saw a significant increase in 2021 in 80% lower purchases. He said it was “definitely due to the recent ATF proposed rule changes on 80% lowers.”
Prices accurate at time of writing
Prices accurate at time of writing
Demand for 80% lowers reached such heights in 2021 that Anderson Manufacturing moved some production capacity over to 80% lowers.
Anderson Manufacturing also noted an uptick in jig kits and complete lowers as well.
Ghost Gunner also saw a massive spike starting in April 2021. Cody Wilson attributes this to when “Biden made his ghost gun rule press conference.”

As a result, the company struggled to keep enough .308 and AR-15 style receivers in stock. They’re flying off shelves as soon as they get them in.
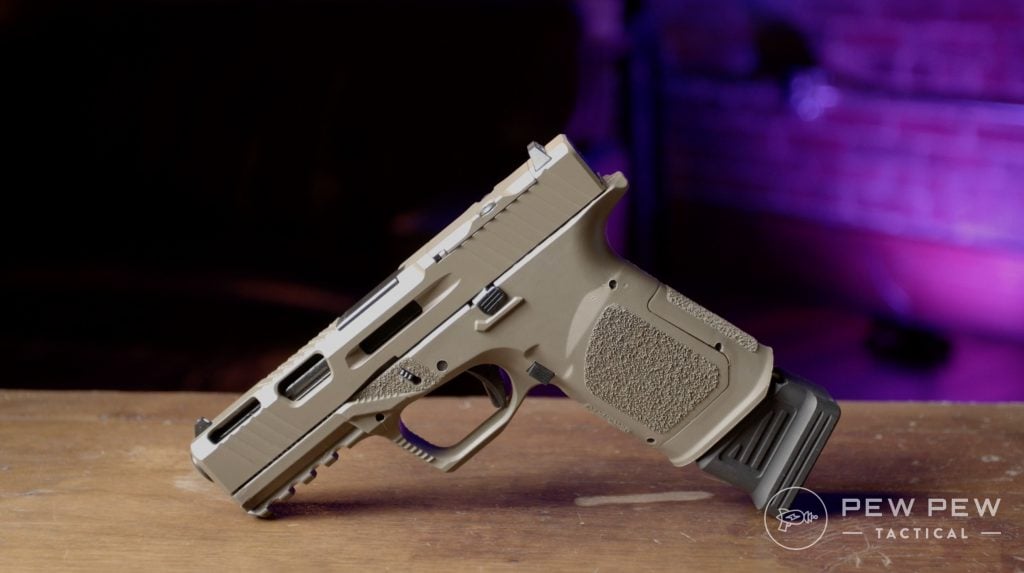
“We sell every Polymer80 frame we can get in stock. People are aware of the state and federal doors closing on this activity,” Wilson stated, as well as noting that they’re seeing a spike in the sales of jigs for 80% lowers as well.
Akin to the other manufacturers I contacted, Ghost Gunner has also seen certain areas ordering more products than others.
Wilson noted that the demographics for sales have largely remained the same for the past five years. But said that California and cities such as Baltimore are overrepresented within his business.
Prices accurate at time of writing
Prices accurate at time of writing
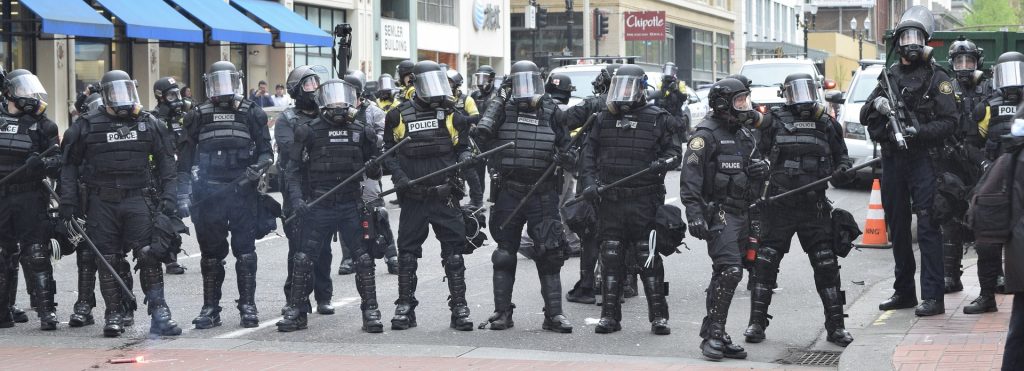
Riots & Unrest
JSD Supply’s Vinroe explained that in addition to politics, cities hit with riots often saw customers calling JSD Supply “almost frantic” due to their inability to find a gun in local stores.
Missouri, in particular, saw an uptick in sales after riots broke out.
As far as customers themselves, JSD Supply said a large number of first-time gun owners purchased products and a significant number of burglary victims who believe that their homes were targeted as a result of local riots as well.
According to Vinroe, every product JSD Supply offers experienced an increase in sales over the past year and a half.
Conclusion
It should come as no surprise that 80% receiver sales are up. Virtually every item within the entire gun industry has seen spectacular sales for the past year and a half.

Driven both by civil unrest and politics, it seems as if the 80% trend isn’t slowing down anytime soon.
What do you think about 80% kits and lowers? Let us know in the comments below. Read up on 80% kits at What Are 80% Lower Receiver Kits and the Best 80% Receivers, Jigs & Frames.
The post 80% Lowers & Kit Sales Spike in 2021 appeared first on Pew Pew Tactical.
Pew Pew Tactical
.png)
.png)
.png)
.png)


