https://static1.makeuseofimages.com/wordpress/wp-content/uploads/2021/07/3D-Perspective-Design-Study-Room.jpg
Used by designers the world over, CAD, or computer-aided design and drafting (CADD), is design and documentation technology that replaces manual drafting (like blueprints, for example) with an automated process.
From architects and engineers through to audiovisual professionals and fashion houses, experts the world over use 2D and 3D CAD programs to draw up visual concepts, create construction documentation, and simulate designs in the real world through realistic renderings of a particular subject matter.
If you’re already a designer, or want to start getting into 2D and 3D design, there is a huge range of software out there that can be used for this purpose. In this article, we’ll explore eight free Mac applications, so you can get stuck into it sooner, and investigate which one rules the roost.
Most of these apps are free, but we are going to start with a paid, but reasonably priced option.
1. Leopoly
Promising to create new opportunities in 3D printing through fully customizable digital landscapes and 3D modeling, Leopoly is built for both newbies and more advanced users.
Its baseline ShapeLab tool enables users to become creators in minutes, building bespoke models and bringing your vision to life through digital sculpting, painting, and mesh-based technology. Going further, LeoTrainer enables full exploration of intricate processes and models—hence the name—where the training is oriented towards corporate and education worlds to familiarize users with concepts in virtual reality.
Finally, LeoShape is best suited to healthcare, fashion, and heavy-duty industries, promising enhanced modeling capabilities for those training or working in design; a great option for professionals.
Download: Leopoly ($20)
2. LibreCAD
In terms of a great beginner’s 2D program, LibreCAD‘s software can help you to create complex drawings, 2D drafts, or projects for laser cutting or engraving purposes. The tool comes with features like a snap-in tool, dimensioning and measurements, and annotations—a bit like a graphics editor such as Microsoft Paint, but with more intricacies.
It’s open-source and available for Mac, Windows, and Linux, and with no subscriptions, licensing costs, or annual fees, it could be the program for you.
Download: LibreCAD (Free)
3. LeoCAD
LeoCAD is probably the best CAD software for educational purposes, as it allows users to create virtual designs, shapes, and models using LEGOs, which is ideal for kids who want to get a head start with 3D modeling. With a combination of basic and advanced tools, its open-source nature means that anyone and everyone can contribute, and even add new features.
Download: LeoCAD (Free)
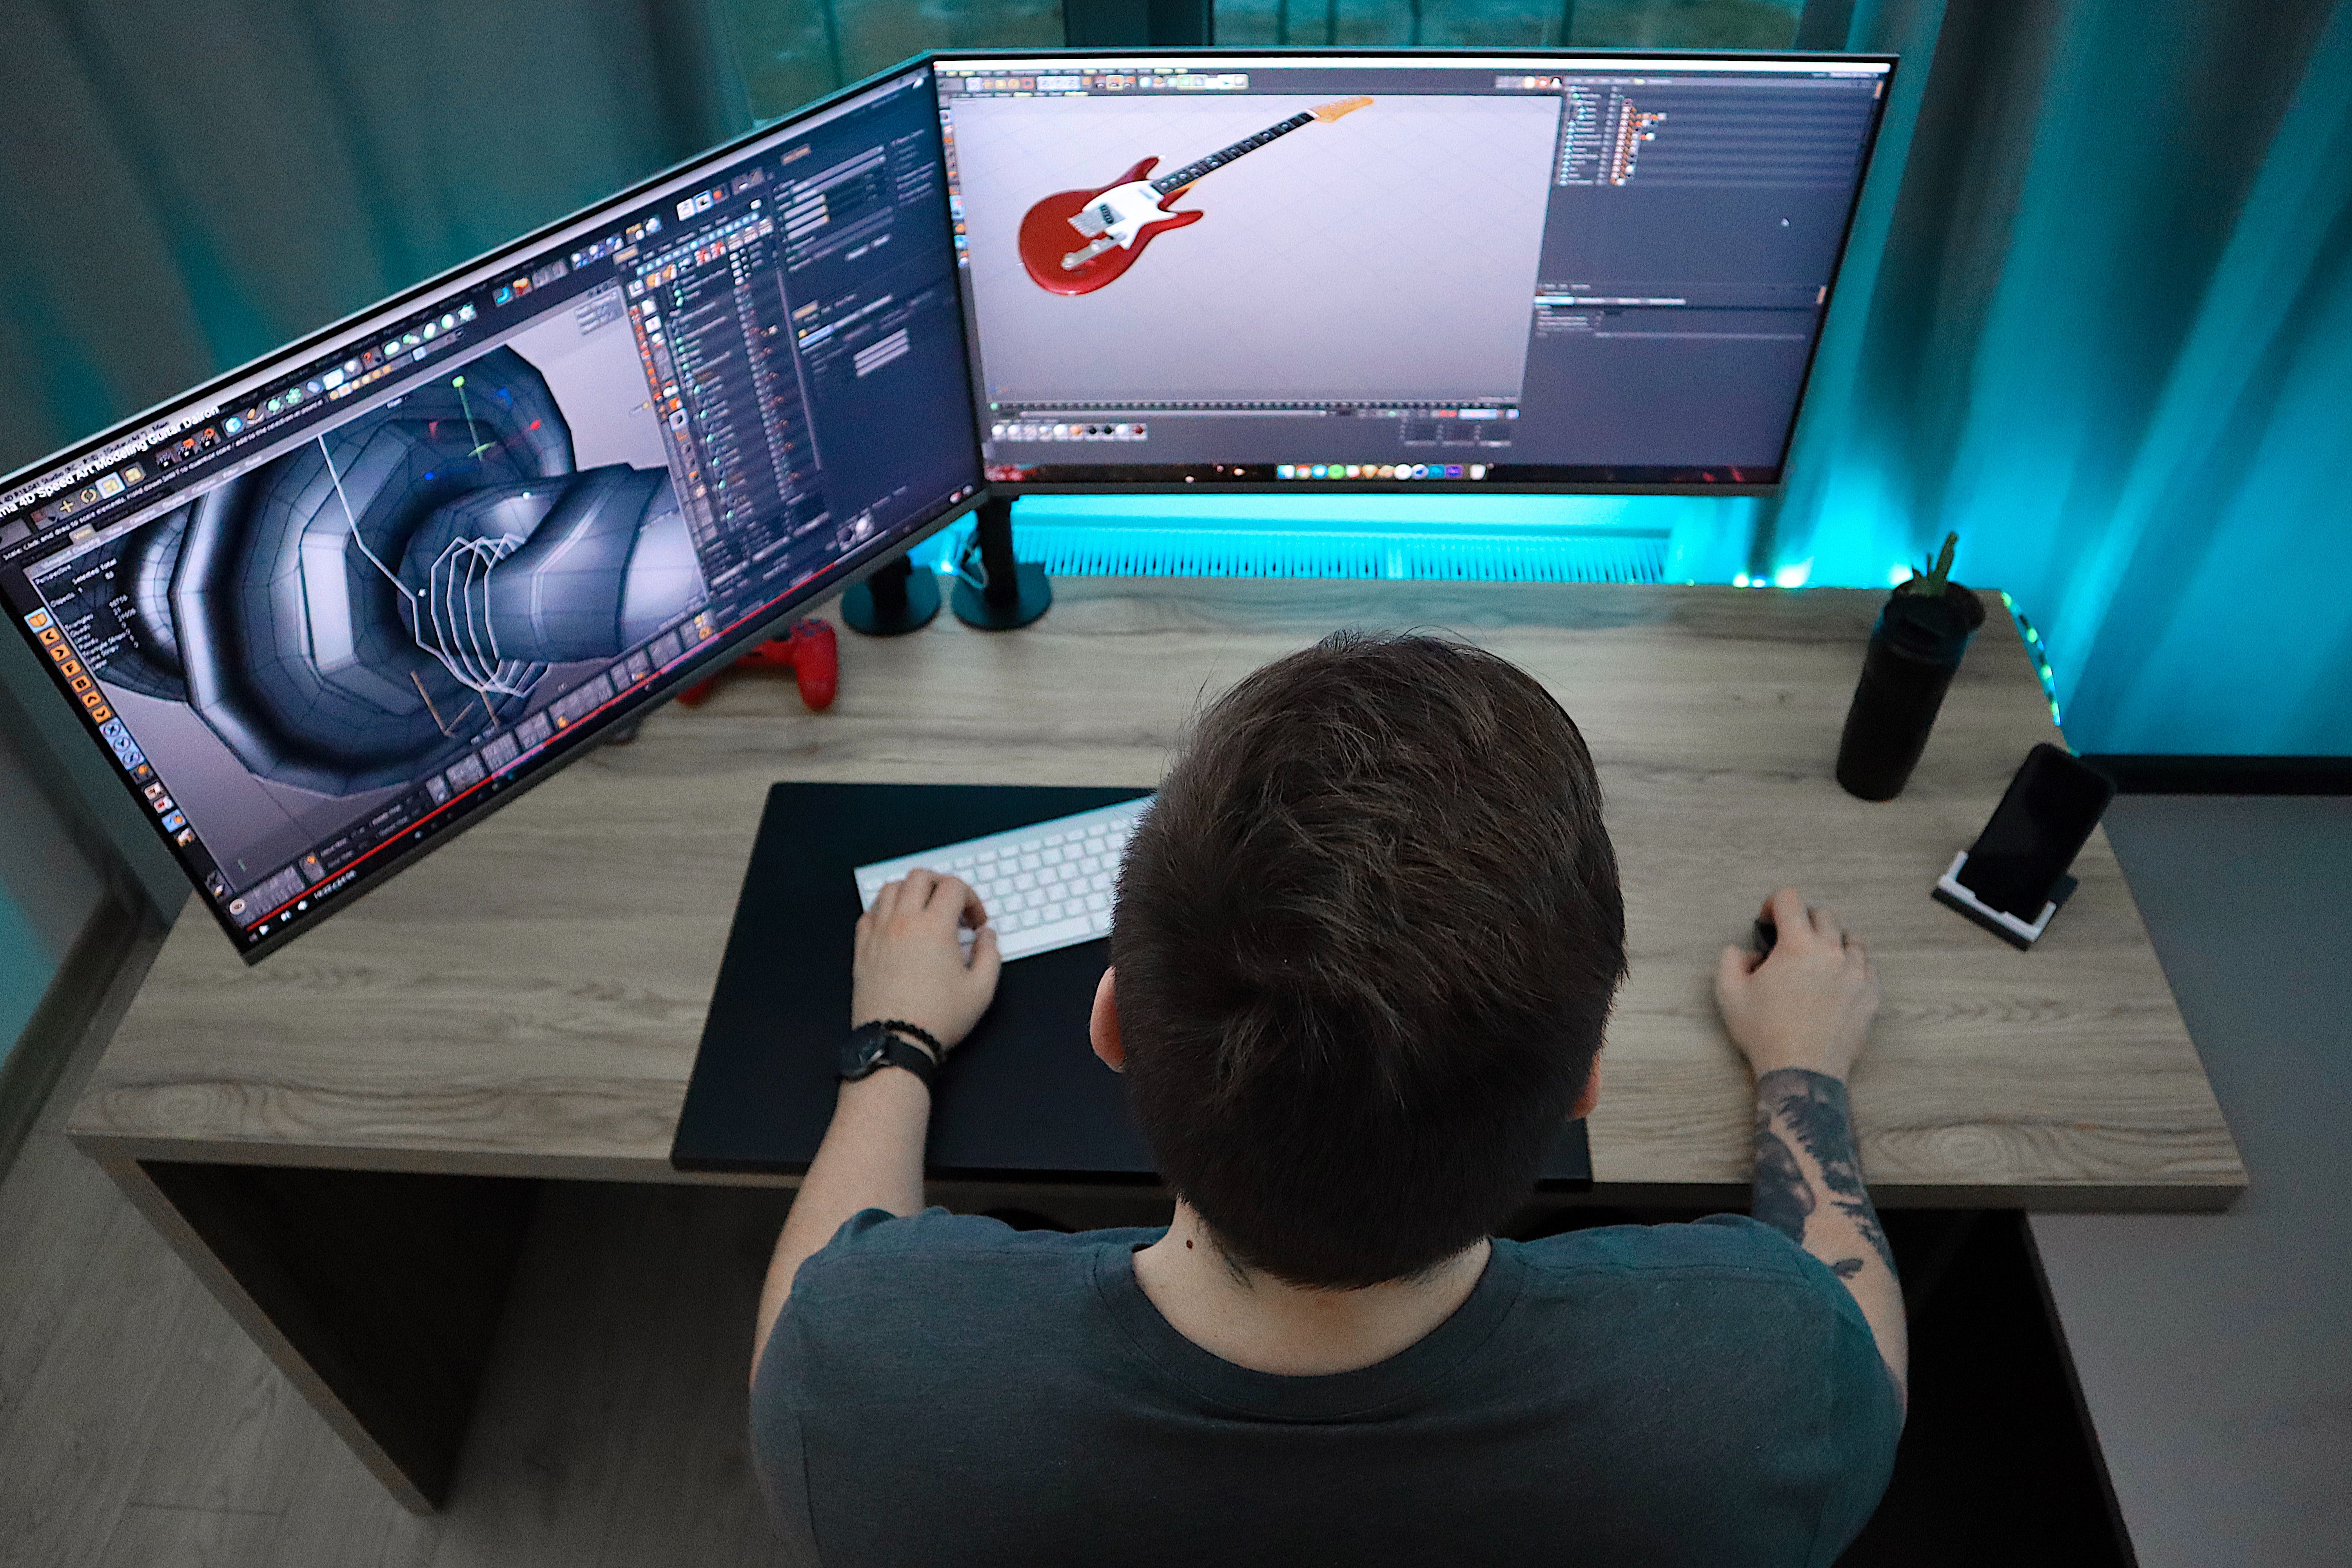
4. Blender
Blender has emerged as one of the best, most versatile CAD programs in the world in recent years. While it is very complex in nature, the possibilities are virtually endless with Blender. Open-source and completely free, its creation suite "supports the entirety of the 3D pipeline—modeling, rigging, animation, simulation, rendering, compositing and motion tracking, video editing, and 2D animation pipeline." Quite frankly, it’s a jack-of-all-trades for everything and everything 2D or 3D.
Users have been enthusiastic about the wide range of possibilities with Blender, and if you’re looking for a more advanced program to help you develop your CAD skills, this might be the one!
Download: Blender (Free)
5. DesignSpark
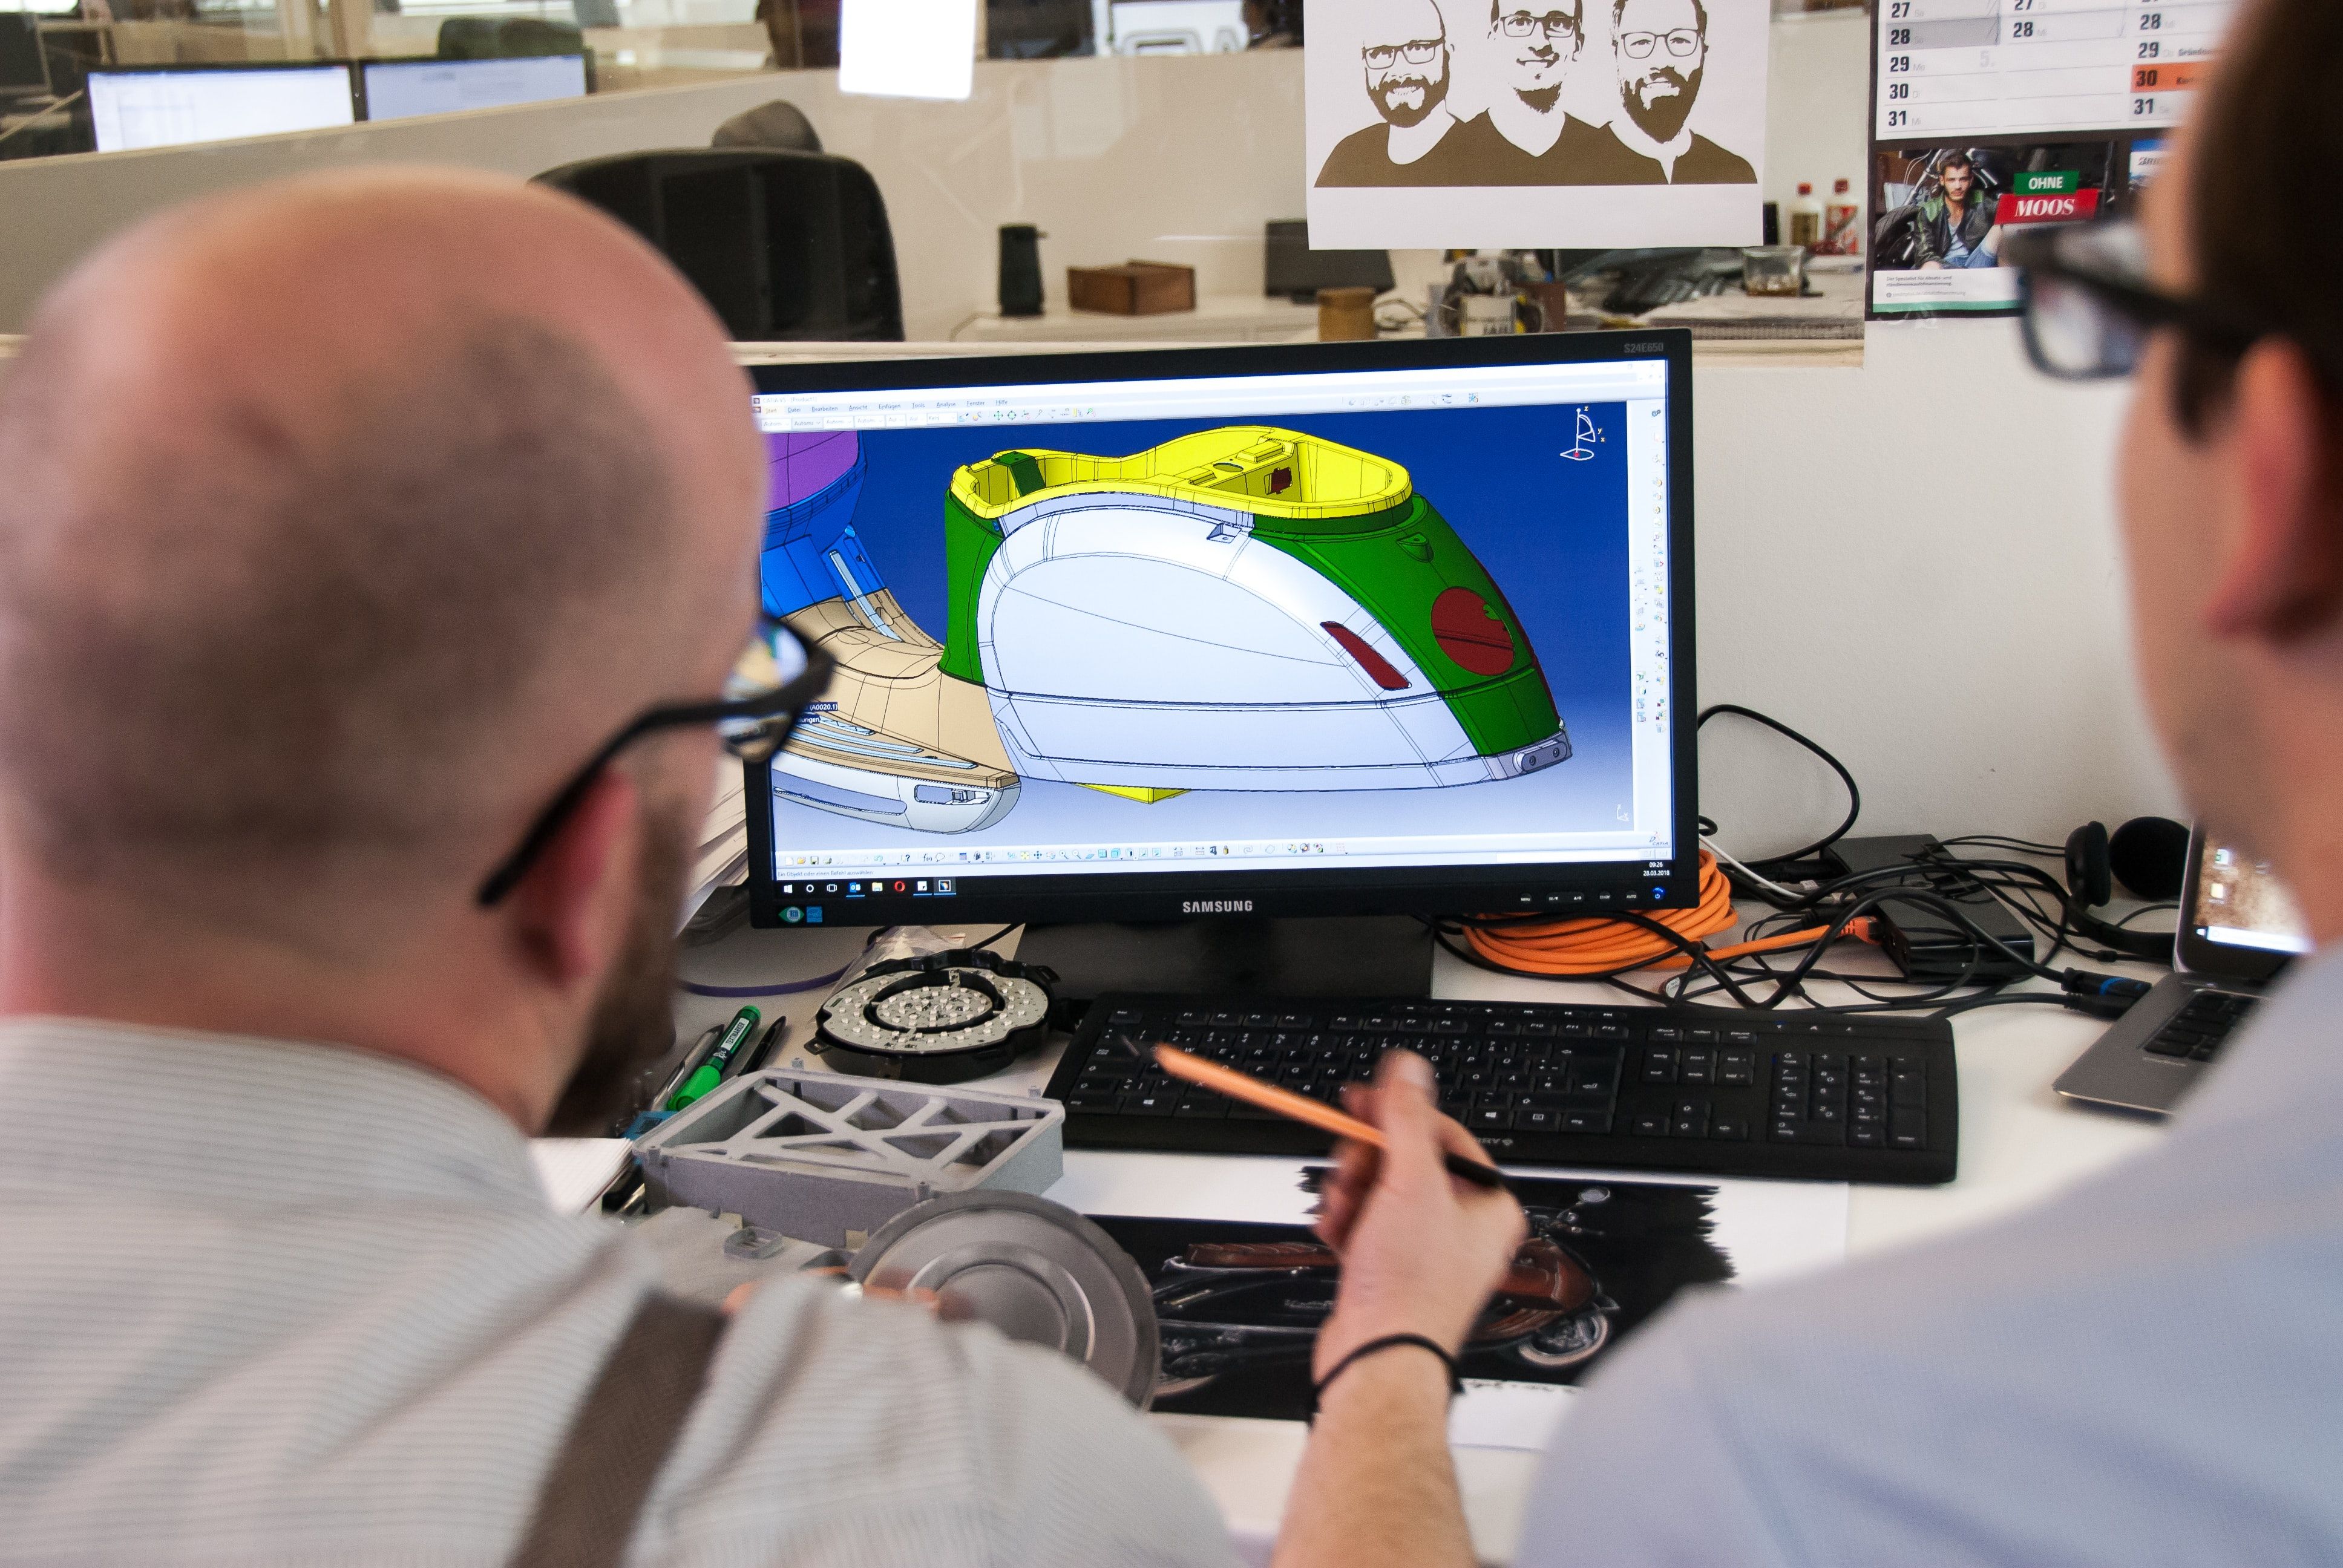
With an interface that is clearly borrowing from AutoCAD—the "industry-standard" for CAD design software—DesignSpark contains the usual features and is an excellent free alternative to AutoCAD. Users of programs like this would normally be attempting large-scale or intricate builds, like homes for example.
While core features are free, functions like bulk importing and exporting, and advanced rendering, need to be purchased, so that is a limitation. Interestingly, DesignSpark allows you to have designs printed in-house, and sent to you wherever you are.
Download: DesignSpark (Free, additional purchases available)
Related: The Best Home Design Software to Use
6. Houdini
Breaking from the other applications above, Houdini is procedural software that is designed around a node-based workflow. Similar to parametric modeling—which is what Blender uses, this allows you to alter models and objects by changing individual parameters or nodes. Similarly again to Blender, it includes intricate particle effects, which would allow users to create anything from an Alaskan winter terrain to a mock up of interstellar space. For this reason, it is also a popular tool for animation and game development.
Although a free version of Houdini (Apprentice) is available with all the same features as the freemium product, it has some limitations, such as a render size of just 1280×720 pixels, and every rendered image will feature a small Houdini logo.
Download: Houdini (Free, premium version available)
7. FreeCAD
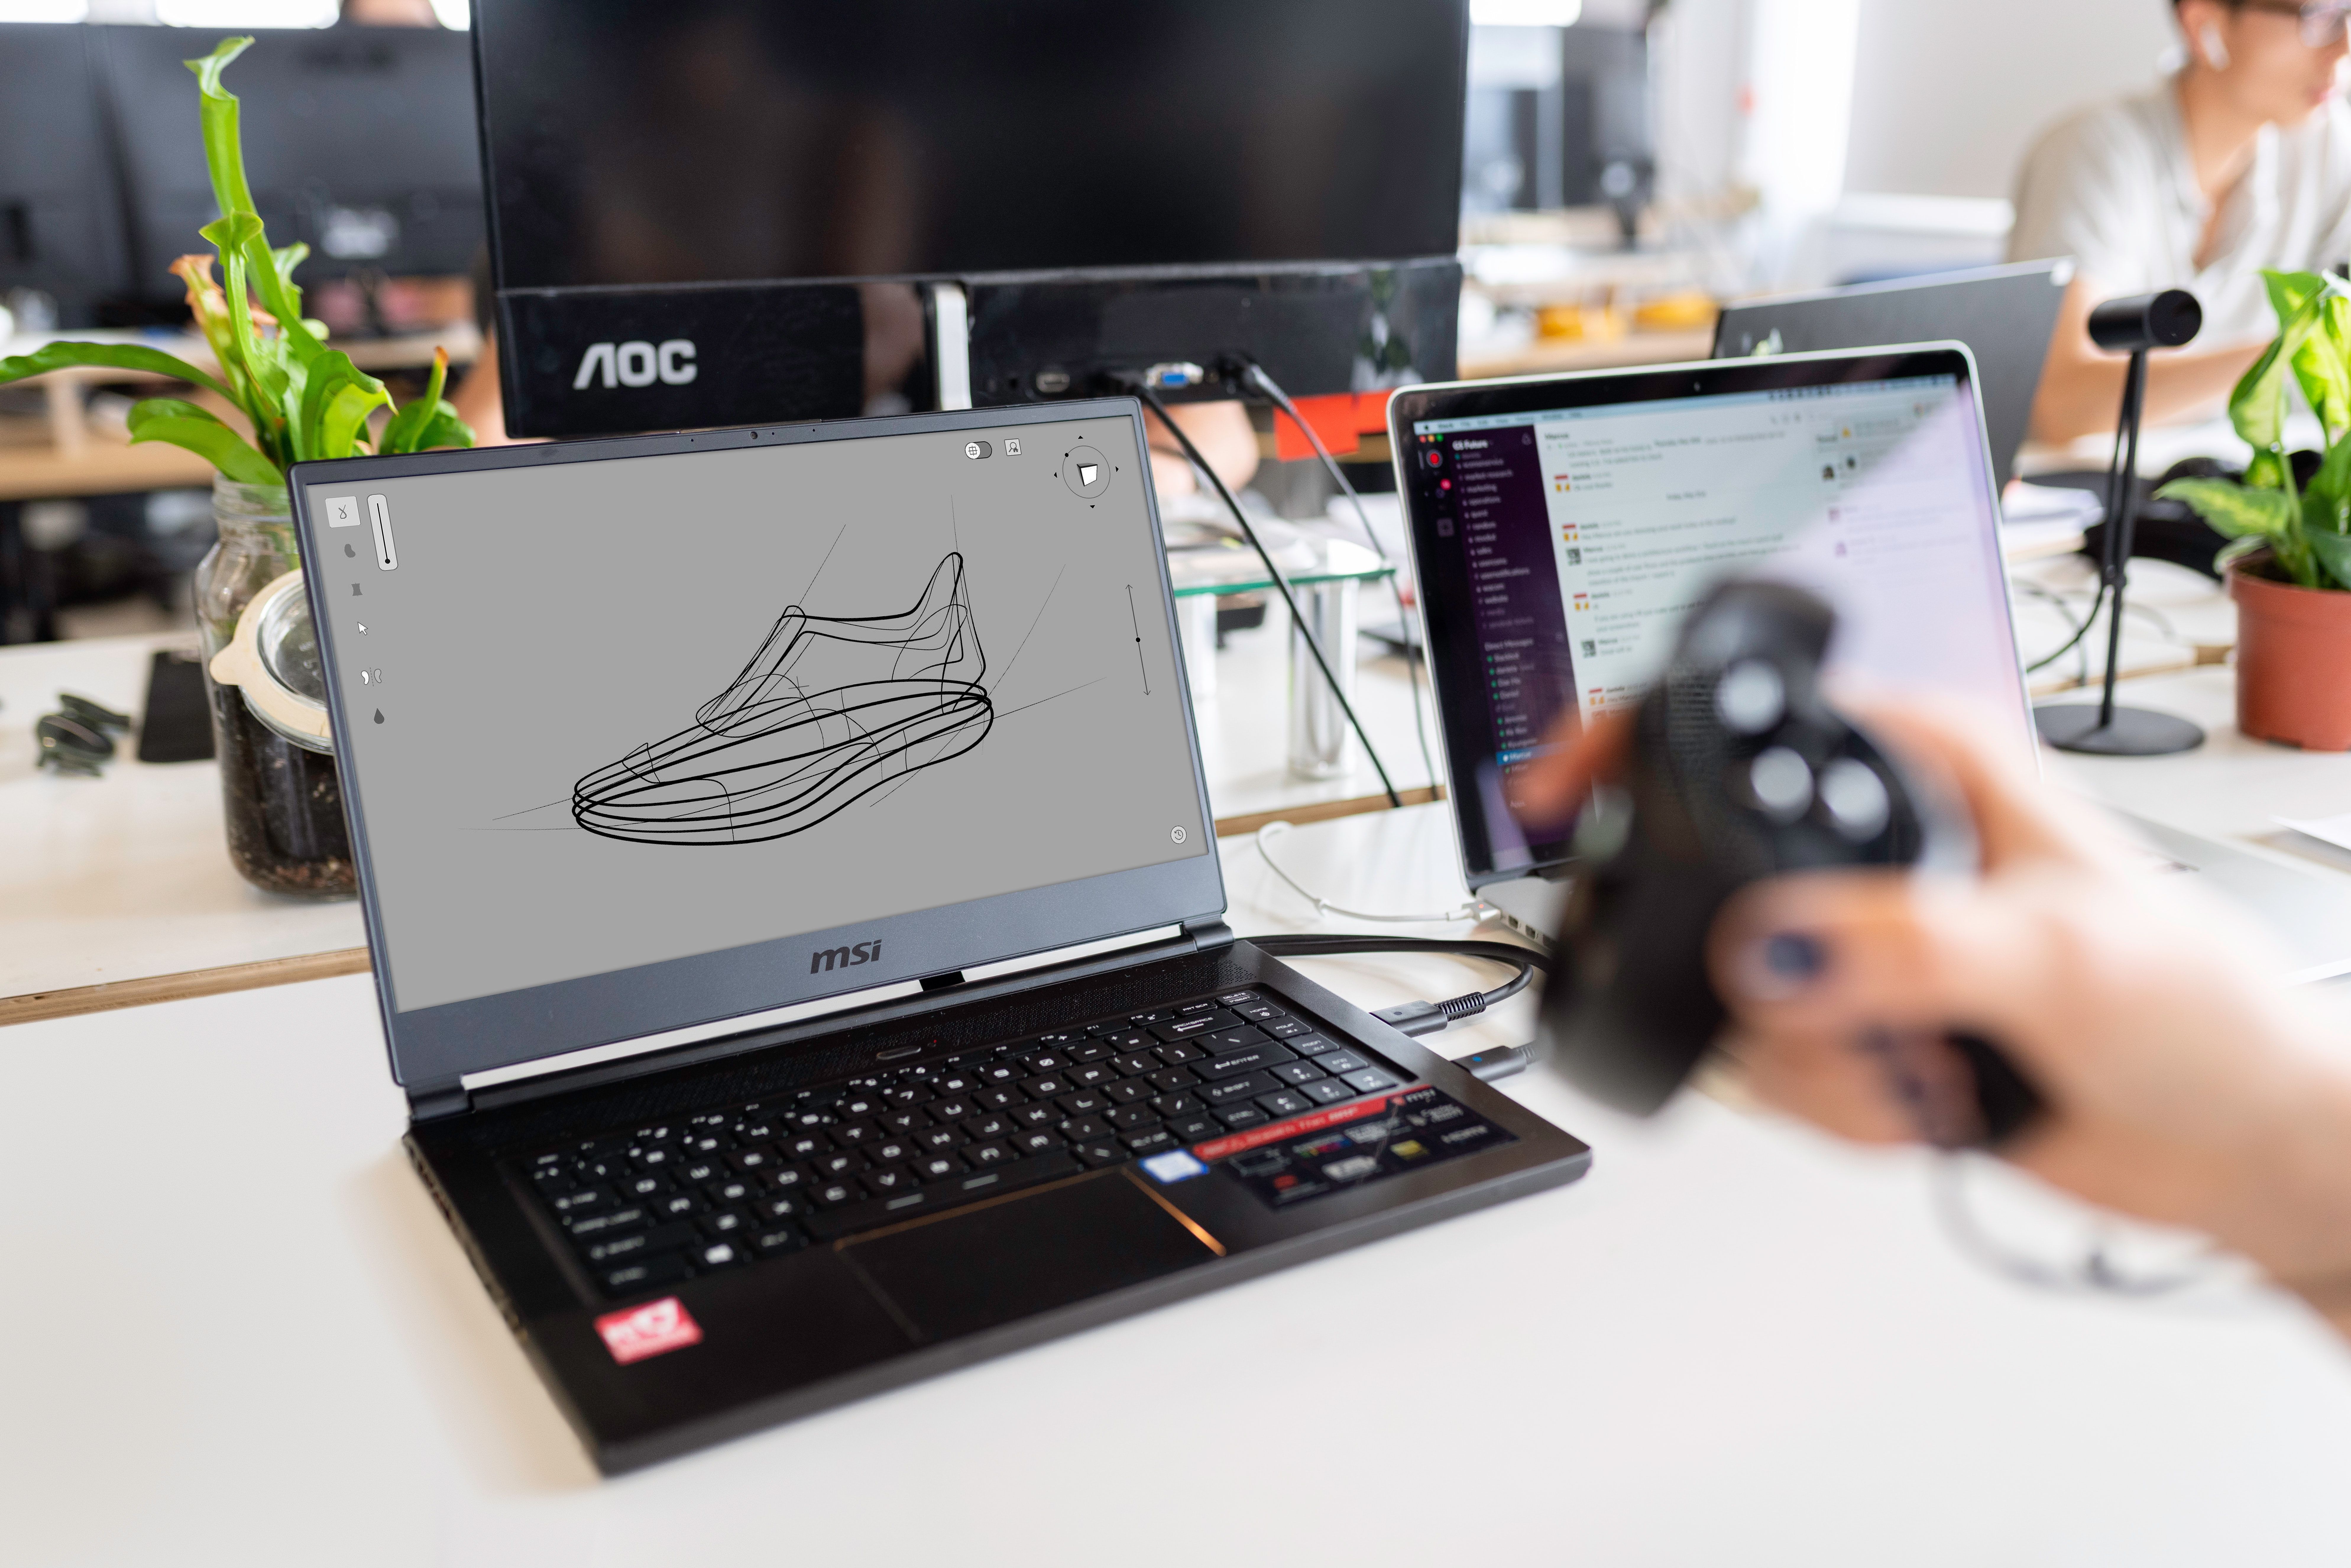
While FreeCAD appears unassuming in name, it is a robust piece of software made to design real-life objects in 3D. Again utilizing parametric modeling, you can easily modify 3D designs and tailor them to a variety of settings or environments. It is modular in nature, allowing plugins to be attached to the application, and also offers handy features oriented towards robotics and mechanical machining like CNC.
It’s open-source and extremely powerful, so pace yourself in terms of becoming familiar with the program. Digging deeper will unleash a universe’s worth of potential for CAD enthusiasts.
Download: FreeCAD (Free)
There Are Lots of Free or Cheap CAD Apps for Mac
CAD software can help you design, create, and produce 2D and 3D objects, worlds, and more
This article has given you a small selection of free but powerful CAD applications, ranging from beginner ability to advanced users or professionals. For those looking to get into design, or build on their professional design skills, these apps could be perfect for you.
MUO – Feed