https://www.pewpewtactical.com/wp-content/uploads/2023/06/Eugene-Stoner-AR-10.png
Everybody is familiar with the iconic AR-15, but just where did it come from?
To learn the history of the AR-15, you have to first look at the genius behind it…Eugene Stoner.

So, follow along as we talk about Stoner, his life, and what led him to create one of the most notable rifles in history.
Table of Contents
Loading…
The Early Years
Born in 1922, Stoner graduated from high school right in time for the beginning of World War II. Immediately after graduation, he landed a job at Vega Aircraft Company, installing ordnance. It was here that he would first learn about manufacturing arms.
But then Pearl Harbor happened, leading Stoner to join the Marines soon after.

His background in ordnance resulted in him being shipped to the Pacific Theater, where he was involved in aviation ordnance.
After the war, Stoner hopped around from a few different engineering jobs until he landed a position with a small division of the Fairchild Engine and Airplane Corporation known as Armalite.
Stoner’s AR-5 & AR-10
Stoner’s first major accomplishment at Armalite was developing a new survival weapon for U.S. Air Force pilots.
This weapon was designed to easily stow away under an airplane’s seat, and in the event of a crash, a pilot would have a rifle at the ready to harvest small game and serve as an acceptable form of self-defense as well.
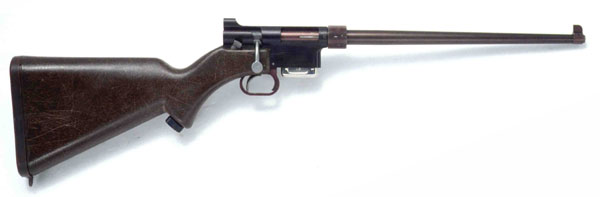
The result was known as the Armalite Rifle 5 – the AR-5. Though the modern semi-auto version is known as the AR-7, this weapon can still be found in gun cabinets across America.
Prices accurate at time of writing
Prices accurate at time of writing
-
25% off all OAKLEY products – OAKLEY25
Copied!
Visit Merchant
Eugene Stoner had already left his mark but was far from fading into the shadows. He was just getting started.
The AR-10
Stoner continued his work at Armalite, but it wasn’t long until another opportunity appeared for him to change the course of history…the Vietnam War.
In 1955 the U.S. Army put out a notice that they were looking for a new battle rifle. A year later, the Army further defined they wanted the new weapon to fire the 7.62 NATO.
Tinkering in his garage, Stoner emerged with a prototype for a new rifle not long afterward called the AR-10.
The AR-10 was the first rifle of its kind, as never before had a rifle utilized the materials Stoner had incorporated.
Guns had always been made of wood and steel, but Stoner drew from his extensive history in the aircraft industry, using lightweight aluminum alloys and fiberglass instead.

This made his AR-10 a lighter weapon that could better resist weather.
Unfortunately, Stoner was late to the race, and the M14 was chosen as the Army’s battle rifle of choice instead.

The designs for the AR-10 were sold to the Dutch instead. Stoner returned to his day job, focusing on the regular rut of daily life.
But then the Army called again…
Eugene Stoner Invents the AR-15
As it turned out, the M14 was too heavy with too much recoil and difficult to control while under full auto.
In addition, the 7.62 NATO was overkill within the jungles of Vietnam. Often the enemy couldn’t be seen beyond 50 yards, meaning that a lighter weapon could still accomplish the job and let soldiers carry more ammunition while on patrol.
Adding further urgency to the need was the Soviet development of the AK-47.

Amid The Cold War, the idea that the communists may have a better battle rifle than American soldiers was concerning.
So, the Army needed a new battle rifle.
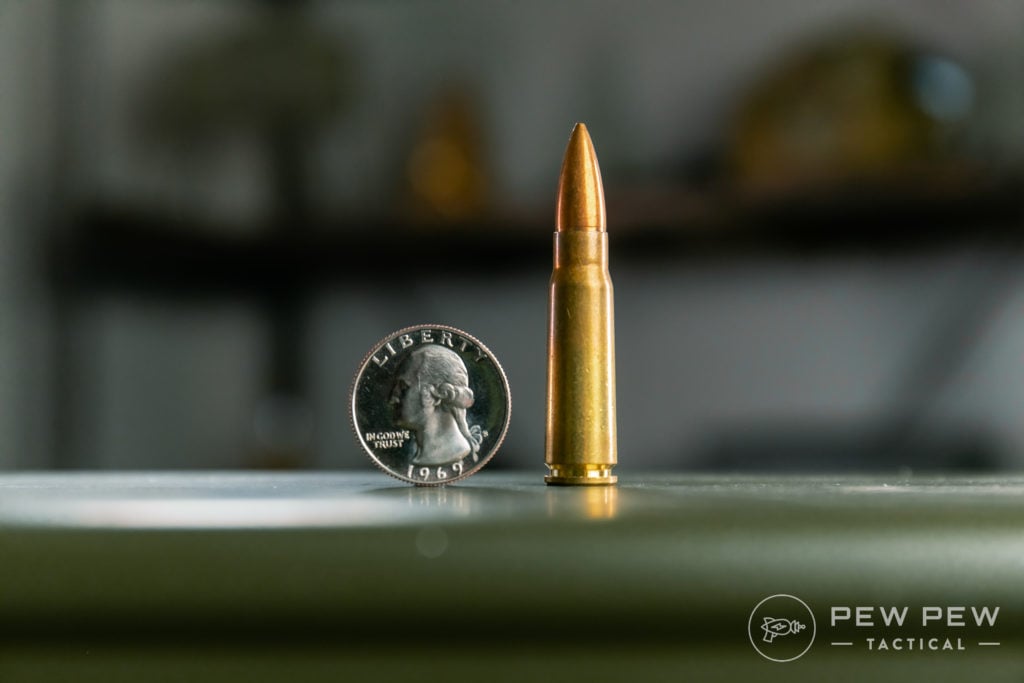
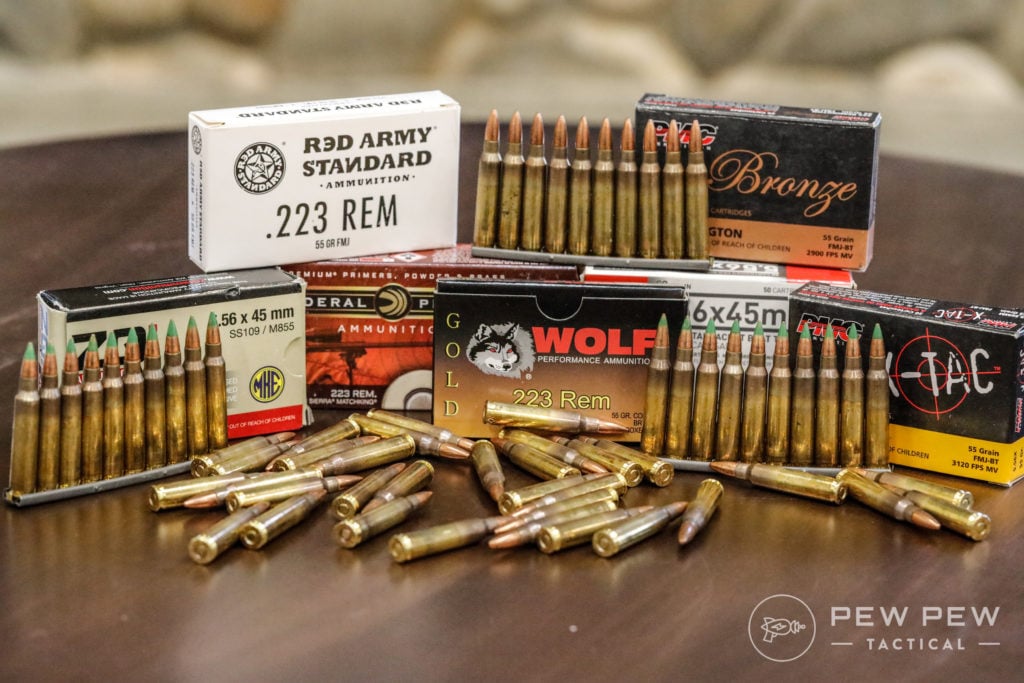
Returning to his AR-10 plans, Stoner set to scaling things down. The AR-10 was modified to use the .223 Remington, with the new rifle designated the Armalite Rifle–15 or AR-15.
However, Armalite didn’t have the resources to produce weaponry on a mass scale, so they sold the designs to Colt.
Colt presented the design to the Army, but Army officials dismissed the design. It seemed they preferred the traditional look and feel of wood and steel over the AR-15’s aluminum and plastic.
The U.S. Air Force Saves the AR-15
But the story doesn’t end there…
At an Independence Day cookout in 1960, a Colt contract salesman showed Air Force General Curtis LeMay an AR-15. Immediately, LeMay set up a series of watermelons to test the rifle.
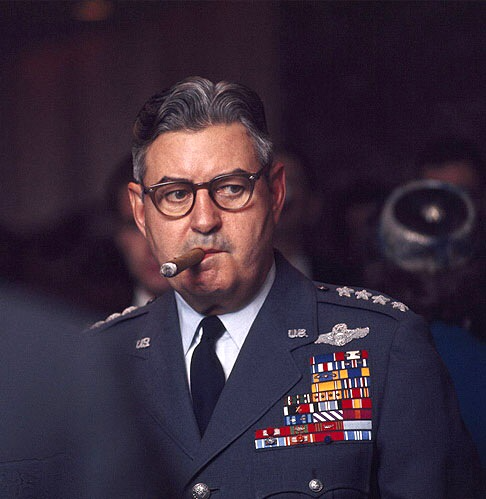
LeMay ended up so impressed with the new gun that the very next year – after his promotion to Chief of Staff – he requested 80,000 AR-15s to replace the Air Force’s antiquated M2 rifles.
His request was denied, and the Army kept supplying American soldiers overseas with the M14.
In 1963, the Army and Marines finally ordered 85,000 AR-15s…redesignated as the M16.

M16 Faces Trouble
Immediately, the Army began to fiddle with Stoner’s design. They changed the powder to a design that proved more corrosive and generated much higher pressures.
Also, they added the forward assist (which Stoner hated). Inexplicably, they began to advertise the weapon as “self-cleaning.”

They then shipped thousands of rifles – without manuals or cleaning gear – to men in combat overseas. Men trained on an entirely different weapon system.
As expected, American solider began to experience jammed M-16s on the battlefield.
The Stoner 63
By this point, Stoner had left Armalite, served a brief stint as a consultant for Colt, and finally landed a position at Cadillac Gauge (now Textron).
It was there between the years of 1962-1963 that he began designing one of the most versatile firearms designs of its time: the Stoner 63.

The Stoner 63 was a modular system chambered in 5.56 NATO. Stoner crafted this weapon to be something of a Mr. Potato Head. The lower receiver could be transformed into just about anything.
A carbine, rifle, belt-fed SAW, vehicle-mounted weapon, and top-fed light machine gun were all variations of the Stoner 63, which could easily be crafted from the common receiver.

Interchangeable parts were utilized across the platform, and the barrels didn’t need tools to be swapped out. This was the Swiss Army knife of guns. It was truly a game-changer.
The catch was that it didn’t like to work as well on extended missions. There were so many moving parts, with such fine tolerances, that when spending weeks in the muddy jungle with a Stoner 63, the odds of losing a component or having a dirty, jammed gun were dangerous.

While the system worked wonderfully on quick missions of a few hours, it was deemed too much of a risk for use amongst the basic infantryman.
Despite this, the Stoner 63 still saw widespread use throughout the Special Forces before finally being retired in 1983.
ARES
In 1972, Stoner finally left Cadillac Gauge to start his own company, co-founding ARES with a friend.
Aside from making improvements on the Stoner 63 — with the new model called the Stoner 86 — he also began working on yet another rifle design that sadly never took off, known as the Future Assault Rifle Concept or FARC.
Stoner would continue designing weapons with ARES until he received an offer from Knight’s Armament Company.

Knight’s Armament Company
Knight’s Armament Company would be the final company where Stoner would produce his legendary work.
Almost immediately, Stoner developed the SR-25 rifle, a more accurate version of the AR-10.

The Navy SEALS would finally adopt the weapon in 2000 as their Mark 11 Mod 0 Sniper Weapon. It would see use until finally being phased out 17 years later in 2017.
Another sniper rifle, the KAC SR-50, was also developed but strangely fell to the wayside due to political pressure.
As police departments nationwide began to upgrade their .38 Special revolvers for the new-tech polymer Glock, Stoner jumped into the fray.

He created a polymer-framed, single-stack, striker-fired design that showed great promise.
But the weapon was so unwieldy and inaccurate (engineers had bumped Stoner’s initial 6-pound trigger pull up to 12 pounds) that it was a fiasco. Colt would later pull it from shelves in 1993 over safety issues.
It was yet another frustrating end to what was originally a great design.
Final Thoughts
Eugene Stoner passed away from brain cancer in 1997 in the garage of his Palm City, Florida home.
By the time of his death, there were nearly 100 patents that were filed in his name. Not to mention, he’d revolutionized both the world of firearms and Americans’ ability to defend themselves.

What are your thoughts on Eugene Stoner and his designs? Let us know in the comments below. Want to learn more about other firearms designers? Check out our list of the 5 Most Influential Gun Inventors. Or, for your very own AR-15, check out our list of the top recommended AR-15 models.
The post Eugene Stoner: The Man Behind the AR-15 appeared first on Pew Pew Tactical.
Pew Pew Tactical