https://www.pewpewtactical.com/wp-content/uploads/2019/09/1.-.22LR-Round-1024×683.jpg
When most people think of .22 long rifle, they think of plinking with a 10/22, learning as a kid, or just training with a lower-cost round.
Most people do not associate .22 LR with precision rifle shooting or rifle competitions…but they should.
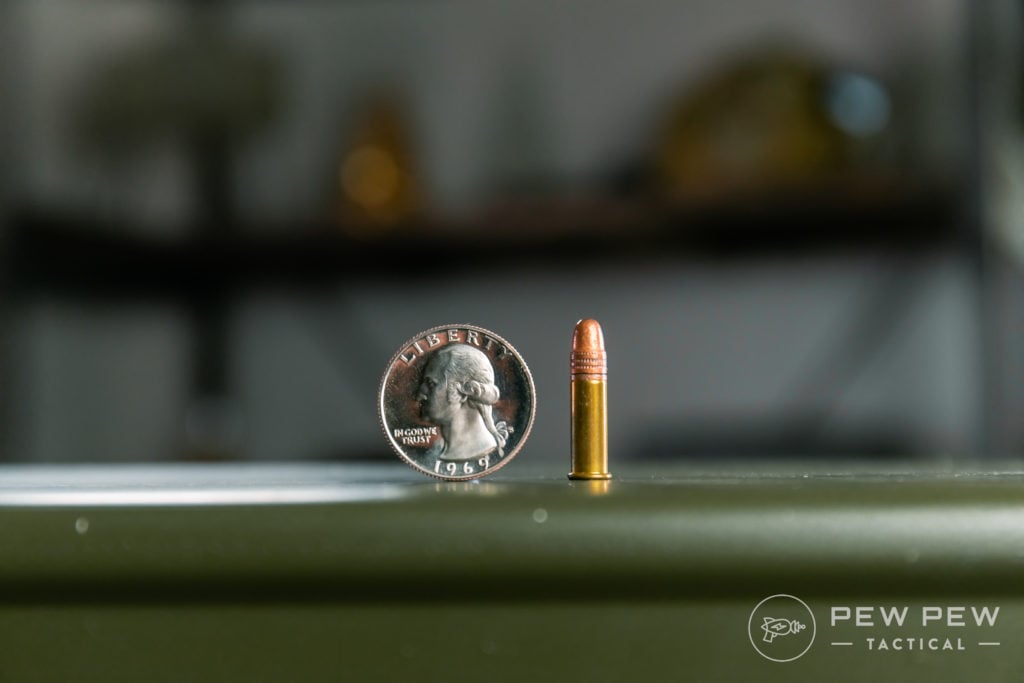
With the rising cost of ammo and limited parts availability in the firearms industry, many are rediscovering the round and pushing it to its limits.
With a focus on competition, what are the rifles that people are running? The field varies a great deal, with some newer shooters jumping in with base model 10/22s and the like.
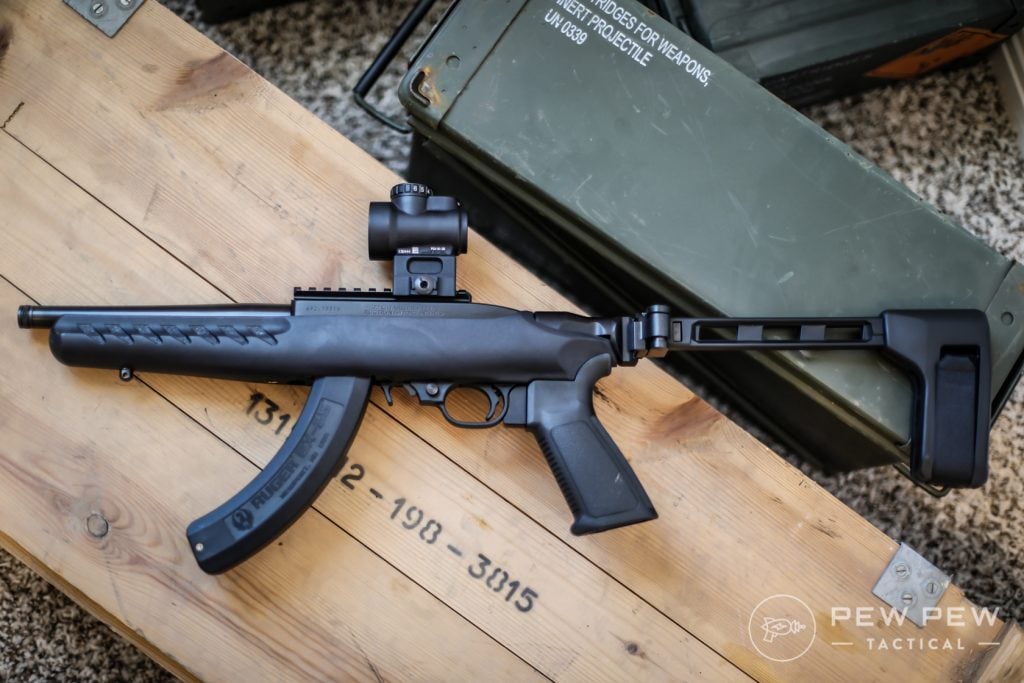
But to really narrow that down, we’ve collected some of the top precision guns chambered in .22 LR. So keep reading to learn more!
Summary of Our Top Picks
-
 Great for Beginners
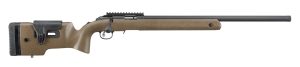
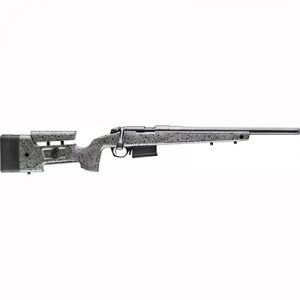
Ruger American Rimfire Long Range Target
Detachable rotary mags, compatible with 10/22 mags, easy to use
-
-
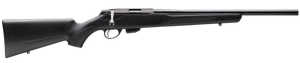
 Best Trainer .22 LR
Bergara B-14R Steel 10+1 Threaded Rifle
Can work as a trainer, Rem 700 accessory compatible
-
 Most comfortable
Uses pistol grip & safety that are mostly interchangeable with ARs
-
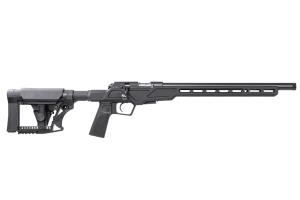
Table of Contents
Loading…
Best Precision .22 LR Rifles
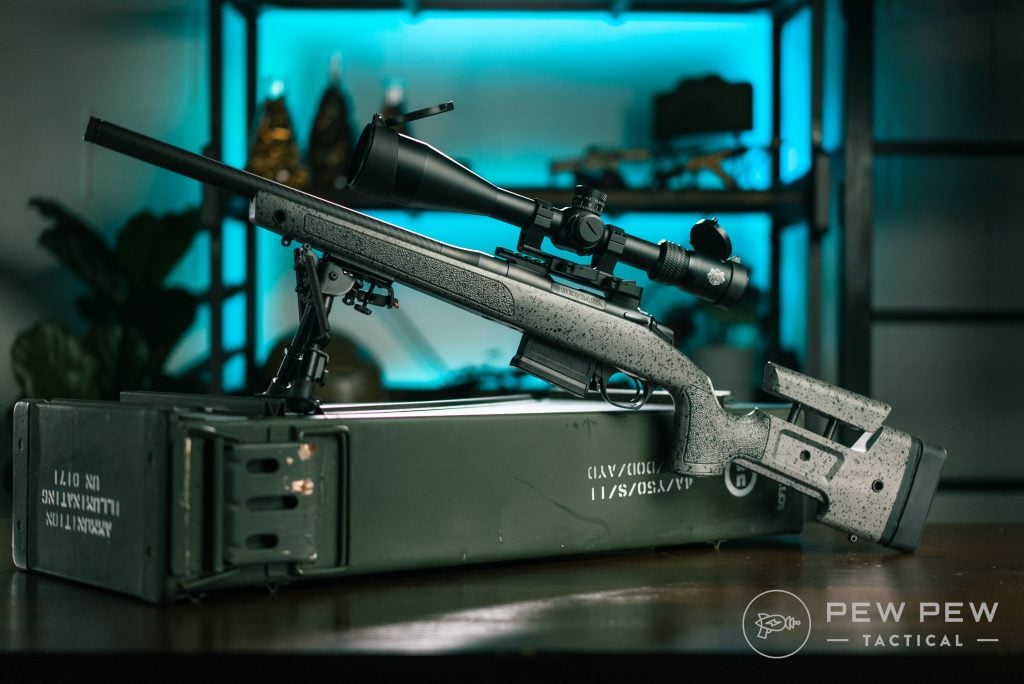
1. Ruger American Rimfire Long-Range Target rifle.
One of the things Ruger does very well is .22 LR platforms. Its Mark III and Mark IV pistols are hugely popular for a reason, and the 10/22 is an iconic rifle.

So it should come as no surprise that Ruger starts our list off with the Ruger American Rimfire Long Range Target.
This rifle features an adjustable length of pull and comb, making it easy to set up for almost any shooter. Its adjustable trigger allows for pull weights from 3 to 5 pounds, lending to even more versatility with varied shooters.

The threaded bull barrel sits snugly in an action with a 60-degree bolt, allowing for ample clearance of optics.
Detachable rotary magazines allow for a crossover with 10/22 mags, and the extended magazine release makes reloading smooth and effortless.
All in all, this is a great starter rifle and a serious base class contender.
Prices accurate at time of writing
Prices accurate at time of writing
-
25% off all OAKLEY products – OAKLEY25
Copied!
Visit Merchant
2. Tikka T1x MTR
Tikka rifles have long been synonymous with high-quality, and the T1x MTR embodies that.
Based on the action of the T3x centerfire rifle platform, it will have a familiar feel when shooting the T1x. A bedded action and textured pistol grip highlight the factory stock nicely.
Tikka made the bolt on the T1x from stainless steel. This makes it extremely resistant to the elements, something often overlooked in outdoor competitions.
The real crown jewel of the T1x though is the barrel…something that is both a gift and a curse.

The crossover profile Tikka used allows for all the benefits of a heavier bull barrel without all the extra bulk and weight. This truly is a huge, often overlooked benefit, especially when moving between positions on stages.
The downside is that the barrel is currently hard to source, so in the event of damage, it may lead to a downed gun for prolonged periods.
Prices accurate at time of writing
Prices accurate at time of writing
-
25% off all OAKLEY products – OAKLEY25
Copied!
Visit Merchant
3. Bergara B-14R
Another familiar name in bolt-action rifles, Bergara offers up the B-14R as their entry into the precision .22 LR market.
Available with either a steel or carbon fiber barrel, the B-14R fills a niche that many other factory rifles may not: it can serve as a trainer for a shooter’s centerfire rifle.
This is accomplished by making the B-14R work within the dimension of a Remington 700 pattern.
Prices accurate at time of writing
Prices accurate at time of writing
-
25% off all OAKLEY products – OAKLEY25
Copied!
Visit Merchant
This allows shooters to utilize Rem 700 triggers, stocks, and bases, most of which can mimic their centerfire rifle setups.
Shooters can even use many of the same scopes and mounts as the optic setup is Rem 700 compatible.
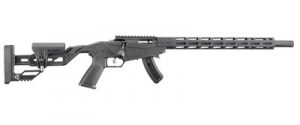
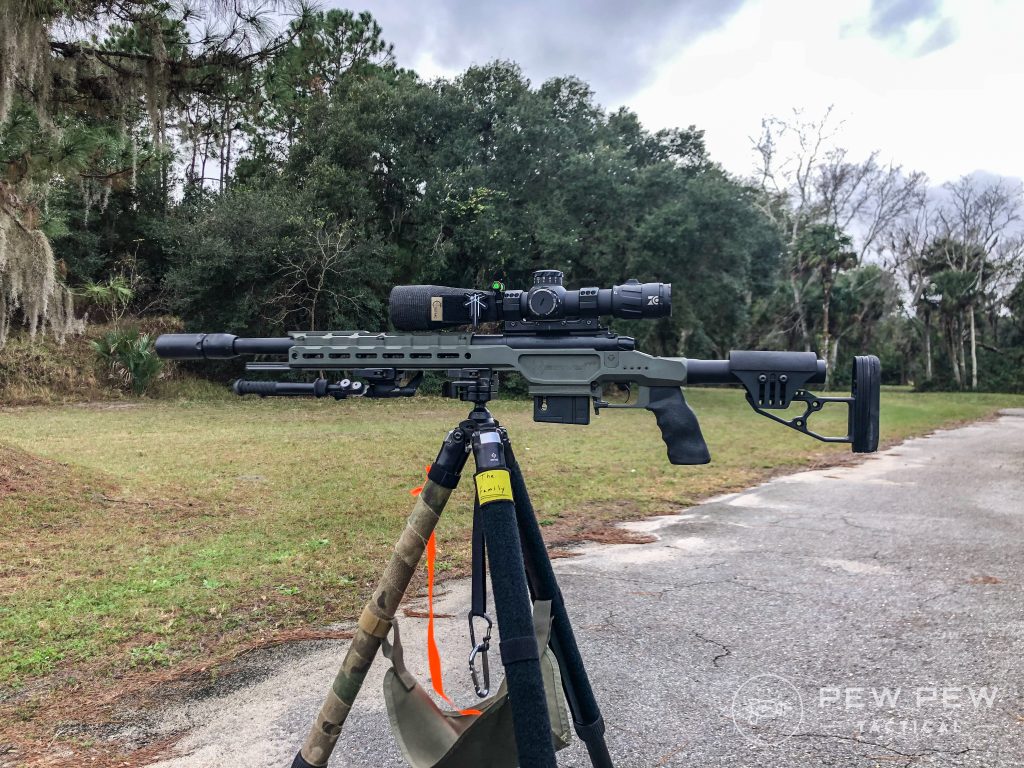
4. Ruger Precision Rimfire
Ruger is back on the list again. This time with the Ruger Precision Rimfire.
The Precision Rimfire sports a slightly different chassis than its sibling above — the American Rimfire.
Length of pull and comb are still adjustable in this model, but the Precision boasts a molded chassis and adjustable buttstock. A rear Picatinny section allows you to attach a bag rider or monopod.
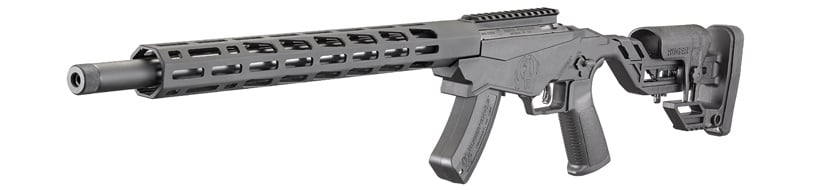
The front of the chassis features a free-floated M-LOK handguard allowing for direct attachments of bipods and other accessories.
The Precision Rimfire also has an adjustable trigger, with pull weights as low as 2.25 pounds up to 5 pounds as the shooter sees fit.
Prices accurate at time of writing
Prices accurate at time of writing
-
25% off all OAKLEY products – OAKLEY25
Copied!
Visit Merchant
Some shooters will find this rifle more familiar and comfortable as it uses a pistol grip and safety that are mostly interchangeable with the AR platform rifles.
Prices aren’t much different than the American Rimfire, which makes it another great choice for the base class.
5. CZ 457 Varmint Precision
CZ is another name in the firearms industry that is well regarded for its quality and attention to detail.

The 457 Varmint is proof that as a corporation, CZ listens to the feedback provided to them by their customer base.
The push-to-fire safety was a huge change that CZ said customers had been requesting for years. So, they implemented it into this system.
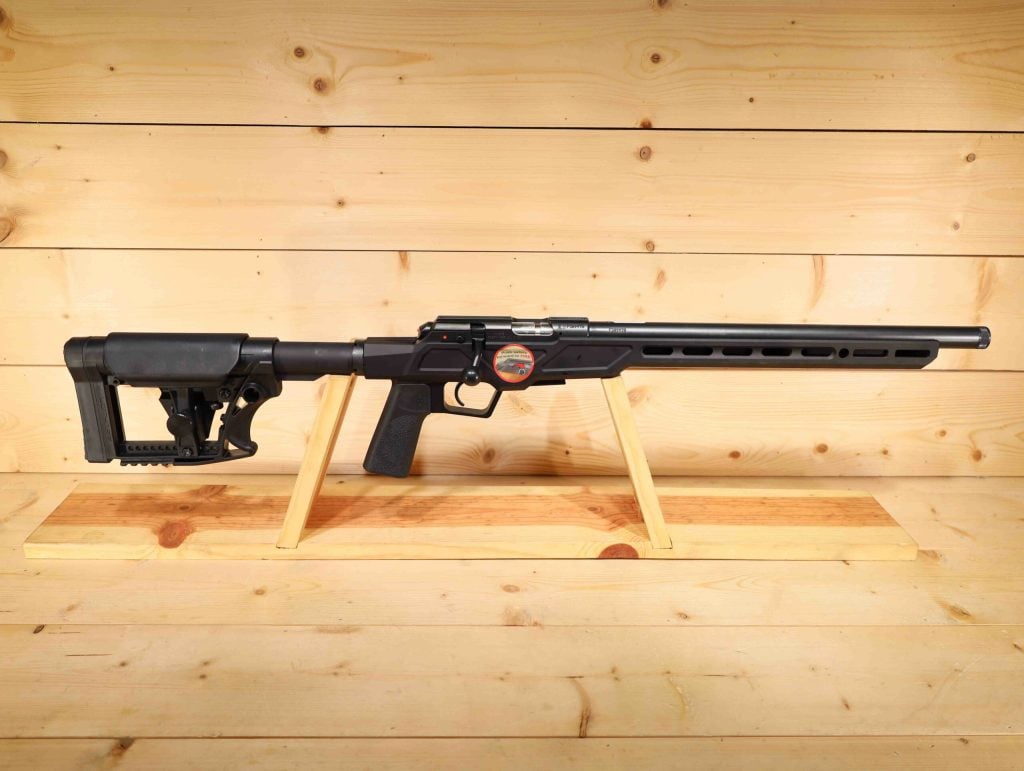
Additionally, CZ opted to change out their 90-degree bolts for 60 degrees, allowing shooters to use larger diameter scopes as well as possibly lowering the ring height while still clearing the bolt knob.
Combine all of this into a chassis that utilizes a Luth-AR adjustable stock and AR-style grip, and you have a high-quality precision rifle with a familiar and comfortable feel to it.
By no means is the CZ inexpensive, but for good quality, you do have to pay a premium sometimes.
Prices accurate at time of writing
Prices accurate at time of writing
-
25% off all OAKLEY products – OAKLEY25
Copied!
Visit Merchant
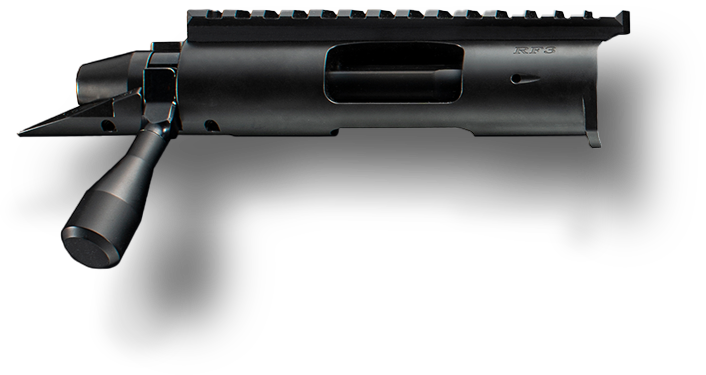
6. Vudoo Actions
The first barreled action that is worth a look at is the Vudoo. It’s available in two different offerings, the Three 60 and the V-22.
These Vudoo actions are Rem 700 compatible for stocks and chassis and feature a 60-degree bolt and a double straight taper contour.
What truly sets them apart from many other competitors, though, is their attention to detail and implanting into action.
A great example of this is the control-round-feed-protocol in all of their .22LR actions.
From the time the round leaves the magazine until the spent casing is ejected, the bolt has full control of the round.
You might ask why this matters. Well, the answer is two-fold.
First, it makes the feeding and extraction of the round smoother. More importantly, it won’t degrade the accuracy of the round.
For those not familiar, .22 LR generally has a soft lead projectile that is easily marred.
With no feed ramps and an angle that prevents the round from touching anything while it is being inserted into the chamber, the Vudoo system does everything possible to ensure that the round you fire is the same as when it left the magazine.
For open-class shooters, the price of these barreled actions is easily justified.
Prices accurate at time of writing
Prices accurate at time of writing
-
25% off all OAKLEY products – OAKLEY25
Copied!
Visit Merchant
7. Zermatt RimX
Another barreled action that is hugely popular in the .22 LR precision scene is the RimX by Zermatt.
Made to order with each one allowing for customization by the customer on bolt head type, bolt knob style, and rail MOA height, the Zermatt actions are Rem 700 scale and compatible.
The action features a two-lug, 90 degrees bolt with a floating interchangeable bolt head. The bolts do offer a round control feed, though, in truth, there isn’t much information on how it works when compared to the Vudoo.
Zermatt is known for the precision machining work and has partnered with another name in precision shooting, Bighorn Arms, to bring a stellar action to the market.
As with Vudoo, the Zermatt is an easily justified purchase for those chasing the highest quality, most consistent products that are available.
Prices accurate at time of writing
Prices accurate at time of writing
-
25% off all OAKLEY products – OAKLEY25
Copied!
Visit Merchant
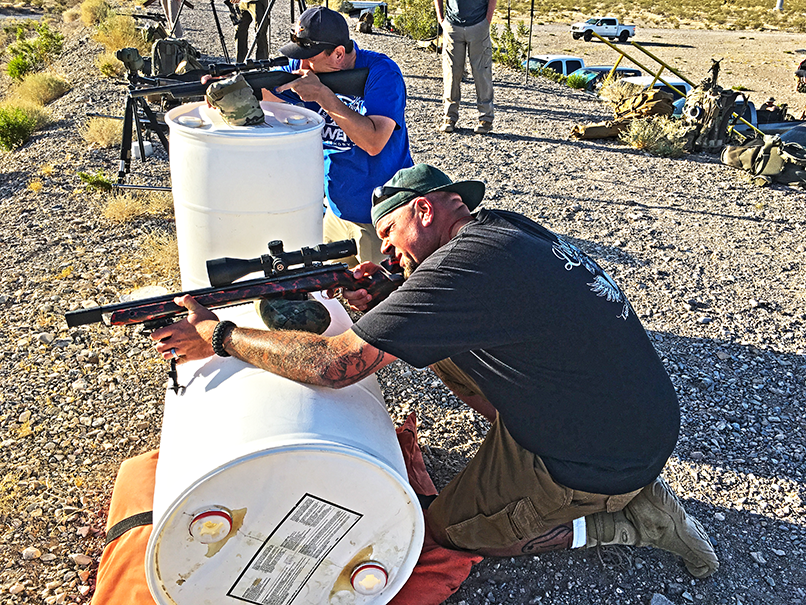
Tell Me More About Competing with a .22 LR
NRL22 is a division of the National Rifle League designed to grow the love of competing with the .22.
Six classes within the division break it down into fairly matched groups. Think kids shooting a match against other kids instead of professional adults.
Every month, clubs across the country compete for top spots and prizes with a slew of sponsors attached.
Each match has five stages. Some have barricades, and some may contain gear restrictions to challenge shooters. All are designed to be fun and build skills.
Low member fees and softer shooting guns also lend these events to being more kid-friendly and less intimidating to newer shooters.
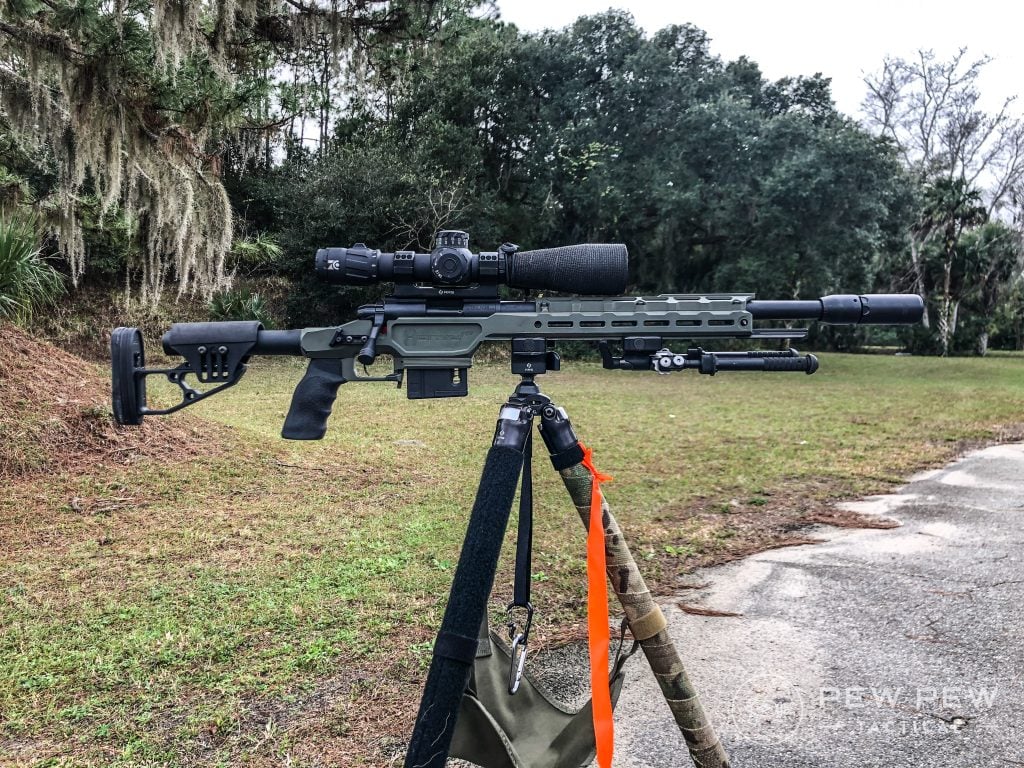
The serious competitors, especially in the Open and Old Guns divisions, run rigs that are on par with PRS guns chambered in bigger calibers.
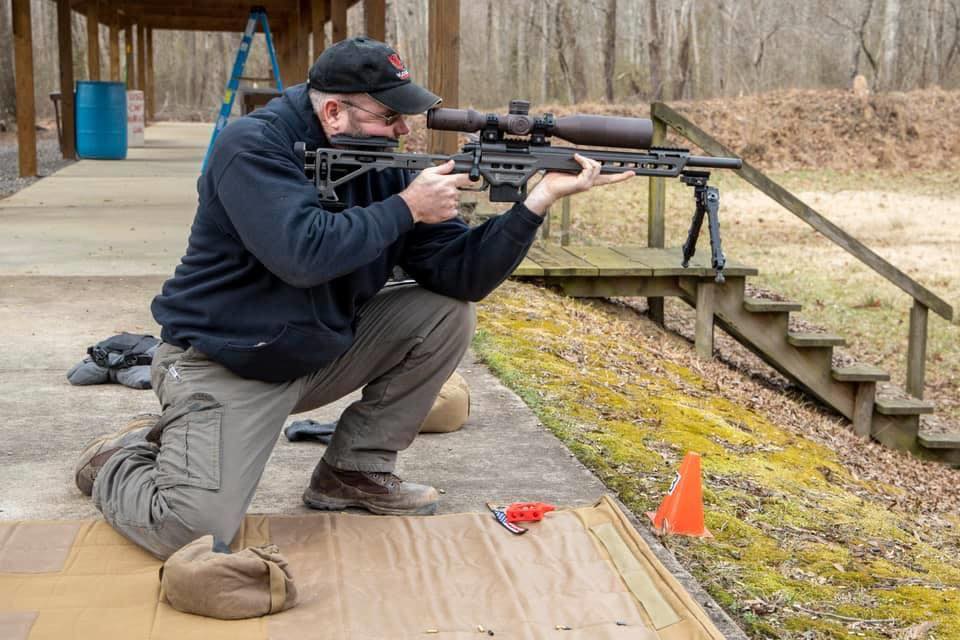
Choosing a Gun for Competition
If you’re thinking of competing and wondering which gun to buy, let me offer this.
There are two ways to go about a competition gun…
First, you can buy a factory complete gun, slap an optic on it and go to town. Some people do well with this, others prefer option two.
The second option is to get an actioned barrel, drop it in a chassis or stock, and that’s your gun.
This seems to be the go-to for more serious competitors. It allows competitors more customization and control, but at the cost of, well, greater cost.
What will work best for you?
You know what I’m going to say…that depends. It all comes down to your budget and what you want to do with the gun.
Final Thoughts
Whether you are looking to shoot your first competition or a seasoned shooter looking for another match to tackle, NRL22 and PRS .22 matches present great opportunities. Once you set up your rifle, the cost of ammo is leaps and bounds less expensive than centerfire cartridges.
Depending on how far down the rabbit hole of accuracy and quality you want to go, an inexpensive factory rifle can get you in the door. More serious competitors do opt for barreled actions that are built to their preferences.
Find the gun that you’ll enjoy the most, can shoot well, and see where it leaves you.
What do you think of these .22 LR options? Have others? Drop them in the comments below. Need something to feed your favorite plinker? Check out our guide to the Best .22 LR Ammo.
The post Best .22 LR Precision Rifles for Competition & Precision Shooting appeared first on Pew Pew Tactical.
Pew Pew Tactical
 A short while back I was challenged by fellow TFB Staff member James Reeves (you may have heard of him), to build an SPR as cheap as possible. Well, myself being an unapologetic “poor”, I, of course, took him up on the challenge and started the project Special Poverty Rifle. More AR-15 Content @ TFB: […]


 Do you want to go deep into databases?
 Learn More: Feel free to read my full guide on this career role on


 Note: If I may be so blunt—I don’t recommend this career path anymore due to the “dying” interest in IBM DB2 technology.


