‘Picard’ finally shows us how ‘Star Trek’s’ technology evolves
https://ift.tt/2QKjzgR
This article contains spoilers for the first season of ‘Star Trek: Picard’ up to episode nine.
Star Trek: Picard is the show I’ve been looking forward to for 17 years. Not because I was particularly interested in finding out what happened to Picard, Troi, Riker and the rest. (But don’t get me wrong, it’s nice to check in with old friends.) Instead, it’s because we finally get to see what happens next in the Star Trek universe. We finally get to see it grow, both ideologically and technologically.
Star Trek at its core is a series of themes and ideas. A post-scarcity economy where the members of the Federation are free from hunger and poverty. A society of people focused on bettering themselves. Part of that focus is the desire is to see what’s out there and explore the universe. We’ve seen variations on that idea throughout the different series, but the core has always been there, even when things get dark (and this season of Picard has been particularly grim).
But behind those abstract themes is a more practical one: the role of technological progress. People can be free from want because there are replicators to make whatever they need. They can explore the galaxy because they’ve invented starships that can travel at warp speed and transporters that can beam them to alien surfaces in the blink of an eye.
The different series have embraced these technologies not just as tools, but as devices around which to build entire plots. How many episodes involve transporter malfunctions? Or a holodeck on the fritz? How often is an exploding warp core a problem? (The answer to all of these from a safety standpoint is "too much.") Technology is a huge concern in the Star Trek universe, and as the overall story arc of the franchise moves forward, so has its technology.
Concepts introduced in one episode may be used again later, and even iterated on. The time-travel technique Spock used in the fourth film, The Voyage Home, was introduced in the original series (TOS) episode ‘Tomorrow is Yesterday.’ In season six of The Next Generation (TNG) we see a Ferengi scientist invent "metaphasic shielding" so ships can journey into a star’s corona, and one season later the Enterprise-D employs this very technology to escape from an enemy.
Sometimes those technological concepts go beyond just one or two episodes and become more of an ongoing theme, with each appearance building on the technology and its societal effects. The original series introduced the idea of transporters, which convert matter to energy and back, allowing for the transportation of people and objects without needing a ship. (It was originally intended by the writers and producers as a money-saving plot device, to avoid having to build a shuttle set.) When TNG started up it explored the question, if we can convert matter to energy, why can’t we convert energy to matter? And thus we got replicators and the holodeck, with the latter able to build people. It wasn’t long until we met a self-aware hologram (Minuet) in season one, and then the fully sentient Professor Moriarty in season two.
Over seven seasons various TNG episodes continued to explore what the holodeck could do. Deep Space Nine (DS9) even gave us a recurring holographic character, lounge singer Vic Fontaine. But it was Voyager that made a sentient hologram part of the main cast and spent the next seven years exploring the concept of having a hologram as a full-time crew member — from his mobility limitations (he was confined to the ship until he obtained a mobile emitter in season three), his relations with his fellow officers and eventually, his legal rights as a synthetic being.
There were plenty of questions left to explore; plenty of ideas that could be iterated on. What happened to the Doctor when he got back to the Federation? Would he fight for the rights of fellow holograms? Would holograms continue to be used on ships? Would the Doctor’s mobile-emitter technology become widespread? All of these questions would not, and could not, be answered because, after the release of Nemesis in 2003, the universe stopped moving forward. Star Trek: Enterprise was set 200 years earlier in the 22nd century, and Star Trek: Discovery put us back in the 23rd. The NX-01 Enterprise barely had transporters, much less sentient holographic lifeforms. (And the three Abrams films were not only set in the past, but in a different reality with its own tech!)
The choice to place new series in the past not only kept them from continuing technological threads introduced in other shows, but it kept them from introducing new ones lest they break the logic of the shared timeline. Discovery‘s spore drive was a pretty unique piece of technology, allowing travel across vast distances in a matter of seconds — way beyond warp capabilities — but ultimately it had to be kept secret with all records of it erased, since such technology didn’t line up with what we’d seen in TOS, TNG and DS9. It would have made the entire premise of Voyager, that of a ship stranded 70,000 light-years away from home, completely moot.
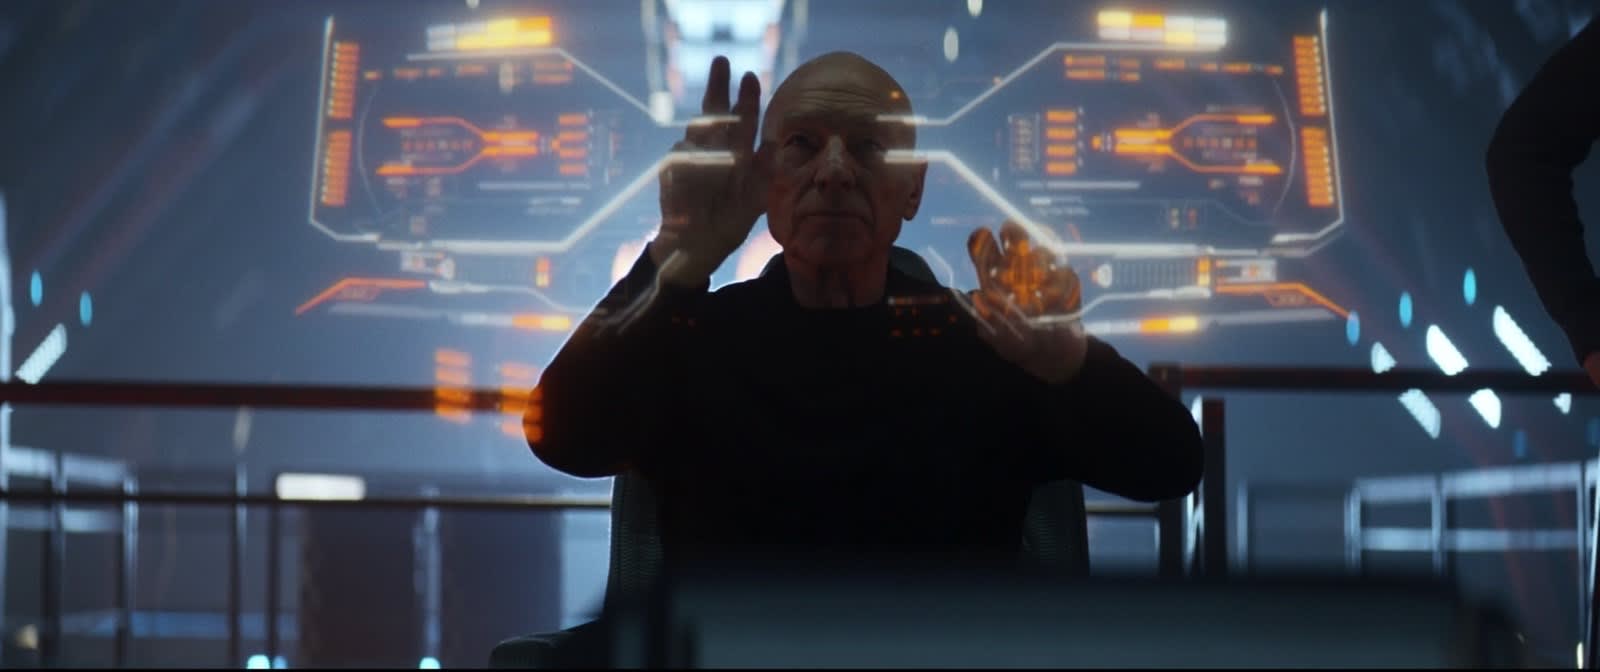
Now, with Star Trek: Picard, we’re back in the 24th century. And we can now start following up on these technological threads again. If Voyager asked what happens when you make a holographic being a full-time officer, Picard asks what happens if the entire crew of its ship, La Sirena, was made up of holograms. (Hilarity, apparently.) But Picard is more a continuation of TNG than Voyager, and so its raison d’être is one of its parent series’ continuing plot threads: sentient android life.
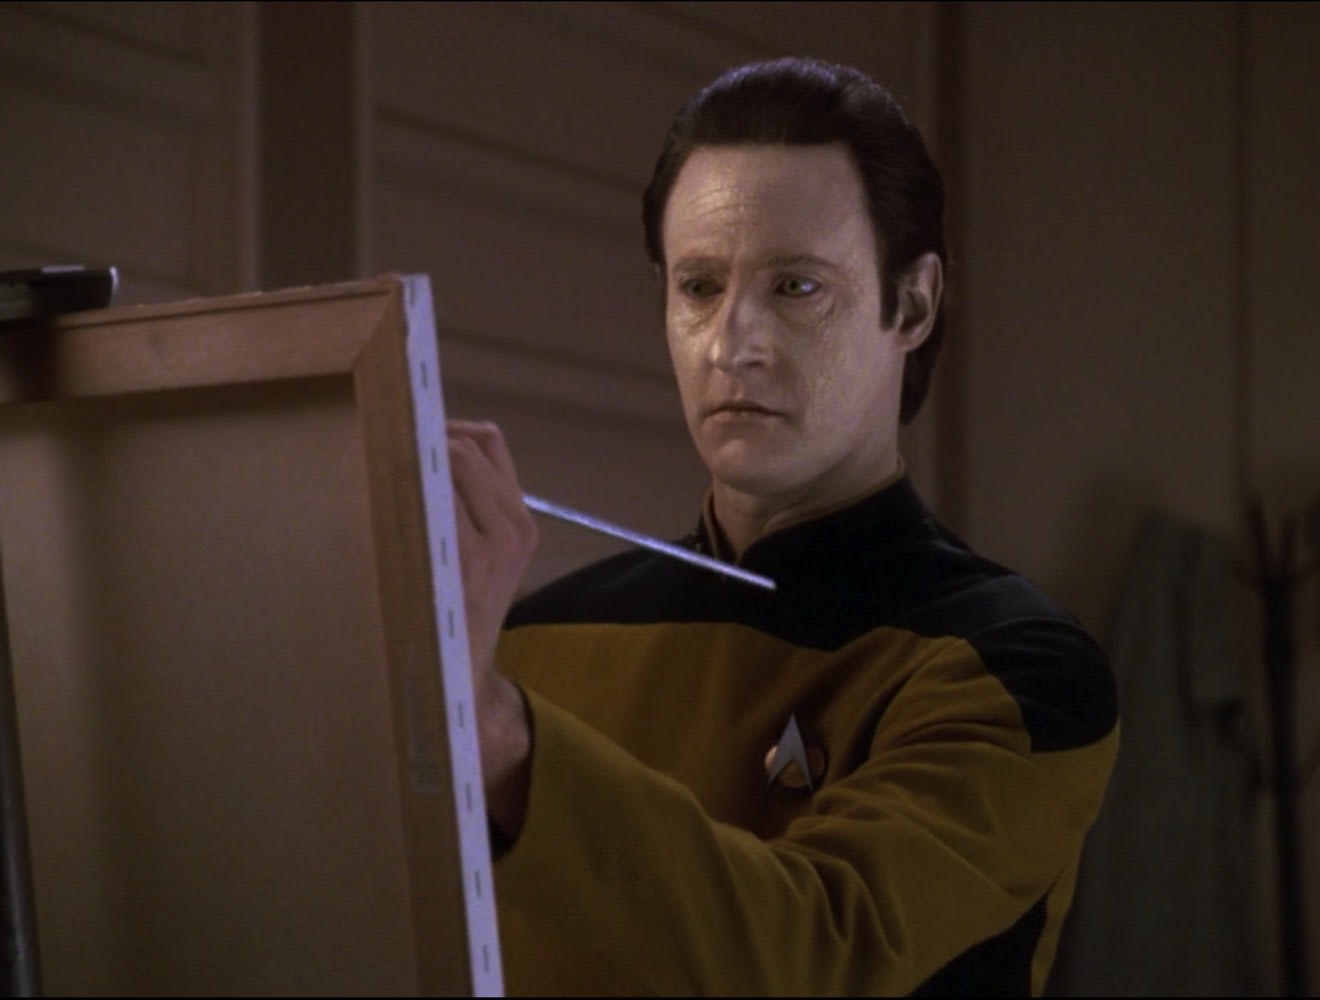
In the pilot of TNG we met Data, where we were immediately told he was a sentient android. In fact, he was the only sentient android, as his creator, Noonian Soong, never published the details of his work. Many of Data’s plots revolved around his desire to be more human and his role as the sole Soong-type android in existence. There were minor points of character development — Data developing an interest in Sherlock Holmes stories or getting a cat that he wrote poems about — but there were also huge leaps forward, like that time he built himself a daughter. Over the course of the show, Data would build strong friendships with his fellow crew and eventually develop the ability to feel (thanks to a chip which was first revealed in season four but not implanted in Data until the first film, Generations, four years later).
Data was killed in Nemesis and that was the end of it. Since the next two series were set in the past, where sentient androids didn’t even exist yet, they couldn’t address questions like, "Did anyone try to build more androids like Data? What happened to that scientist, Bruce Maddox, who was working on building one and wanted to take Data apart for research? What happened to the other Soong-type androids we met, B-4 and Lore?" The entire plotline was as dead as Data.
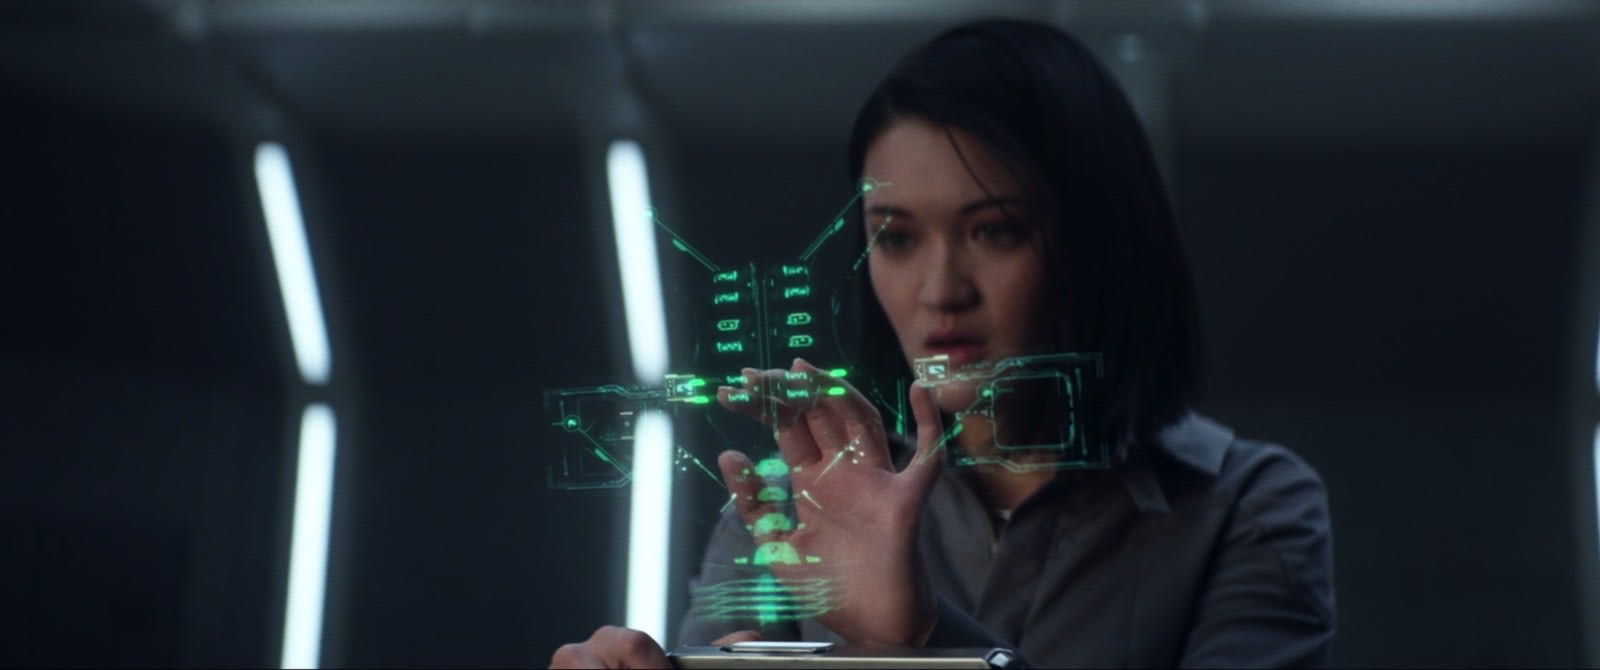
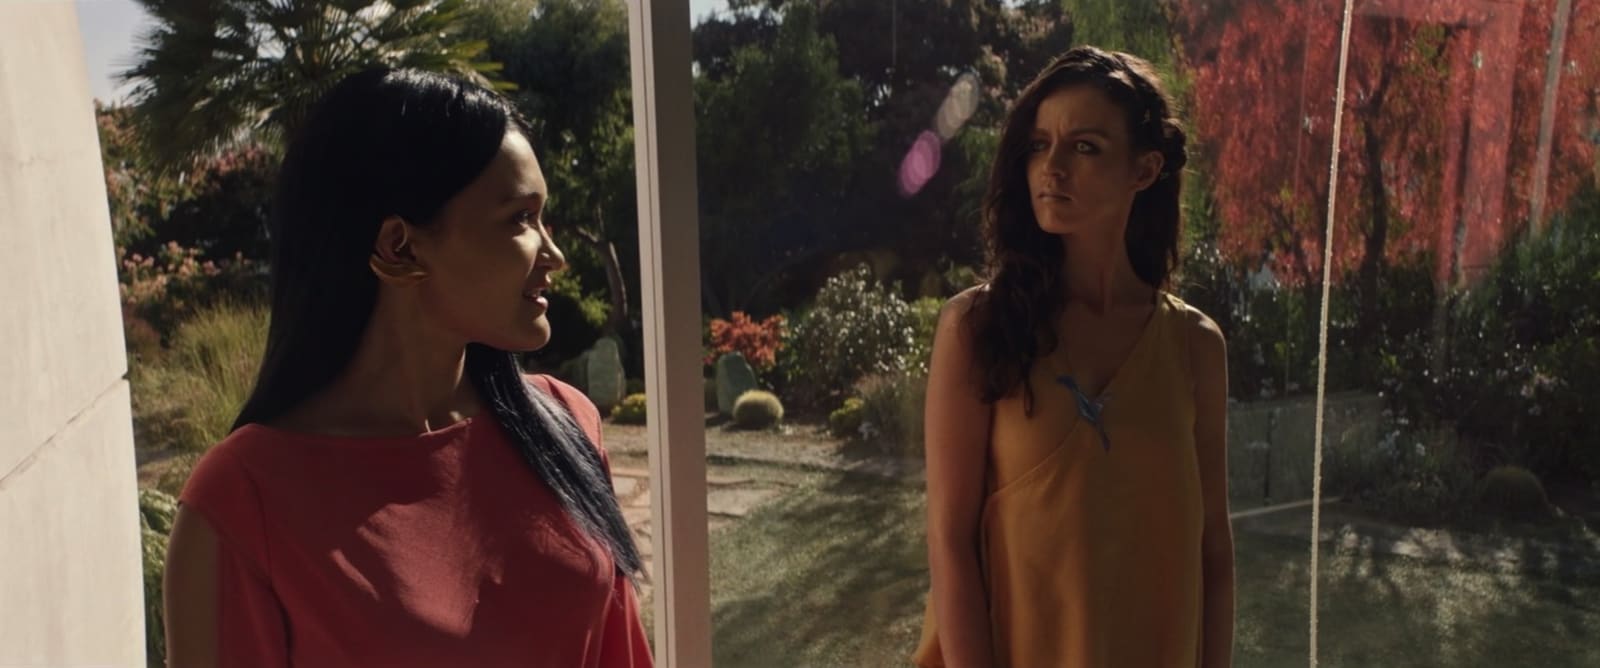
That is, until Picard, when the show finally returned us to that century. Set in 2399, we finally get answers to some of these questions. Bruce Maddox did continue his research, and eventually, we ended up with an entire cadre of androids being used for labor on Mars — essentially a worker class, just as Guinan warned us about back on TNG (‘The Measure of a Man’). Those androids, now called "synths," rebelled, for reasons unknown at the start of the series. Further research on synthetic lifeforms was banned. Maddox left the Federation as a result, developing other, more human-looking androids that didn’t even know they were synthetic: Soji and Dahj. Since Soji is one of our lead characters, we get to spend a lot of time with her as she investigates her own humanity.
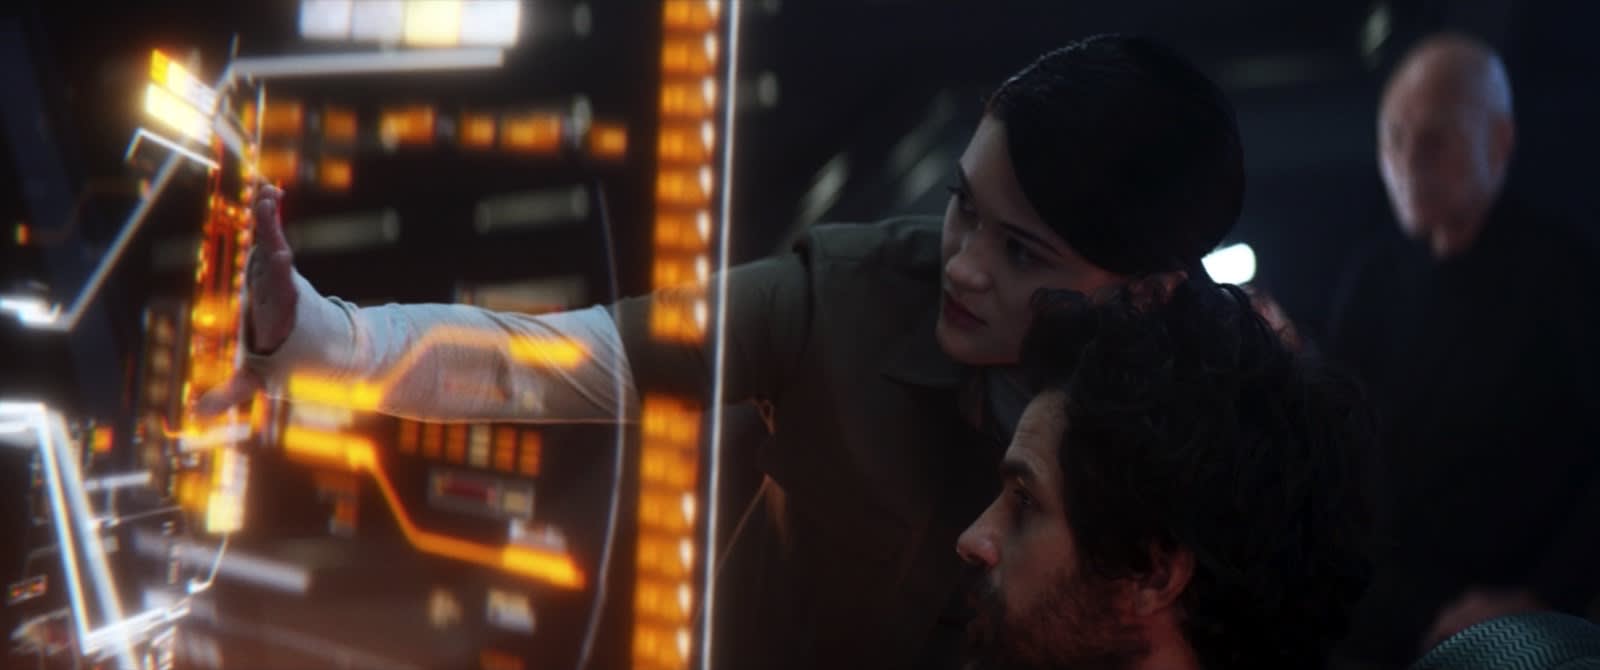
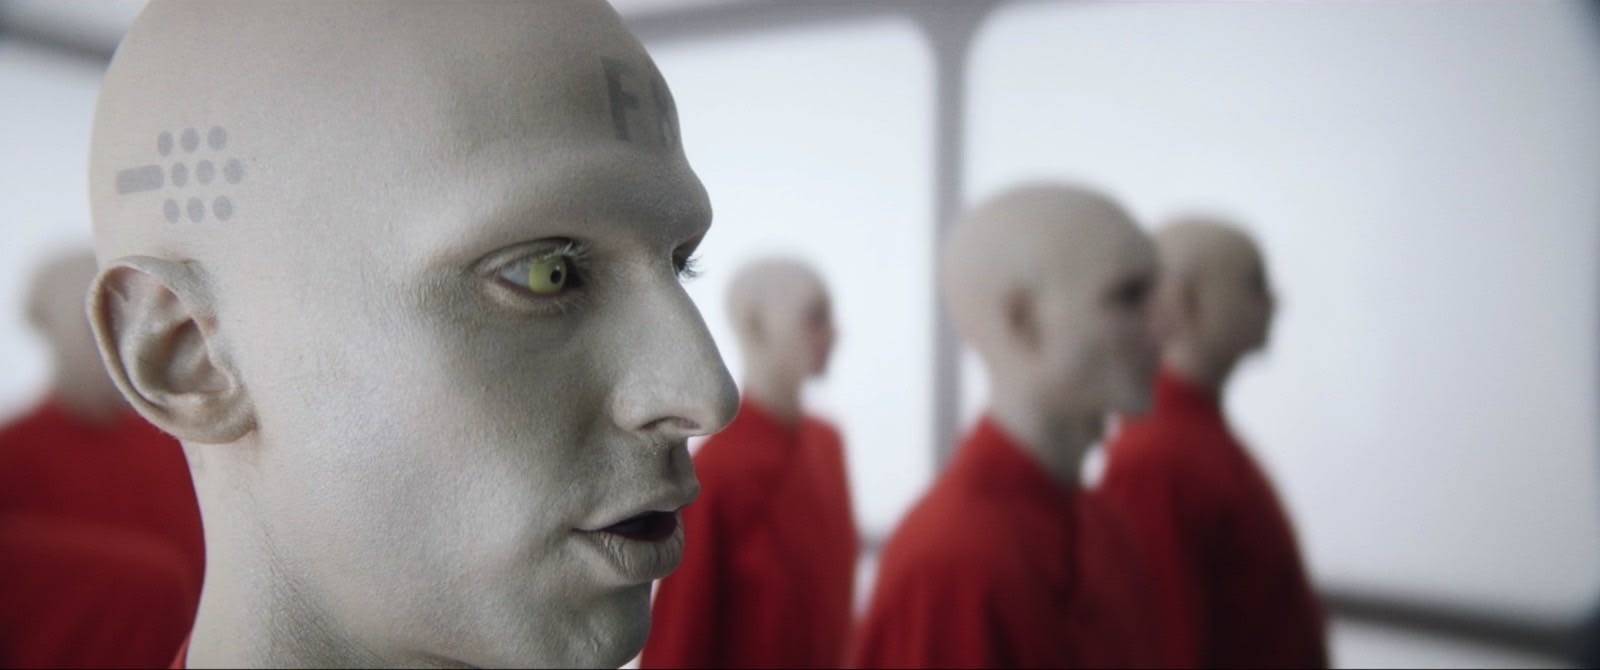
As intriguing as that all was, the biggest technological reveal came in this season’s penultimate episode, ‘Et in Arcadia Ego Part 1.’ Jean-Luc Picard and crew land in an entire village of synthetics, created by Maddox and Altan Inigo Soong, Noonian Soong’s presumed biological son (assuming he’s not lying). Some look fully human, like Soji, while others have a more golden hue like Data and his brothers. Unlike Data, however, they can feel emotion; one has even figured out how to do a Vulcan mind-meld.
This village lets us see what would happen if synthetic beings were left to their own devices instead of being treated as no better than mindless workers. From a synth’s perspective, the Federation is a nightmare where their existence is illegal and other synthetic lifeforms (like holograms) are reduced to service jobs. When Data was alive and the only android around, we got to see the universe from his perspective; Picard has shown us what an android society might be like and how it might think, something we couldn’t have imagined 20 years ago.
Now we — and the writers — are free to imagine anything we want and explore it in detail. Of course, with one more episode in this season, there are still some plot threads to be resolved and things could be shaken up a lot in a span of an hour. We’ve already been promised a second season — which can either build on the ideas of the first, revisit other technological threads from throughout the franchise or introduce brand new ones. The one thing we’re sure of is that it’s finally a future we’ve never seen before on Star Trek: the 25th century.
geeky,Tech,Database
via Engadget http://www.engadget.com
March 25, 2020 at 01:06PM