https://www.pewpewtactical.com/wp-content/uploads/2021/04/Barrel-installed-2048×2048.jpg
Installing a handguard is one of the steps in building an AR that people seem to fall short of.
The overall process is straightforward, but there are little details in every step that make or break a proper install.
But that’s why you have us, right?
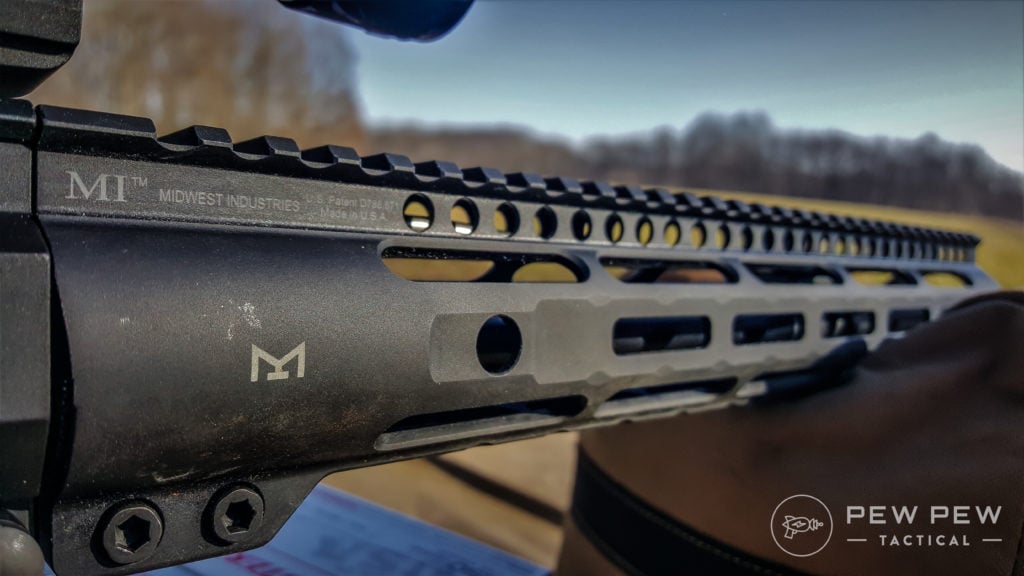
For this article, we’ll cover the steps of installing a handguard on a new receiver using a barrel nut — not a delta ring.
So, let’s get down to the nitty-gritty of installing a handguard on your AR.
Table of Contents
Loading…
Tools You’ll Need
There are a few key tools you’ll need on hand to install your handguard.
- Bench Block
- Vise
- Punch Set
- Hex Key Set (for Clamp-On Style Gas Blocks)
- Hammer
- Armorer’s Wrench
- Torque Wrench
- Aeroshell 33MS/Aeroshell 64
- Locktite
- Handguard Removal Tool
- New Handguard
Bonus Items
- Upper Vise Block – protects your upper from marring or scratching
- Disposable Gloves – keeps hands clean!
- Midwest Industries Upper Receiver Rod – makes life easier
For more parts and tools you might want to have for future tweaks and builds, head over to our AR-15 Parts & Tools List.
Removing Existing Handguard & Hardware
Step 1: Take Off Old Handguard
If you are starting fresh with no handguard, then skip on down to installing your handguard.
However, if you’ve already got a handguard in place that you need to swap out, start here.
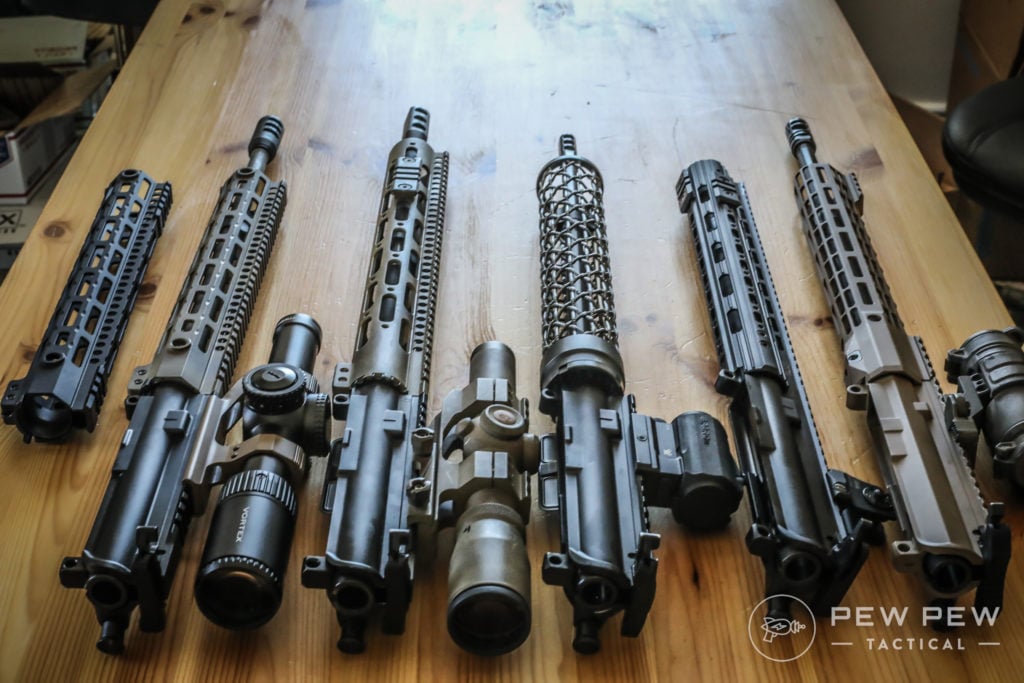
You’ll need to first remove the existing handguard with a handguard removal tool.
Step 2: Separate the Upper & Lower
To make the installation process easier, go ahead and remove the lower receiver and set it aside.
From here, you can use a vise grip to clamp down on the upper receiver.
Step 3: Remove Muzzle Device, Gas Block & Barrel Nut
Continue the disassembly process by removing any existing muzzle device and hardware, gas block, and barrel nut.
You’ll need to tap out the gas tube roll pin with a #2 pin punch. From here, take a look at the front sight gas block. If it has tapered pins, you’ll need to go ahead and drive them out.
If you opt for a clamp-on style block, use a hex key to loosen the set screws.
Remove the gas tube.
Finally, remove the original barrel nut with an armorer’s wrench.
Then make sure everything is properly cleaned and degreased.
Installing a New Handguard
Step 1: Test Fit Barrel
The first steps of an install will be the foundation for success.
So, let’s start off right by test fitting your barrel into the receiver.
This may require some thermal fitting, depending on the brands you use. As such, I wait until after I test fit before degreasing.
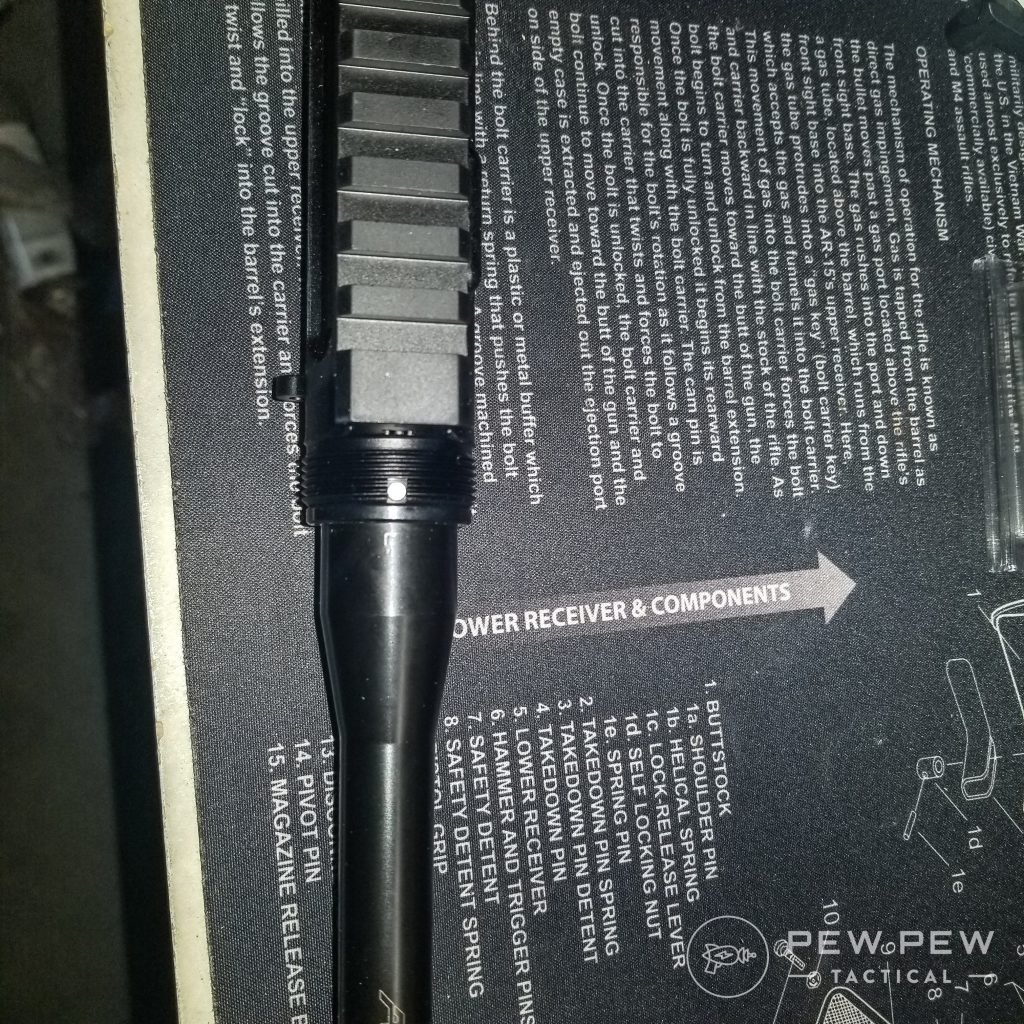
If the barrel installs without any heat needed, remove it, and degrease the receiver threads and the barrel nut for your handguard.
I will note that wearing some sort of latex or synthetic gloves will help to prevent more oil from your skin from corrupting your work.
Step 2: Install Barrel & Apply Aeroshell 33MS/Aeroshell 64
Once the parts are degreased and have dried, install your barrel.
Apply some Aeroshell 33MS/Aeroshell 64 to the receiver threads and the barrel nut threads.
The use of Aeroshell is one detail that is often overlooked.
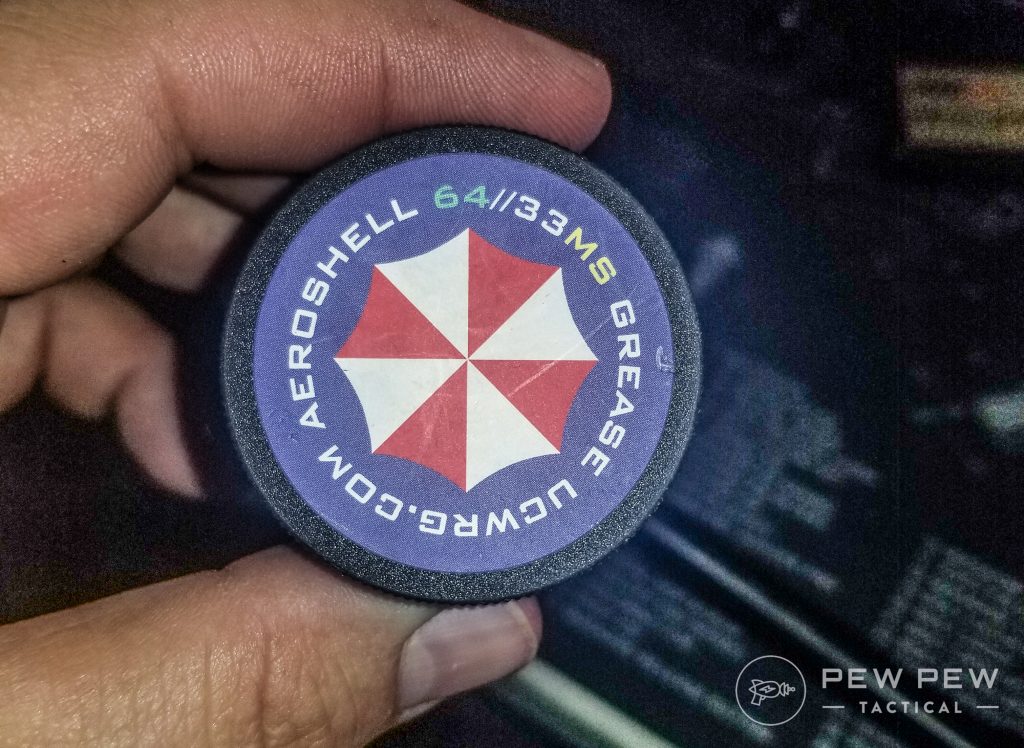
First, the torque values given here are wet values, meaning they need some sort of lubrication to properly achieve those numbers.
Equally as important are fighting galvanic corrosion and making sure the barrel nut doesn’t seize over time.
Galvanic corrosion can occur when two different metals are in contact, and an electrolyte causes one to corrode in preference to the other.
Now, depending on the area of the world you are in, this may not be much of an issue; here in the Nevada desert, it isn’t a huge risk, but I’d rather be safe.
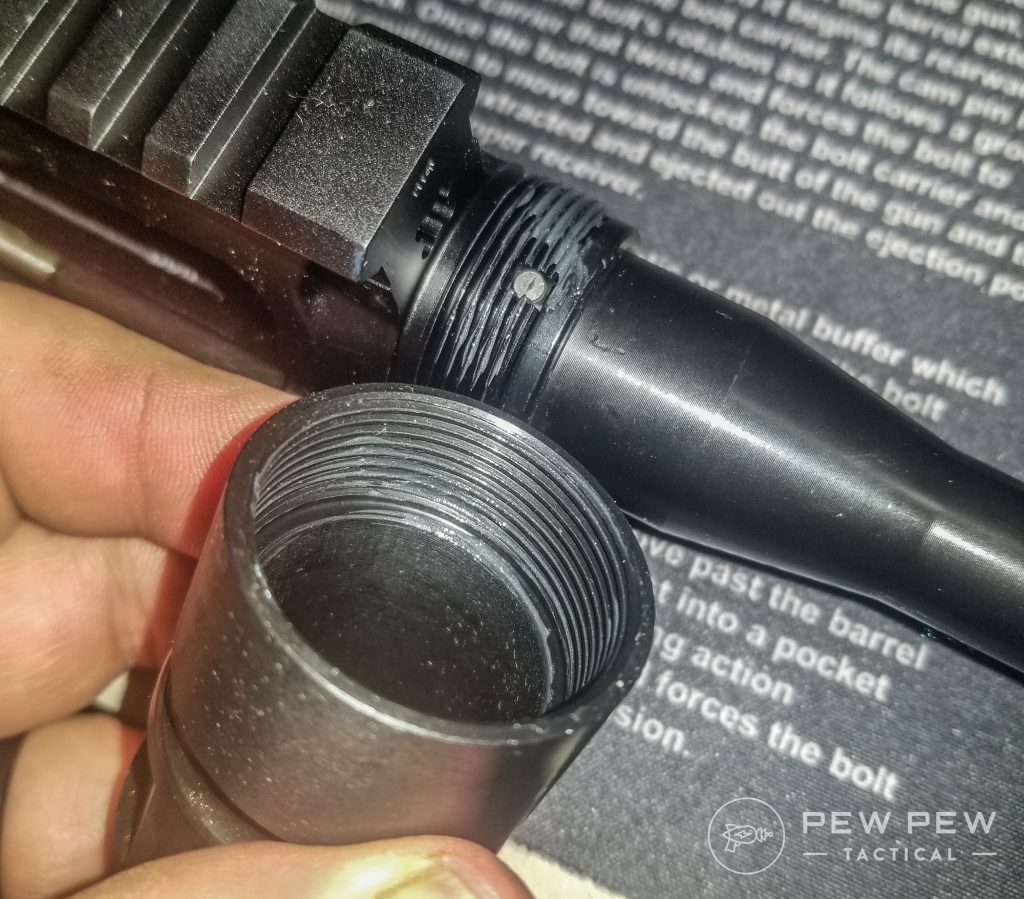
One further note: There is a difference between Aeroshell 33MS/Aeroshell 64 and anti-seize, such as that for ball-bearings or Permatex.
Many anti-seize agents contain graphite which is counter-intuitive to what we are trying to do here as graphite can promote galvanic corrosion.
Stick to the proper agent, as Aeroshell is readily available.
Prices accurate at time of writing
Prices accurate at time of writing
Step 3: Attach Barrel Nut & Torque Down
After you have properly applied your Aeroshell, the next step is going to be attaching the barrel nut and then torquing it down.
Slide the barrel nut over your barrel and hand tighten it a few turns to get it engaged on the threads.
At this point, I am a huge fan of using the Midwest Industries Upper Receiver Rod for the remainder of the process.
Prices accurate at time of writing
Prices accurate at time of writing
With the spine built into the URR, it allows for proper torque without much risk of damaging your barrel index pin or receiver.
Using your armorer’s wrench or a barrel nut wrench that came with your handguard, apply some torque, back it off to loosen, and repeat this a few times to season the threads.
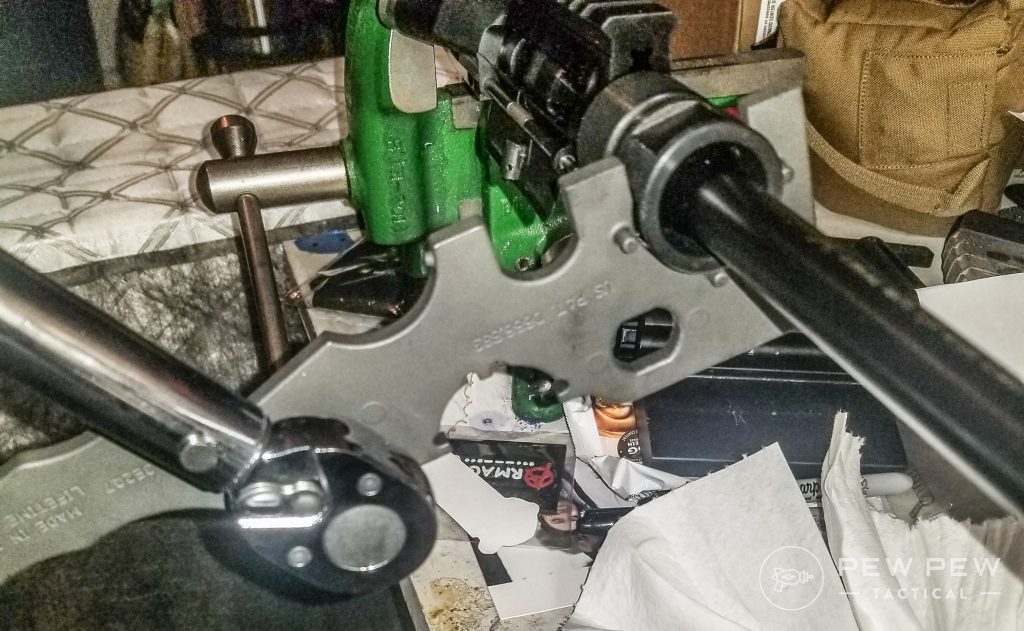
After three to five low torque value tightenings, you will hand tighten the barrel nut.
Using a torque wrench, tighten to your final value. This can range from 30- to 80-foot-pounds of torque depending on the barrel nut.
Pro tip: Read the instructions from the manufacturer on the appropriate torque value.
Step 4: Install Gas Block
With your barrel nut properly greased and torqued, the next step is installing your gas block and then your handguard.
Again, there are some small details here that often get missed. They can make a huge difference in the final product.
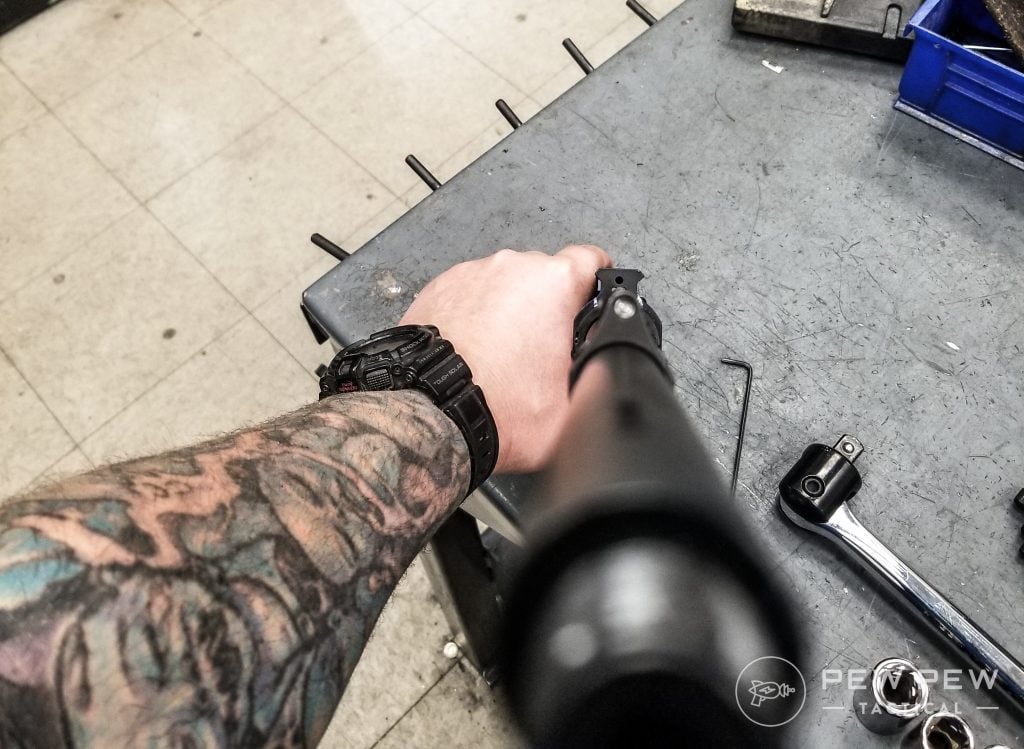
For help installing your gas block, check out our article here.
Step 5: Install Handguard
With your gas block properly installed, you’ll slide the handguard over the barrel and gas block, seating it against the receiver.
The number of handguards and styles available in the market results in many variables on this next step.
Double-check the alignment of the handguard to the top Picatinny rail of the receiver.
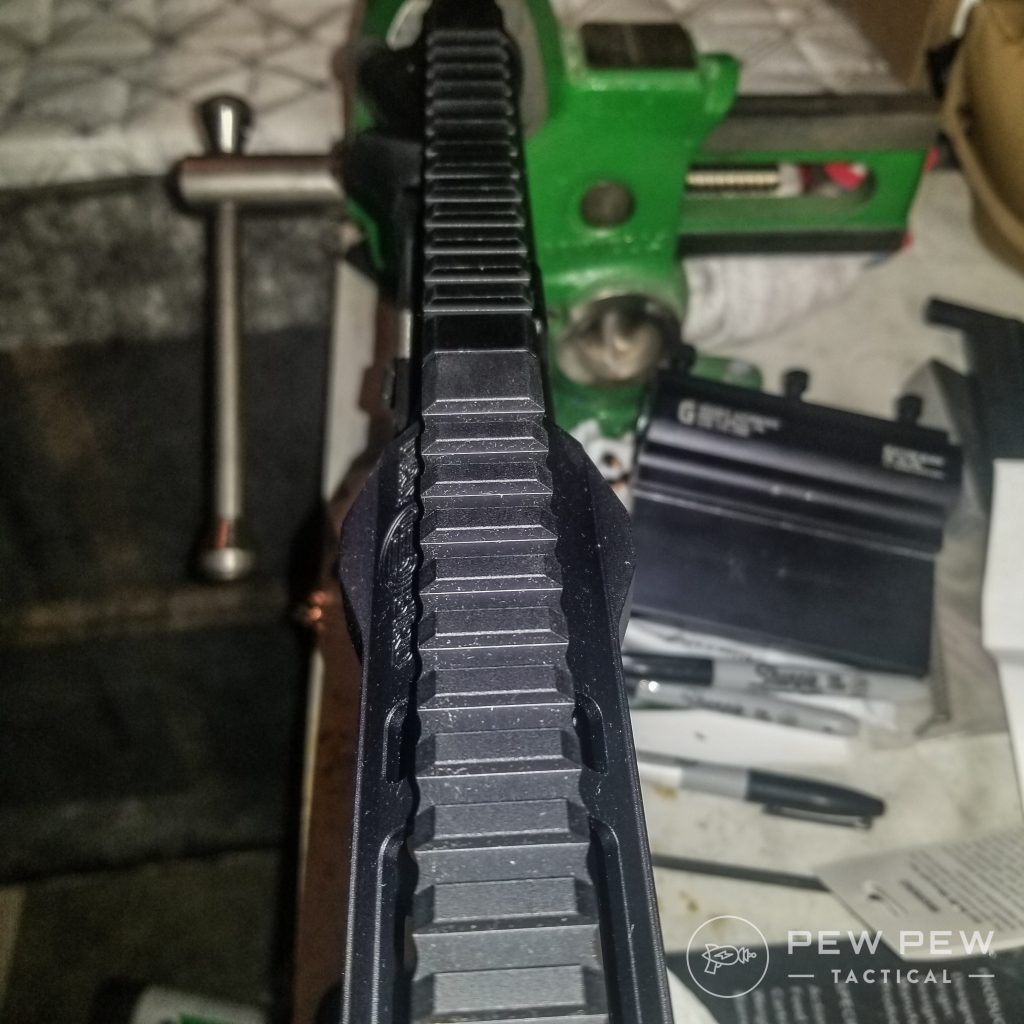
They should line up equally without any change to the angle of the Picatinny rails.
Some handguards use indexing tabs or anti-rotation tabs to keep things aligned. Others use mounting hardware designed to achieve the same result.
Regardless, ensure that the Picatinny rails line up properly before moving on.
Step 6: Secure Handguard
With your handguard indexed properly, so the Picatinny rails line up, you’ll want to secure it with the mounting hardware.
This can vary greatly from one manufacturer to the next but will almost always involve using screws.
Make sure the screws, as well as the screw holes, are properly degreased and dried before moving on.
I will stress one important note for the next step.
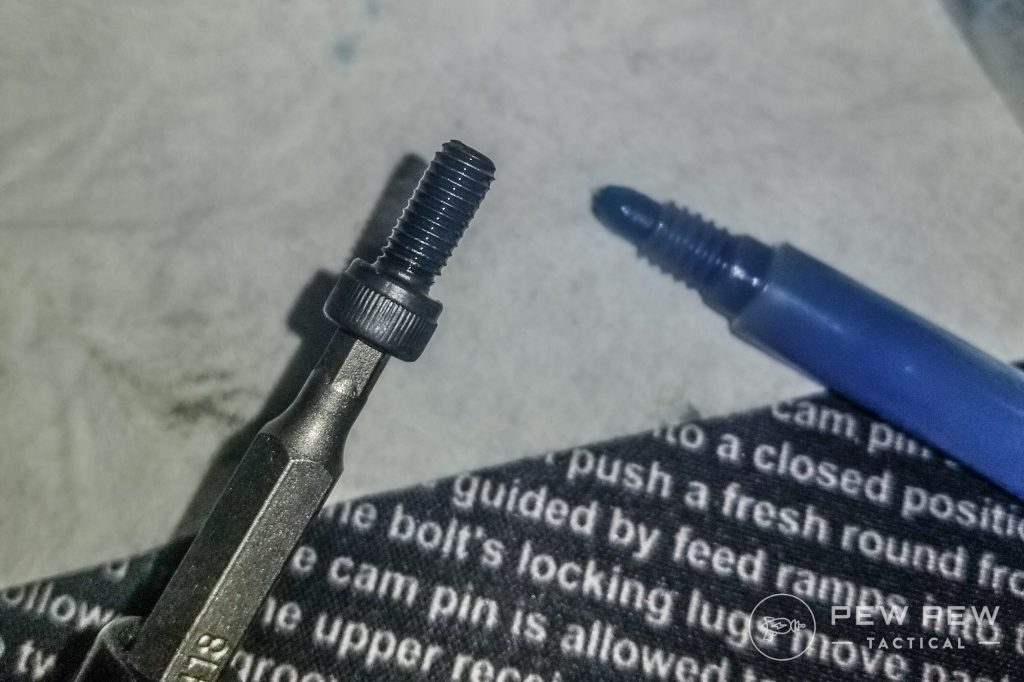
Thread locker has been an issue of some debate lately. For handguard mounting screws, I have always used Loctite Blue 242 with great success.
Others say you should use Loctite Red 271 or Vibratite VC3.
I have not found heat causing screws to loosen on a handguard to be an issue if properly torqued.
If you do see an issue, use the Red 271 and understand that heat will have to be used if you ever need to change things.
Prices accurate at time of writing
Prices accurate at time of writing
The only exception to using thread locker that I have come across is installing the Centurion Arms CMR rails — which I highly recommend.
Installation instructions specifically note that the use of thread locker on mounting screws for this rail will void the warranty. So, again, always read manufacturer instructions before you install.
Using an appropriate thread locker on the mounting screws, you’ll want to install them snug but not torqued down in a criss-cross pattern.
As you install the screws, check to make sure the position of the top rails has not shifted and things still line up.
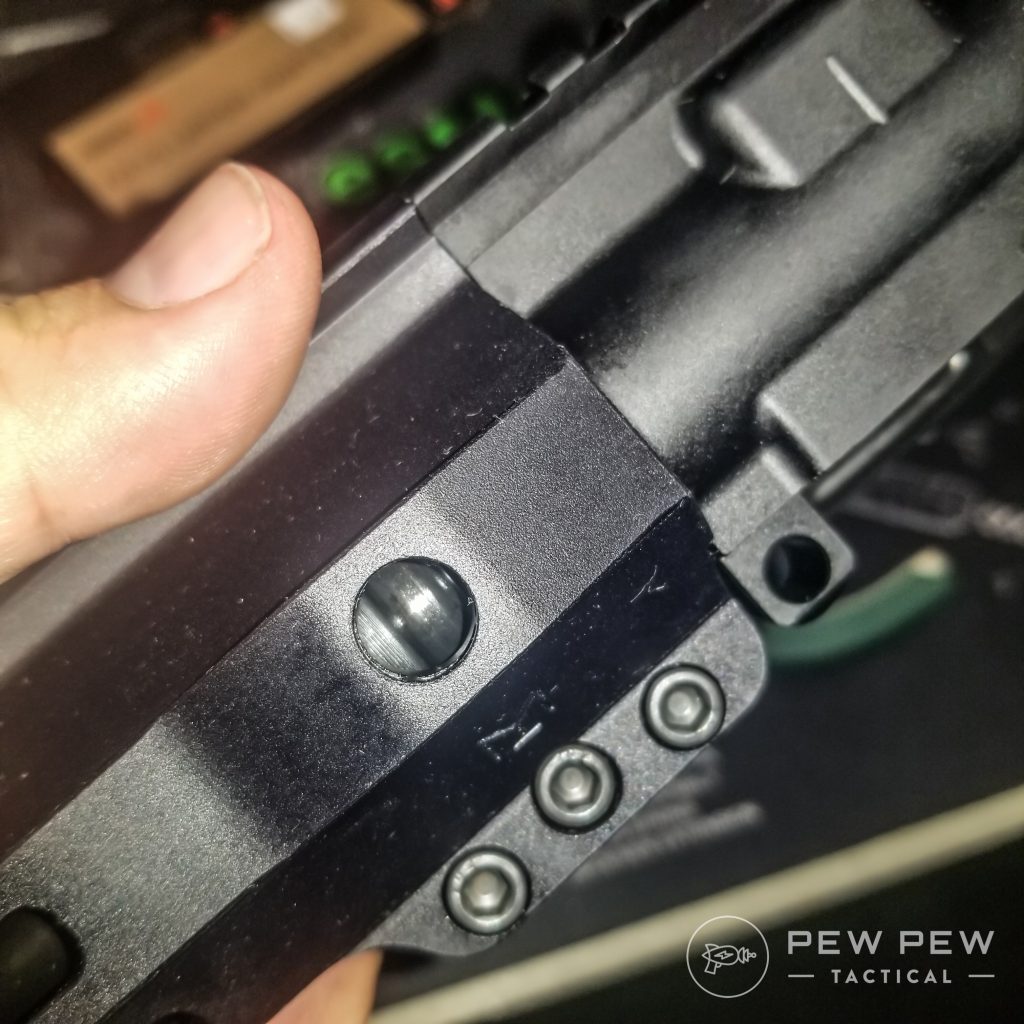
Once all the screws are in and hand snug, you’ll begin the process of torquing them down in the same pattern — still checking the top rail alignment has not shifted.
The torque value on these screws can vary but usually falls somewhere in the 25- to 45-inch-pounds of torque.
I feel like I’ve said this before, but…read the manufacturer’s installation instructions for proper values.
In some cases — such as the Centurion CMR or the Dirty Bird Industries SMRS — there will not be an alternating pattern to the screws but rather a few on the bottom.
Prices accurate at time of writing
Prices accurate at time of writing
So, make sure you know which screws should be tightened down first and to what torque value.
Step 7: Install Muzzle Device & Accessories
With the handguard attached and the mounting hardware torqued down, the only things left are to install the muzzle device and any attachments you desire.
Timing a muzzle device is something that is better suited for another article. But the main point to monitor would be to degrease the barrel thread and muzzle device threads before applying Rocksett. Then torque to manufacturer specifications.
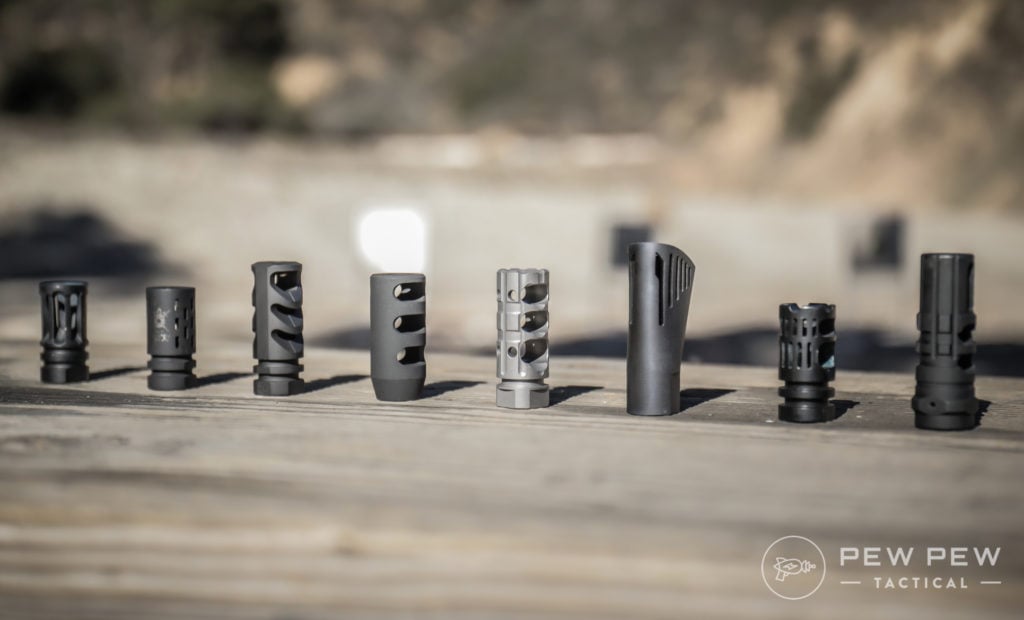
When installing accessories, have a rough idea of where you want things like foregrips, flashlights, and slight attachment points to go.
Planning out locations before you start installing things ensures they don’t interfere with components under the rail.
I’m here to tell you that size does matter in some cases. People frequently try to install foregrips but end up hitting the gas block with mounting screws.
Sometimes small location changes are required.
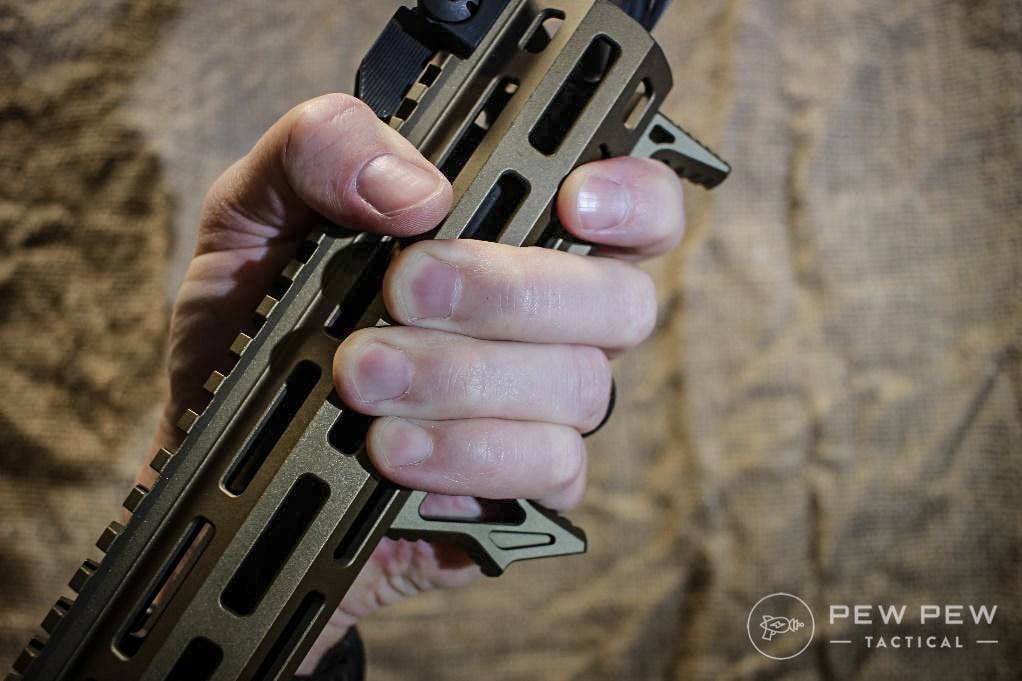
After your components are attached, and thread locker has cured, you are done!
All that’s left to do is toss the lower receiver and upper receiver back together.
Conclusion
Installing a handguard doesn’t have to be a scary process. Using the steps above, you can easily add a handguard to your AR build.
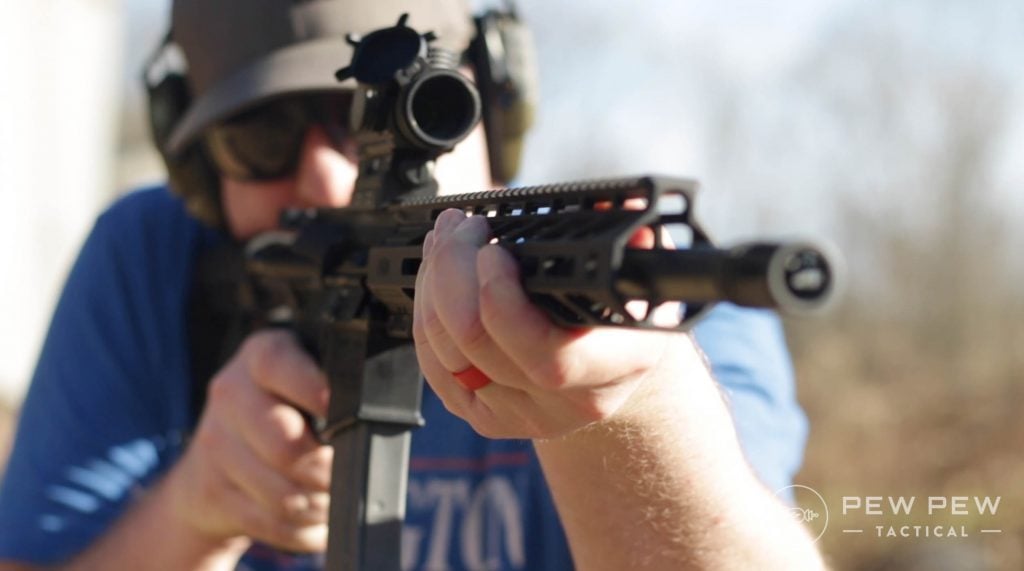
Good luck and have fun with your AR build!
As always, feel free to drop questions in the comments sections. Need handguard recommendations? Head over to the Best AR-15 Handguards and for more on AR builds, check out our list of the Best Upgrades to outfit your AR build!
The post [How-To] Install a Handguard on an AR-15 appeared first on Pew Pew Tactical.
Pew Pew Tactical