https://static1.makeuseofimages.com/wordpress/wp-content/uploads/2021/03/makemkv.png
Despite the prevalence of free and paid streaming services, DVDs and Blu-rays persist. So, if you’ve got shelves full of DVDs and Blu-rays waiting to be ripped, we’ve got the tools you need to digitize your collection.
Here are the best tools for ripping DVDs and Blu-rays to your computer.
1. MakeMKV
Available on: Windows, Mac
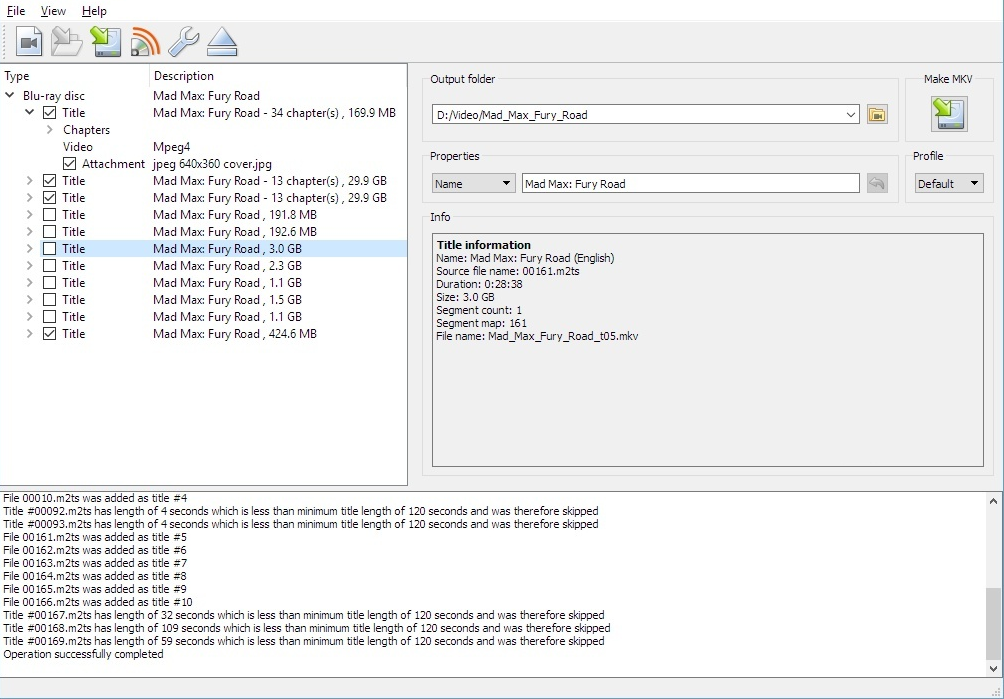
In MakeMKV, you’ll find a superb cross-platform Blu-ray and DVD backup utility. It boasts DVD and Blu-ray decrypter functionality. To rip a DVD or Blu-ray to your computer, pop in a disc, select the media in MakeMKV. Upon doing so, MakeMKV runs through some initial work loading information. You’ll see the various titles and can expand the sections to view subtitle and audio track information.
From here, select the subtitle and audio tracks you’d like to rip, along with the titles you want to transfer. Generally, the title with the most tracks will be the feature, while smaller titles are bonus features, deleted scenes, or whatever else is on the disc. However, this varies by disc. Deselect everything you don’t need, then click the MakeMKV button.
Now, let MakeMKV get to work. DVDs typically rip in under 20 minutes. However, Blu-rays can range from 30 minutes to a couple of hours depending on the length of the movie and the extras you want.
MKV files are slightly smaller than original disc images. DVD backups are about 10% smaller, with Blu-ray rips roughly 40% smaller than their disc counterparts. Ripping a Blu-ray disc provides a much larger file than a DVD, well over 4GB. While a Blu-ray MKV rip provides maximum quality, it takes up more space. Converting your MKV to another format such as an MP4 might produce a smaller file, albeit at the cost of audio and video quality.
2. Handbrake
Available on: Windows, Mac, Linux
Handbrake is a fantastic open-source DVD ripper. It’s a completely free Blu-ray ripper. Aside from ripping DVDs and Blu-rays, Handbrake can do lots of clever things, including converting videos, adding subtitles to films, and more.
Simply select a profile depending on the target device or quality, decide if you want to use Handbrake to attach subtitles to a movie file, then hit Start Encode.
Presets range from device options including iPad and iPod to high-quality 1080p options, and more. Plus, you can pick different formats such as MP4, H.265, and H.264.
Since you can tweak tons of settings or merely choose a preset and start encoding, Handbrake is as intuitive or complicated as you make it. Overall, it’s one of the best free DVD rippers you can download.
This Blu-ray and DVD decrypter is cross-platform, free, and open-source. Moreover, frequent updates ensure that Handbrake offers a cutting-edge feature set.
3. Freemake Video Converter
Available on: Windows
Freemake remains a top choice for DVD ripping software. What’s neat is Freemake’s arsenal of video editing options. Not only is Freemake one of the top free DVD ripping software options available, it’s packed with editing capabilities.
Using Freemake, you can join files together. You can even join up files to have one big merged file. Videos can also be converted to Flash or HTML5, as well as MP3. Among its many output file formats, you can rip DVDs to MP4, AVI, MKV, 3GP, and more.
One great feature is when you rip it to become a DVD, you can also add a menu with clickable chapter titles. With its ability to rip videos to a variety of formats as well as video modification, Freemake is an excellent free DVD ripper.
4. WinX DVD Ripper
Available on: Windows, Mac
WinX is another one of the best DVD rippers. It comes in two flavors: there’s a free DVD ripper as well as WinX DVD Ripper Platinum Edition. While WinX’s def ripping software is free, it’s basically a trial version of the Platinum edition. However, once the trial expires, it’s totally usable and merely drops a few premium features.
The free iteration will rip a DVD to MP4, WMV, AVI, FLV, MOV, MPEG, H.264, iPhone, iPod, Apple TV, Android, Samsung, HTC, and PSP. With it, you create an exact 1:1 clone with no quality loss. WinX DVD Ripper boasts a fast backup speed, with taking roughly five minutes to create an MPEG2 copy of a DVD.
The Platinum version adds additional output formats, such as creating ISO files. You’ll see faster ripping speeds as well as video editing features. WinX DVD Ripper is a superb alternative to Handbrake and Freemake.
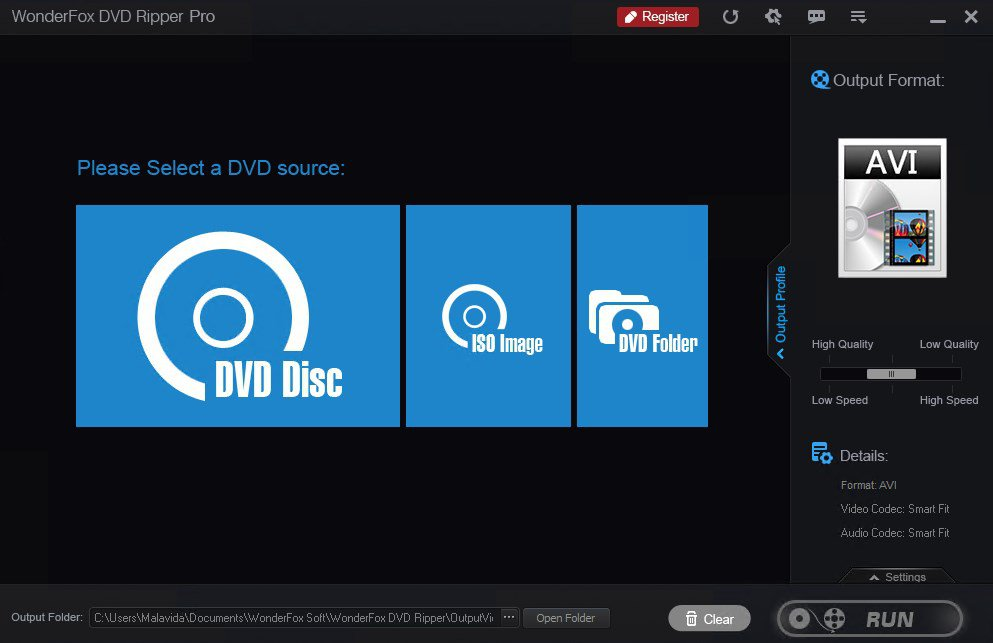
5. WonderFox DVD Ripper Pro
Available on: Windows
In addition to WinX, we really enjoyed WonderFox DVD Ripper Pro. It’s simple to use, making DVD ripping easy. Just pop in a DVD, select your preferred output format, and start digitizing your DVDs.
WonderFox DVD Ripper Pro lets you quickly back up DVDs in as little as five minutes, and can create 1:1 copies for top-notch quality.
The app costs $40.
6. Aurora
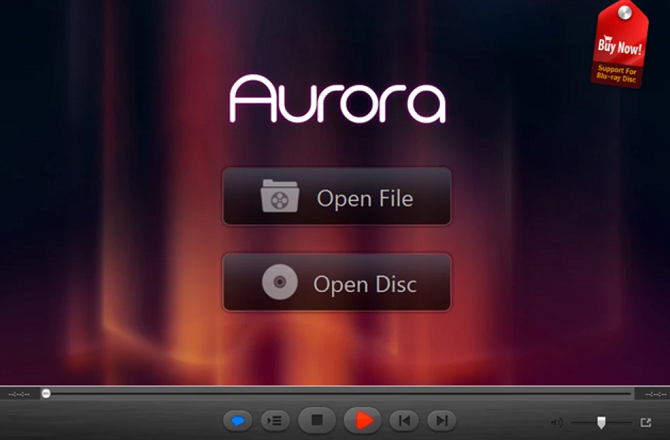
Available on: Windows, Mac
Aurora is a free Blu-ray ripper that sports cross-platform compatibility. It will burn the Blu-ray disc into an ISO file, and then burn the ISO file onto a blank disc. Alternatively, simply use media server software such as Plex to play your ISO files. This is a powerful Blu-ray decrypter that’s fast and free.
While Aurora includes a solid feature set, it’s limited as Blu-ray ripping software. You may copy a Blu-ray to an ISO file. Unlike options such as Handbrake, WinX DVD Ripper, or MakeMKV, you won’t find additional video file output formats or compression tools.
Still, Blu-ray ripping is indeed speedy, and it’s a robust Blu-ray ripper with Mac and Windows installers.
7. CloneDVD and CloneBD
Available on: Windows
Aptly named, CloneDVD clones your DVDs. Simply insert your disc, select which chapters you want copied, choose your language, whether you want subtitles, then rip your DVD.
Once the file, in DVD format, has been copied to your computer, you can burn the ISO to a blank DVD disc, use software like Handbrake to convert your DVD file to an MP4, or mount the ISO file on your computer using a virtual drive.
Aside from its DVD backup utility, there’s Blu-ray ripping software as well. CloneBD can back up entire Blu-ray discs as ISO files, or output to the likes of MKV, AVI, and MP4.
CloneDVD costs $50; CloneBD will set you back $100.
8. VLC Player
Available on: Windows, Mac, Linux
While there are loads of video playback apps, VLC remains one of the most popular and feature-rich media players.
VLC Player rightfully earned its reputation for being able to play virtually any video format you want to watch. Although it’s commonly considered the go-to for media playback, you can also use VLC to rip a DVD or Blu-ray.
Choose what you want to be converted, select No disc menus if you don’t want menus, point VLC to the disc drive on your computer, then click Convert/Save. Ripping can take quite some time, though. Some users have reported it taking up to two hours. Options like MakeMKV or Freemake can do it in 15-20 minutes.
Related: Top Secret Features of the Free VLC Media Player
9. DVDFab
Available on: Windows, Mac
DVDFab is DVD ripping software which has received a lot of positive praise. As well as being able to rip a DVD to your computer in standard formats, it can also rip only the audio. So if you’d like music from a film or show, then DVDFab can grab it for you.
Batch conversion allows you to rip more than one title at a time. Specify the start point and end point that you want to be converted in a disc, and you can also automatically crop the screen to show what you want. For a nifty Blu-ray decrypter, check out DVDFab’s Blu-ray ripper.
The DVD version is $85; the Blu-ray version is $125.
10. DVD Decrypter
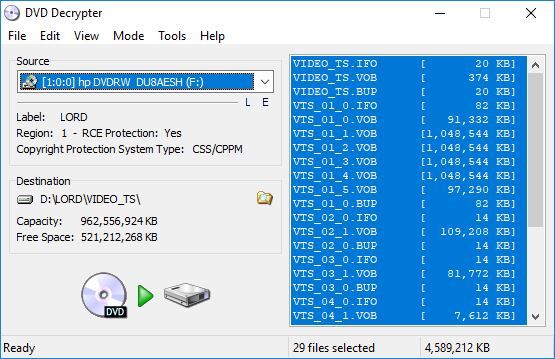
Available on: Windows
DVD Decrypter is an awesome free DVD ripper. While its official site shut down in 2005, it’s still available via an unofficial mirror. Ridiculously easy to use, DVD Decrypter loads title information making it easy to back up an entire or partial disc.
The biggest selling point of the app (and the reason it still makes our list despite its age), however, is the ease with which it can remove region restrictions from your disks. It can get rid of CSS (Content Scrambler System), user operation prohibitions, and Macrovision Content Protection with a single click. All of them are among the most common DVD issues you are likely to encounter.
Overall, it’s an excellent DVD ripping software option that’s totally free to use.
(Note: Remember, if you don’t want to rip all your region-blocked DVDs, you can buy a region-free DVD player.)
The Best Tools for Ripping DVDs and Blu-rays
While these are the best DVD rippers and Blu-ray rippers available, there are plenty of options to rip a DVD or Blu-ray to your computer. Which option you choose depends on whether you’re ripping Blu-rays or DVDs, what file formats you prefer, your ideal quality, and more.
MUO – Feed


 LIVE footage of the moment an Israeli air raid bombed the offices of Al Jazeera and The Associated Press in Gaza City
 LIVE updates: