https://postsrc.com/storage/6rLgsRfVYk79nEdllmhcANPLmilf6HmE80aXJFSt.jpg
In this post, you’ll learn how to deploy your Laravel website to production for free with Heroku. The steps are very simple and straight forward so let’s get started.
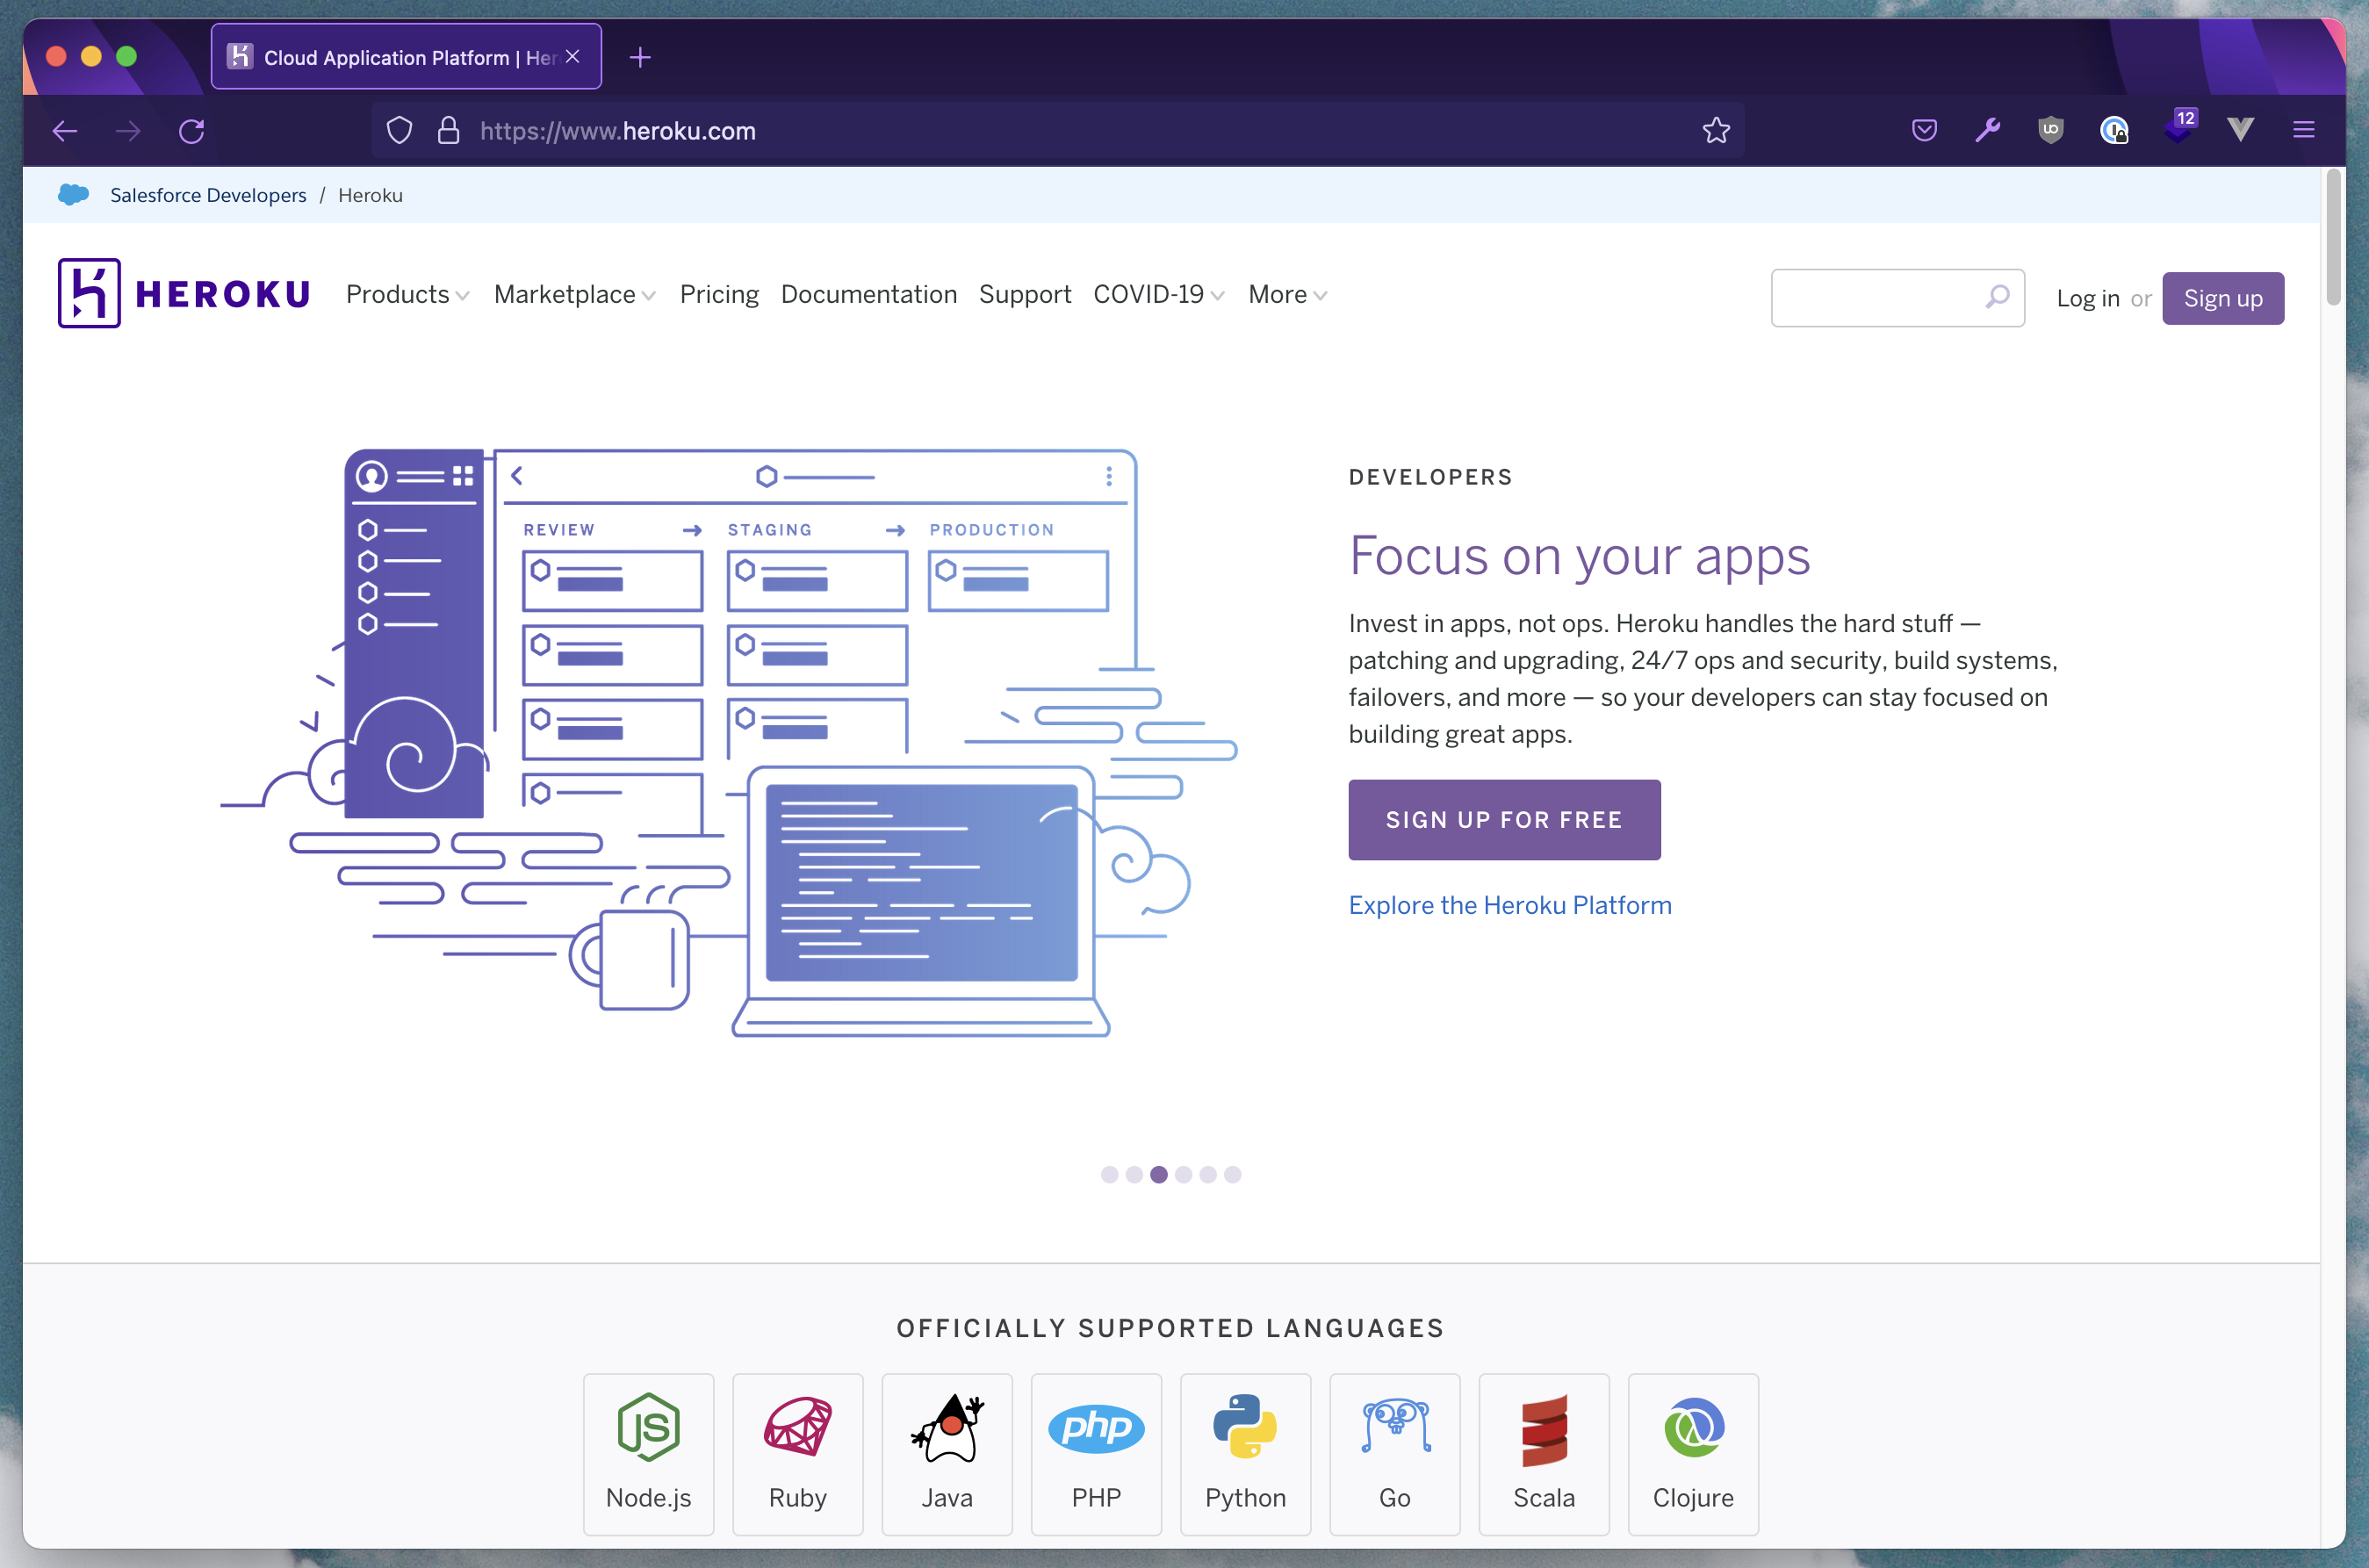
What is Heroku?
Heroku is a platform as a service (PaaS) that enables developers to build, run, and operate applications entirely in the cloud. Everything from the server instance, database, caching, monitoring, and all of those features will be handled by Heroku so the developer can focus on developing the website.
1 – Register an Account
In order to get started with Heroku, you will have to
it’s free so let’s get into it.
2 – Create a New Heroku App
Once you have access to your account, you can create a new app from the dashboard.

Upon pressing the “create new app” button you will have to provide the necessary details. Fill in the app name, and the region which is closer to you, and finally define the pipeline like below.
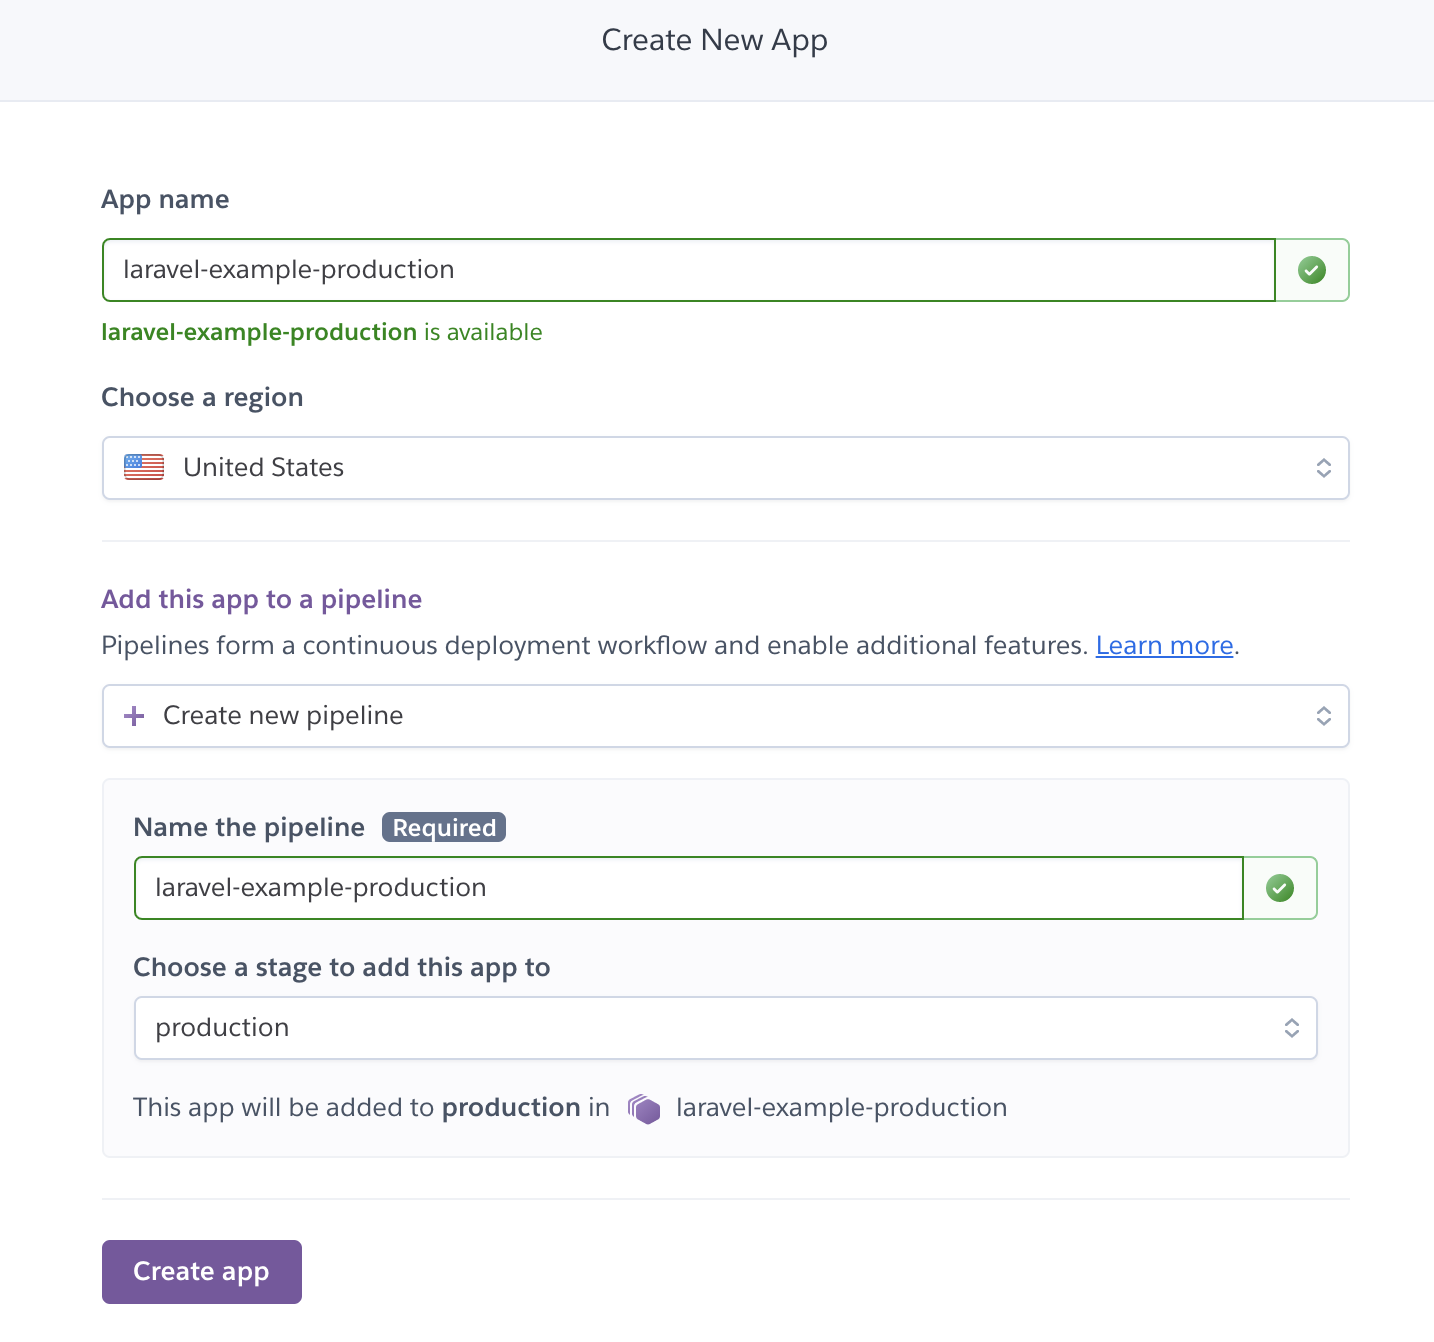
Now that the application has been created you will see the dashboard page which contains the details of the application. You can have a look through it but let’s focus on the “deployment method” first.

2.5 – Initialise new Laravel Project
For this example, a new Laravel 8 project will be created and the only addition that you have to add is “Procfile” which is a configuration that’s necessary to instruct Heroku build. Do note that the file name itself is “Procfile” with no extension and it has to be saved in the project root.
// Procfile
web: vendor/bin/heroku-php-nginx /public
The above profile will be using “nginx” as the webserver, but if you prefer to use “apache” webserver then you can define it like below.
// Procfile
web: vendor/bin/heroku-php-apache2 /public
3 – Connect With the Deployment Provider
The provider is the place where the application source code is hosted and how this works is that every time a new update is made to the application and it’s pushed (“git push”) to GitHub or any other online repository, Heroku will get notified and perform its build process and then deploy the application to production. By default, Heroku has 3 providers and they are the:
- Heroku Git
- GitHub
- Container Registry
In this post, the “Github” method will be used so it’s necessary to “Connect to Github” to provide Heroku access to the repository.
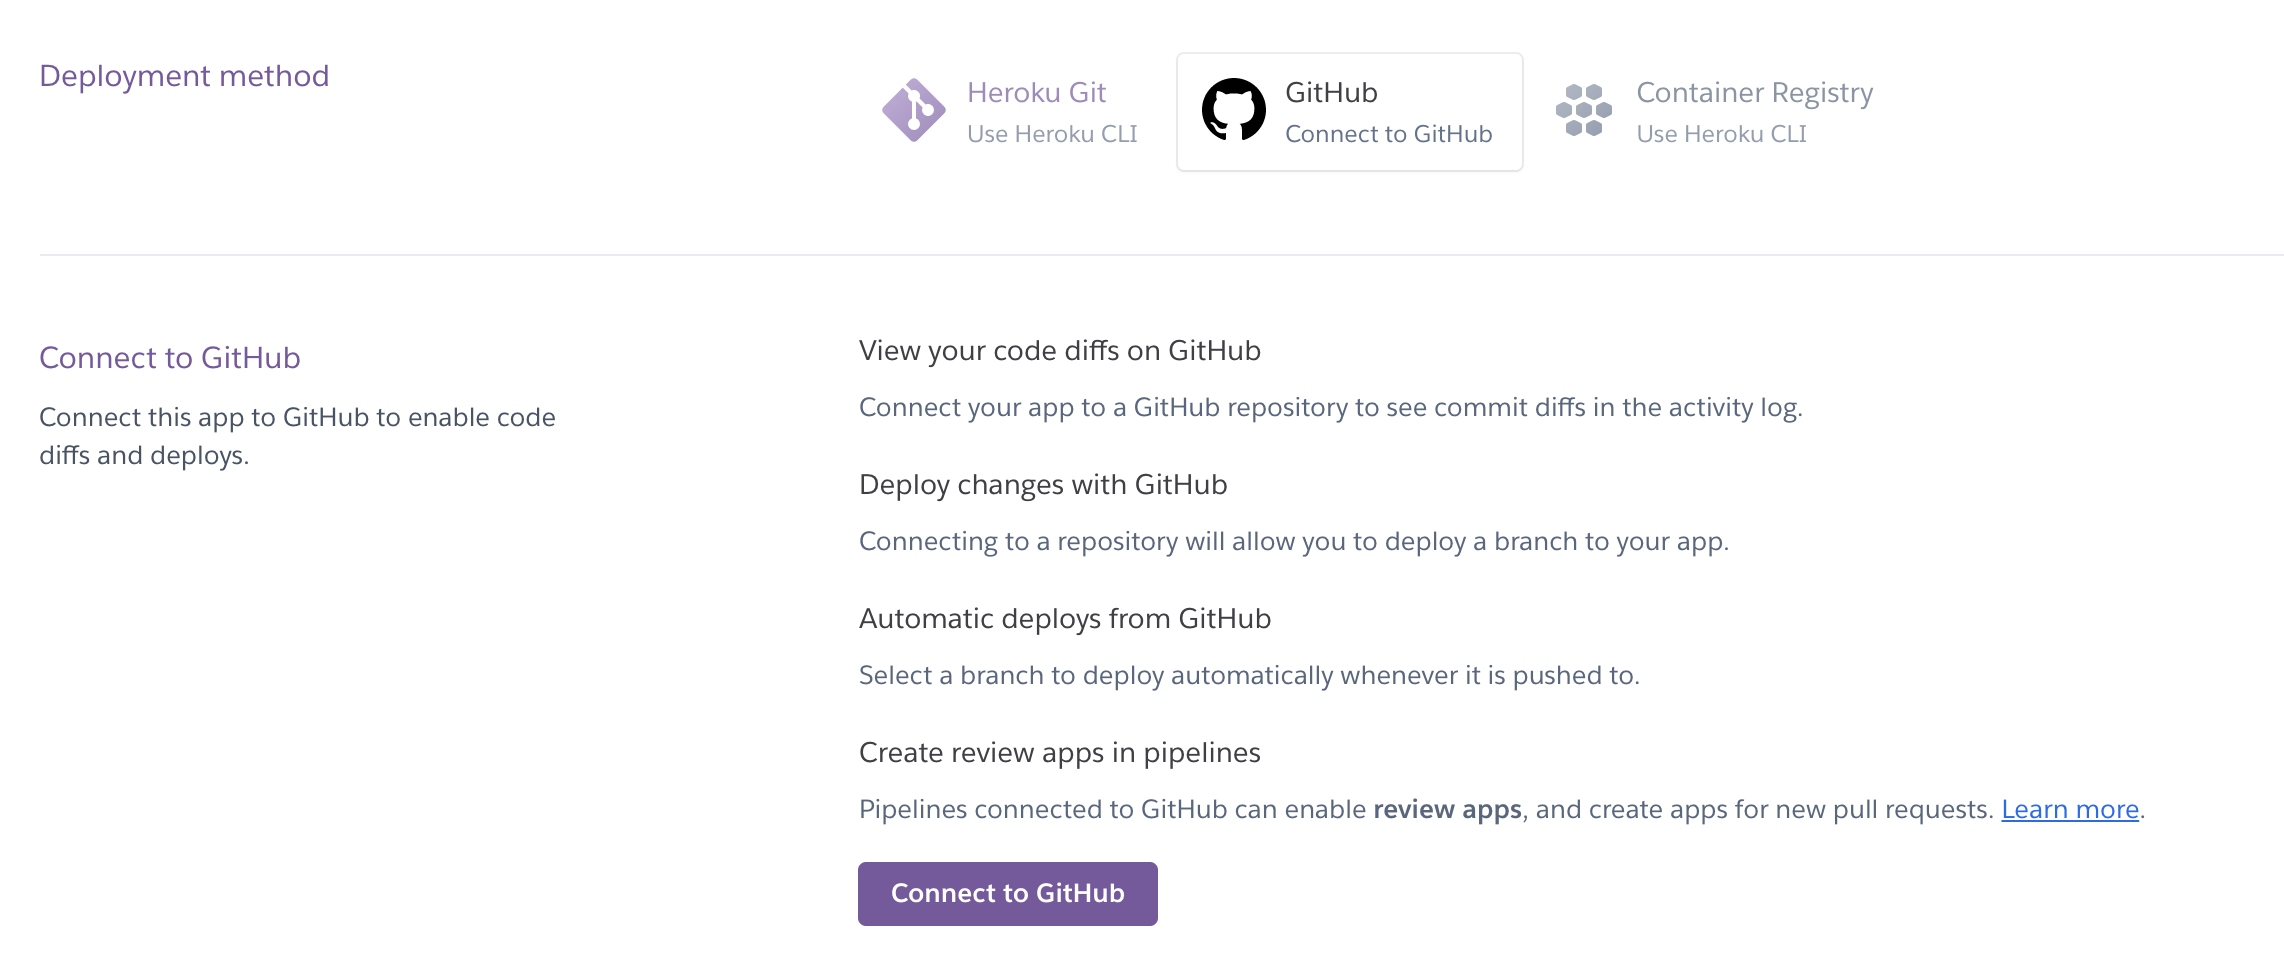
Once it’s connected to GitHub, you can connect to the specific repository for the application to be initialised for deployment.

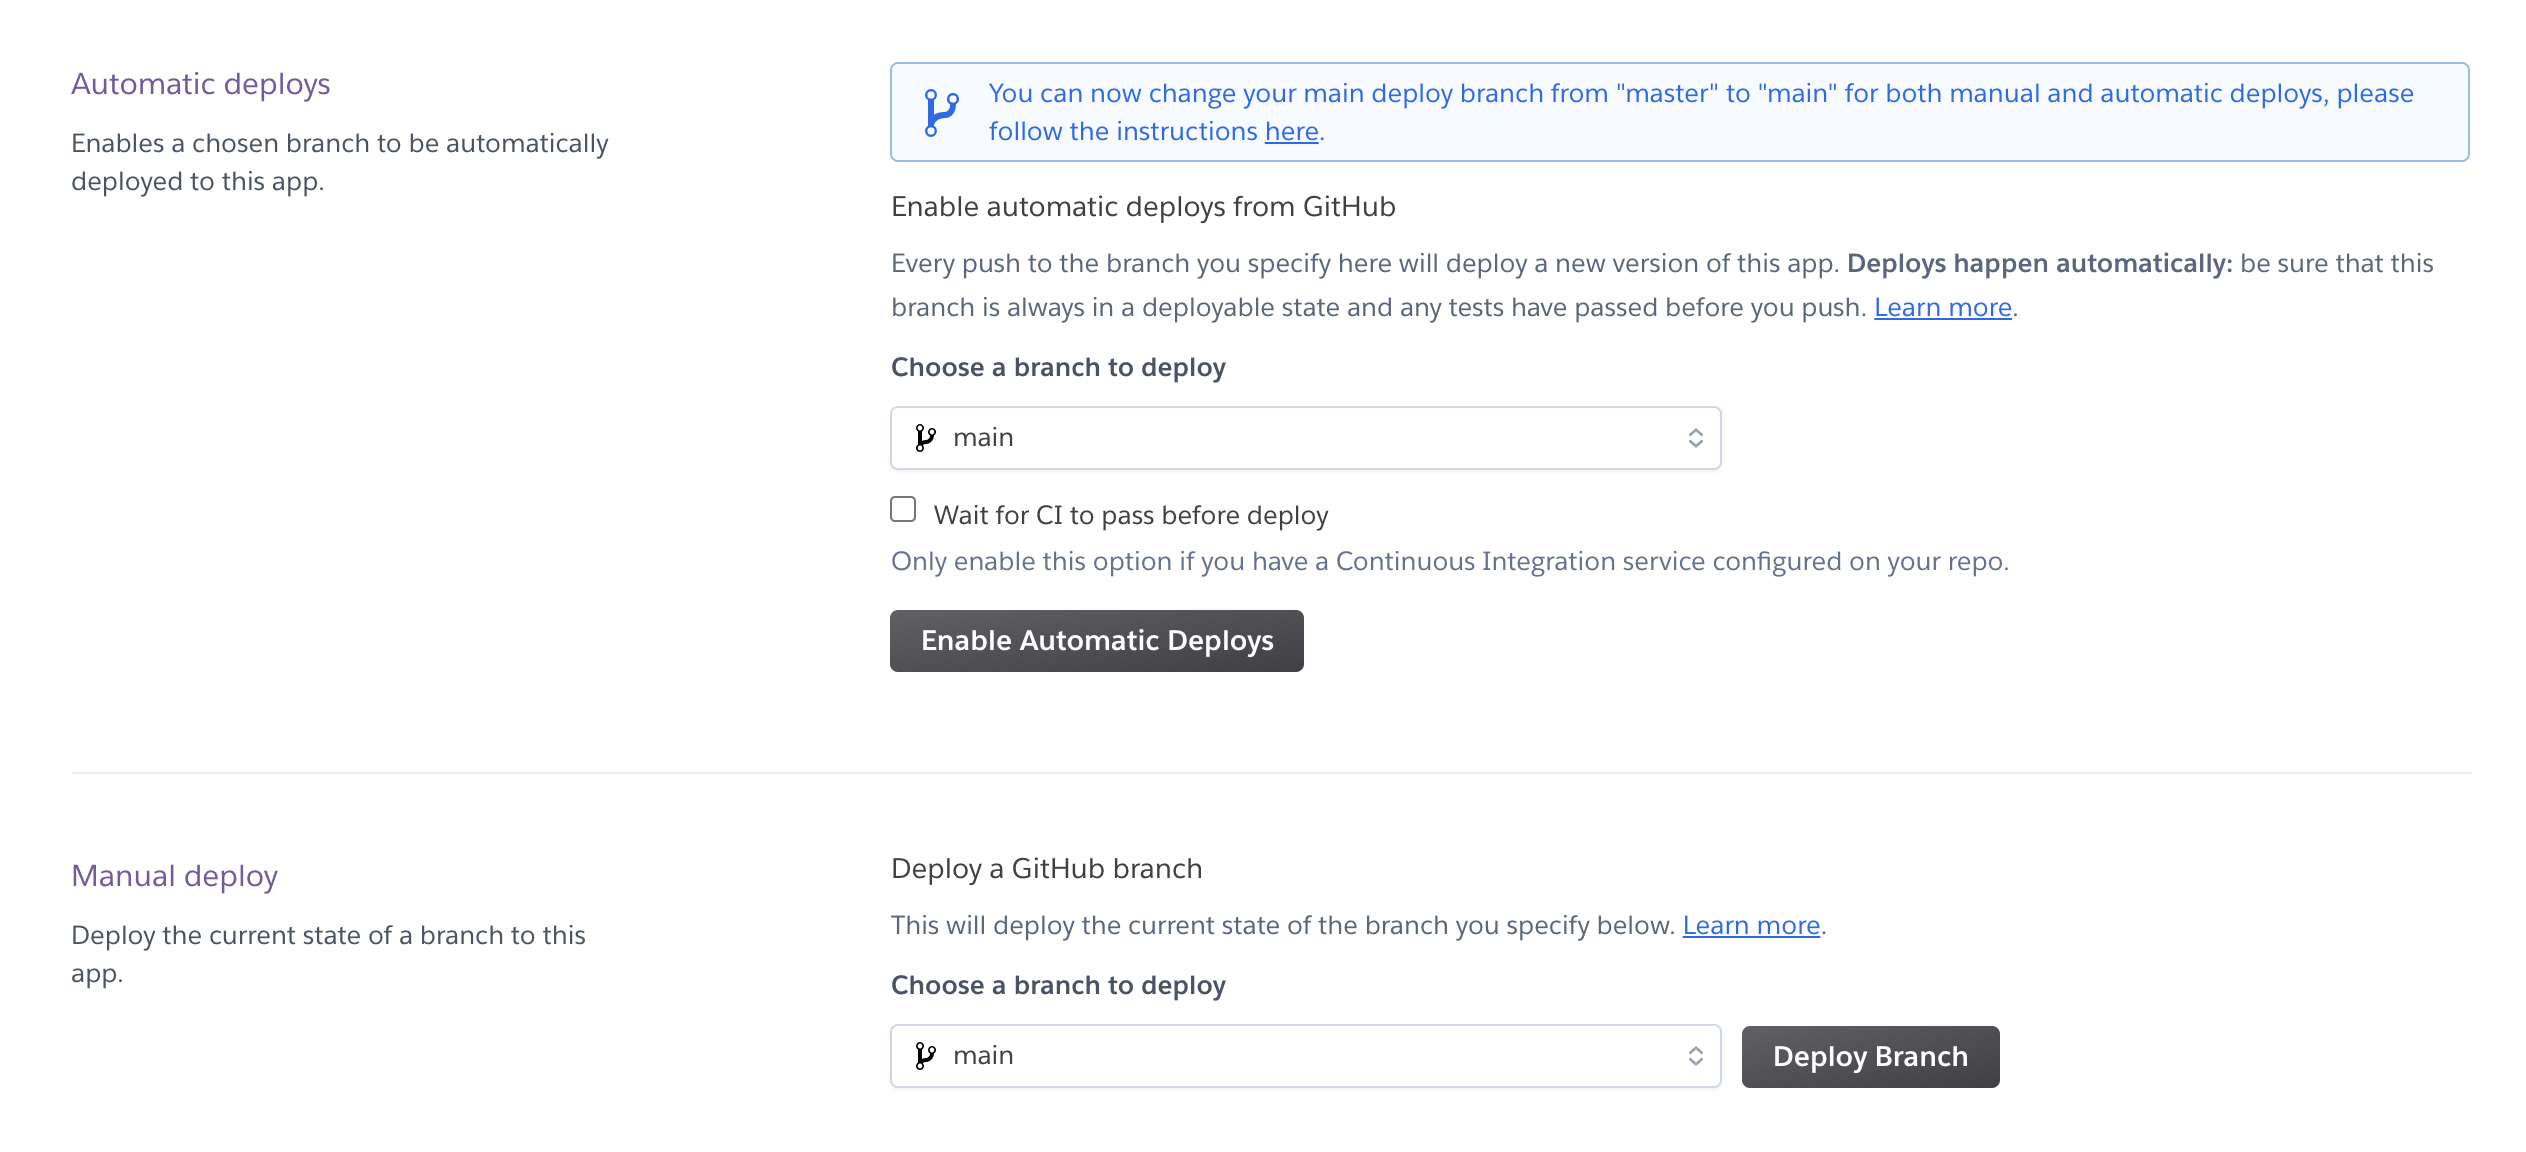
Do note that by default the branch that will be used is the “main” branch and from the settings like on the screenshot below, you can “enable automatic deploys” for a faster push to deployment.
4 – Define Environment Configs
Before deploying the branch, the environment configuration has to be set up from the “Settings” tab. You can reveal the “config vars” but by default will be empty.

Fill in the necessary config variable as the “key” and “value” pair a line at a time. The least necessary config to have is the APP_DEBUG, APP_ENV and APP_KEY.

By now it should be ready to be deployed to production so head back to the “deploy” tab.
5 – Trigger the Manually Deploy Button
From the “manual deploy” section, press the “deploy branch” and let the build process run, it will take few seconds and once it’s ready, you can view it from the link provided or just click the “view” button.

6 – Preview in Browser
Finally, you can preview the application in production and it should look like below. If you have come across any errors, do enable the APP_DEBUG to “true” and APP_ENV to “local”, this way the errors will appear when you access the link.
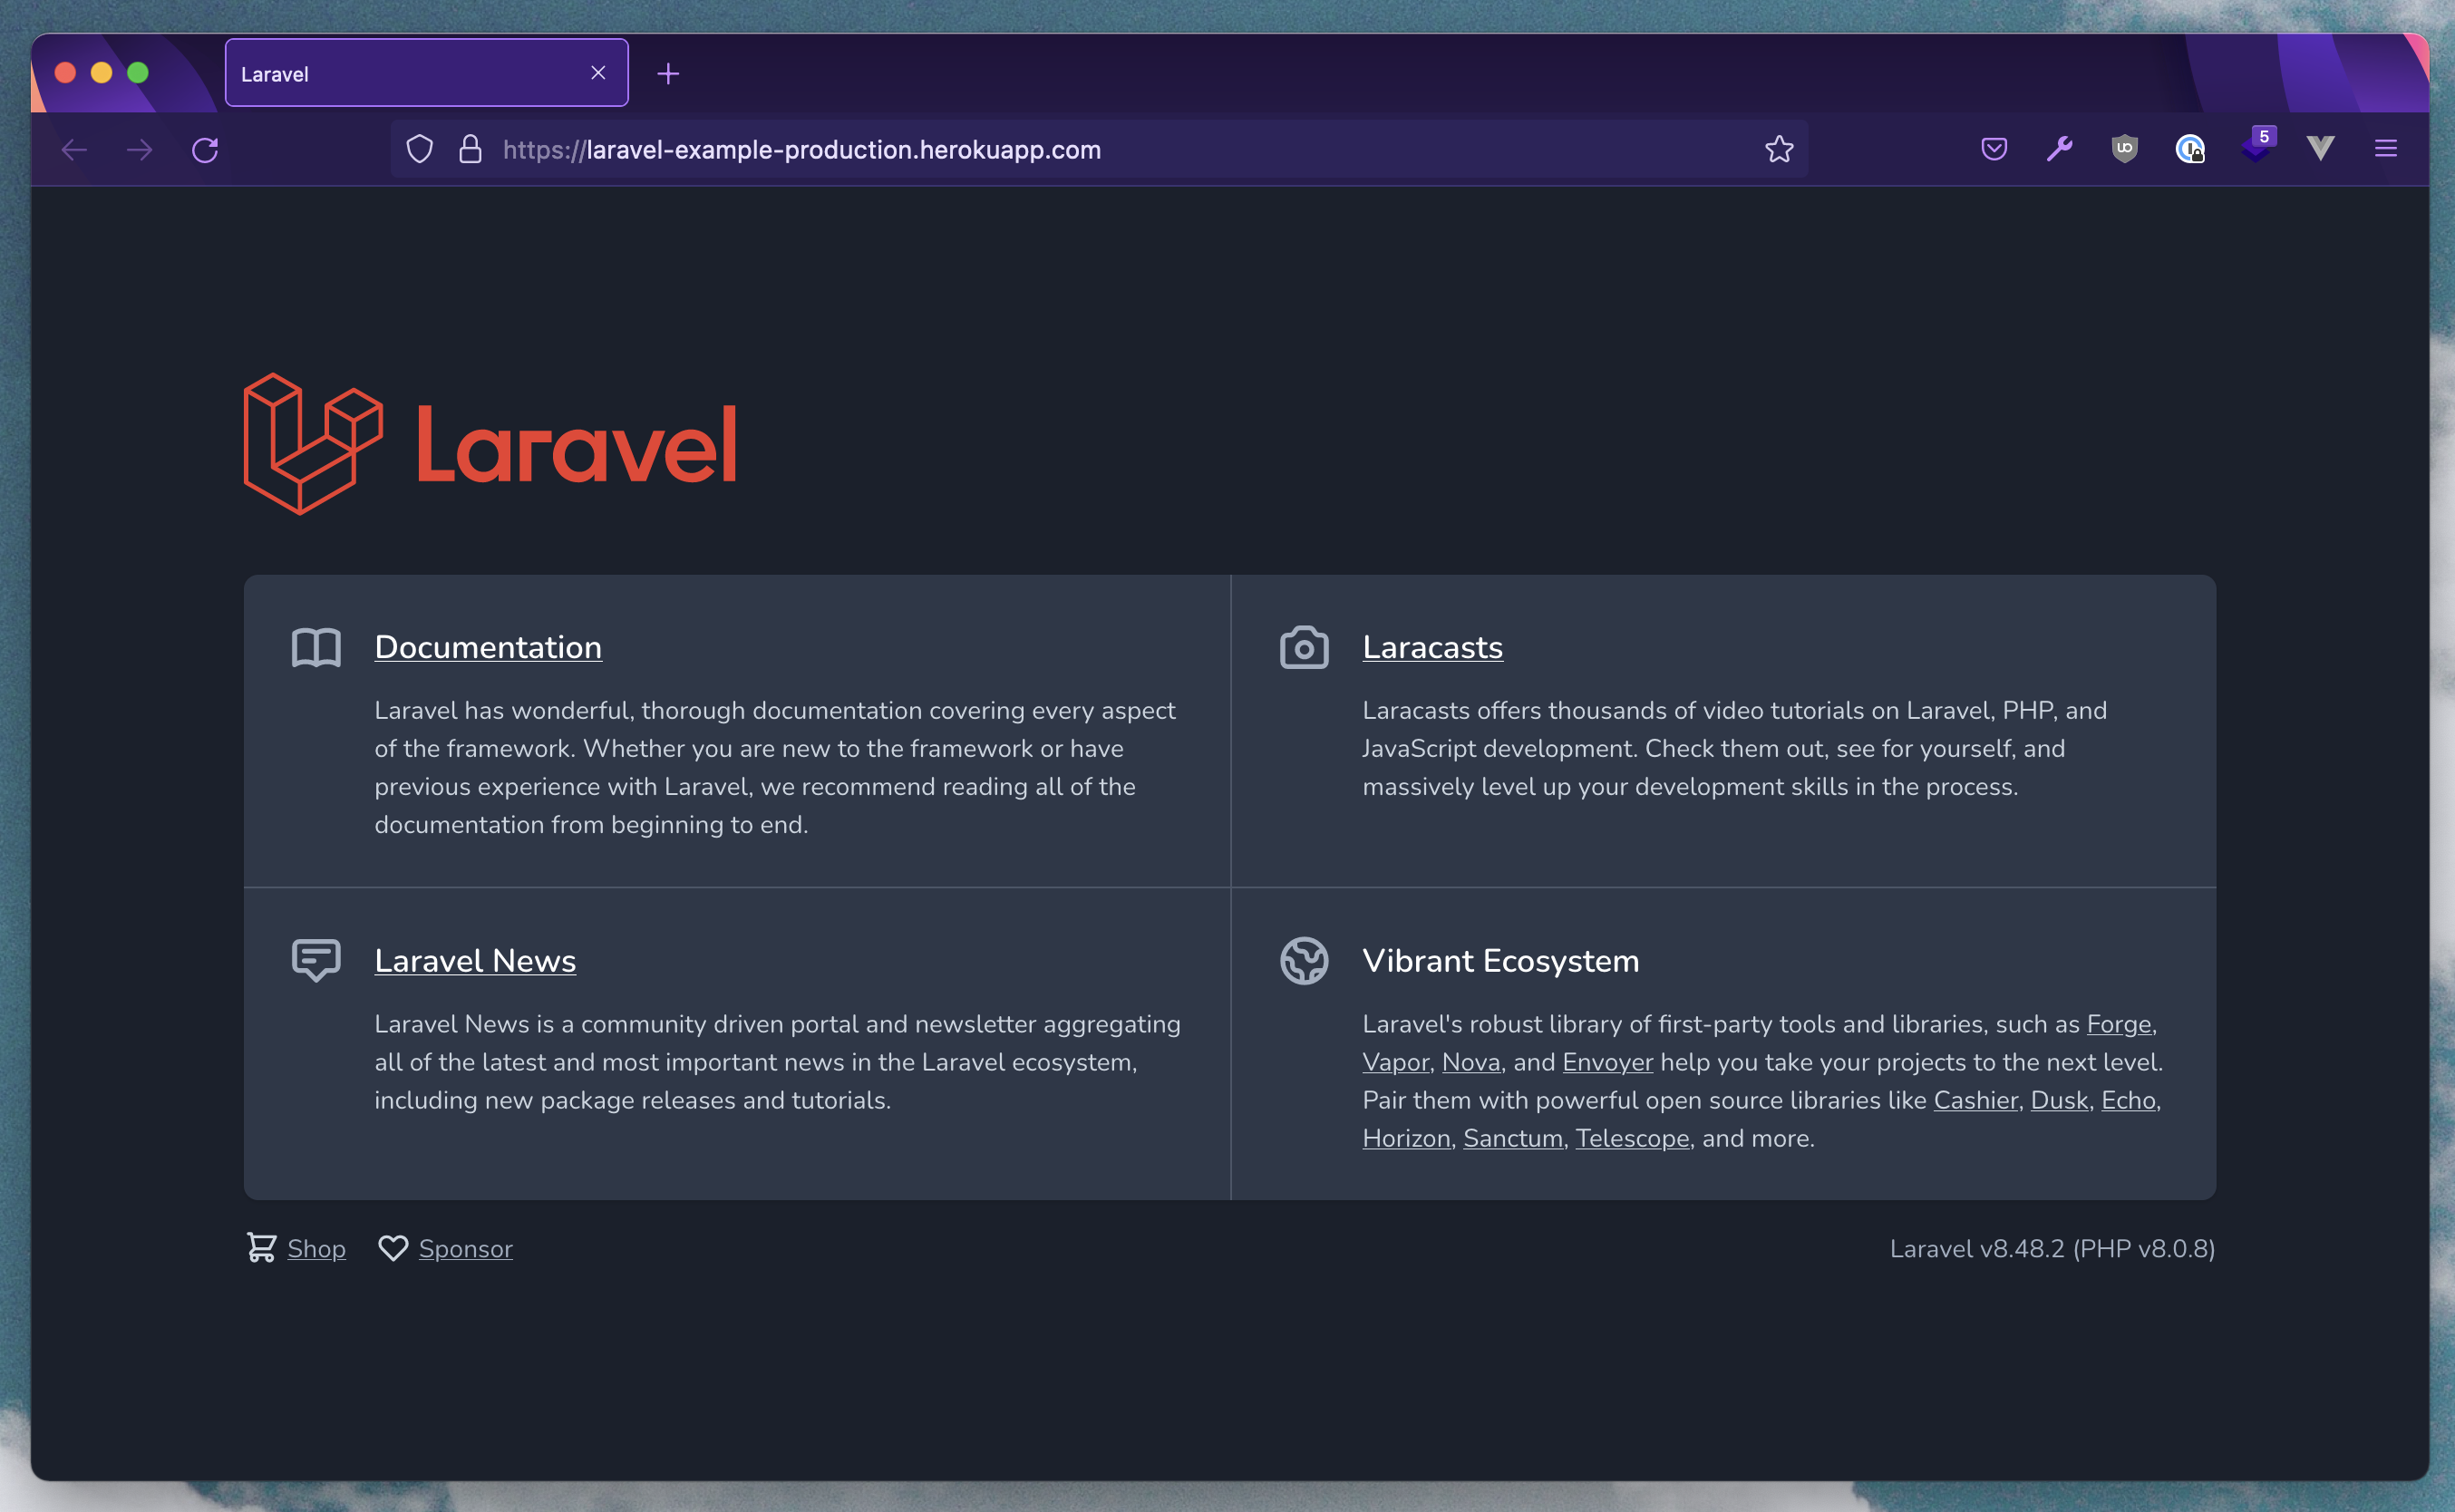
This URL is fully accessible to the public but do note that if your website doesn’t receive any traffic within 30 mins then the instance/heroku will be in a sleep/hibernate mode so it will take few seconds for the website to load.
By now you should be able to deploy your Laravel app to production with Heroku for free and in the next tutorial, you’ll learn how to set up a database on Heroku. If you found this tutorial to be helpful do share it with your friends, cheers and happy coding 🍻
Other Heroku Related Post
Laravel News Links