https://cdn.athlonoutdoors.com/wp-content/uploads/sites/6/2021/06/Mepro-FRBS.jpg
Although optics are all the rage now, many still like the simplicity and dependability of good old iron sights. They make a great backup as well. However, if the front and rear sights are not properly aligned your shot placement and overall accuracy will suffer. Not to mention, if they are really far off, they may pose more of a risk in a home or self-defense scenario. This short primer provides the basics on how to adjust your iron sights if they need it.

RELATED STORY
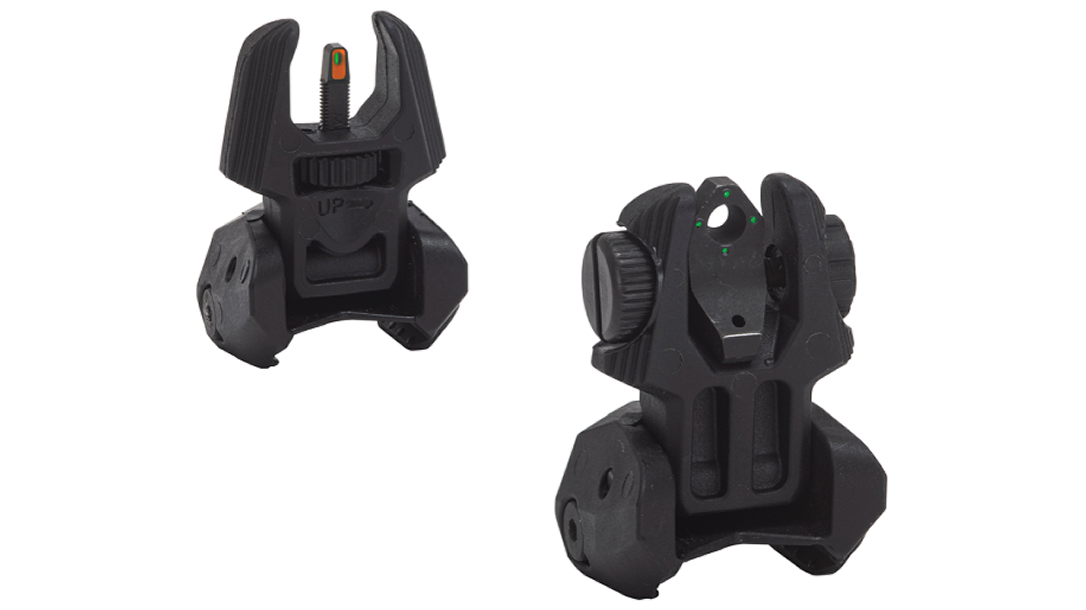
Mepro FRBS: Backup Flip-Up Sights Add Hyper-Bright Illumination
A Primer on How to Adjust and Zero In Iron Sights
Although some people like to zero at 25 meters, others prefer to zero at 50 yards. However, you may want to zero at 100 yards depending on your intended use. But keep in mind the effect this will have on close-quarters application. For this exercise, we chose a 50-yard zero.
Zeroing In
1.) Be sure you and your rifle are on a stable surface such as a bench rest or sandbags. Any movement, no matter how slight, will throw off your shots and affect the point of bullet impact.
2.) Place a target 25 yards downrange and fire a three-round group.
3.) Based on where your shots hit, determine if you need to adjust for windage, elevation, or both.
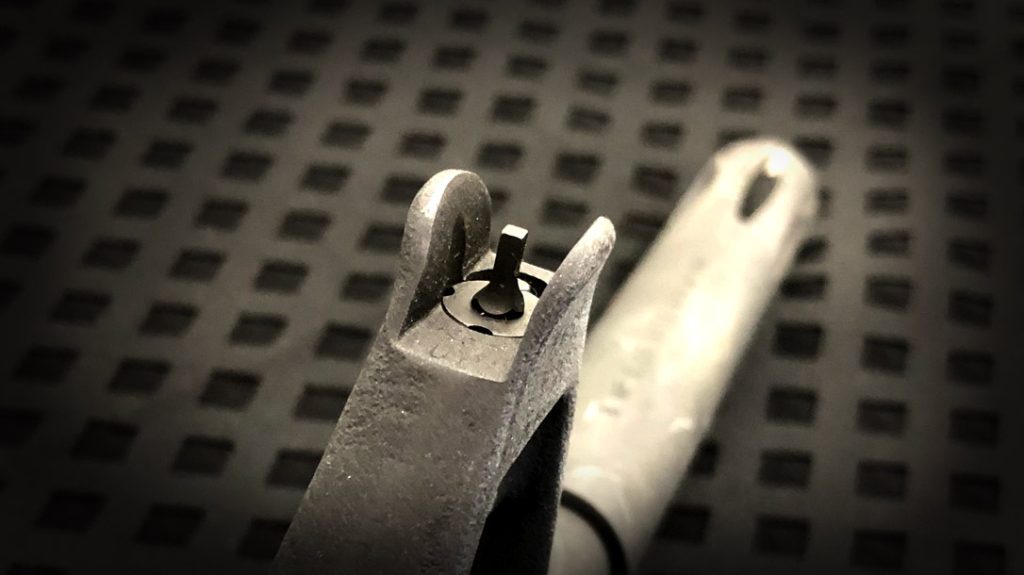
4.) If you need to adjust for elevation, first, figure out which sight to move. If it is the front sight, move the post up or down (a tool may be required). A general rule for adjusting a front sight is to move the sight in the opposite direction you want your group to move. For example, if you are shooting low, lower the front sight. However, your front sight may not be adjustable, in which case use your rear sight to adjust for elevation.

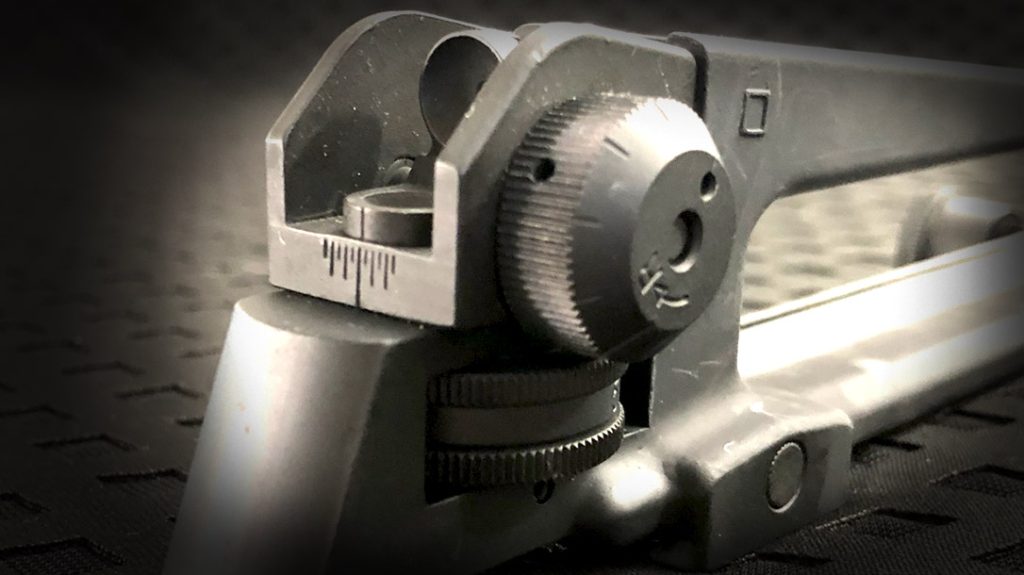
5.) If you need to adjust for windage, move the rear sight windage knob (left/right). However, you may also need to adjust the rear sight for elevation, and you will use the elevation dial for this (up/down). The general rule for adjusting a rear iron sight is to move it in the direction you want your group to move. For example, if you’re hitting the target high and to the right, move your sight down and to the left. The FORS (Front Sight Opposite, Rear Sight Same) acronym should help remember.

6.) Shoot three-round groups and adjust the sights until the desired point-of-aim, point-of-impact is achieved.
7.) Once you have a zero at 25 yards, back the target back to 50 yards and repeat. At this point, you should only need to adjust the elevation.
Things to Consider
There are some things to take into consideration when adjusting iron sights. First, if you are not able to shoot a tight group, make sure you are using a proper bench rest. Likewise, make sure your bench rest is stable.
If you are unable to achieve a tight group due to inexperience, it may be best to have a gunsmith perform your sight adjustments. Once the adjustments are made, make sure to practice regularly until you are able to tighten your group.
Next, if you are having a hard time dialing in your zero, try adjusting the elevation or windage separately. For example, shoot a three-round group and then adjust your elevation. Then, shoot another three-round group and adjust your windage. Focusing on one adjustment at a time may help to simplify things.
Finally, if you’re sights are really far off and you are not hitting paper at all, pull the target closer. Bring the target in to 10 yards and get a zero at that distance. Then, move it out to 25 yards. And finally, out to the intended 50 yards.
Once you’re done adjusting and zeroing in your sights, you are ready for the range, the hunt, or personal defense.
The post How to Adjust and Zero In Your Rifle’s Iron Sights for Improved Accuracy appeared first on Personal Defense World.
Personal Defense World