https://hashnode.com/utility/r?url=https%3A%2F%2Fcdn.hashnode.com%2Fres%2Fhashnode%2Fimage%2Fupload%2Fv1662646398500%2FKTlIM8Jdp.png%3Fw%3D1200%26h%3D630%26fit%3Dcrop%26crop%3Dentropy%26auto%3Dcompress%2Cformat%26format%3Dwebp%26fm%3Dpng
As developers, debugging apps is the task we do most of the time, and the essential part of it is accessing debug information, knowing what’s happening under the hood like seeing what queries are executed, knowing what commands are executed by your Laravel application will help you a lot to debug your application, and this is exactly what Laravel Telescope can do for you.

What is Laravel Telescope
Laravel Telescope is a first party Laravel package, its creators described it as:
An elegant debug assistant for the Laravel framework.
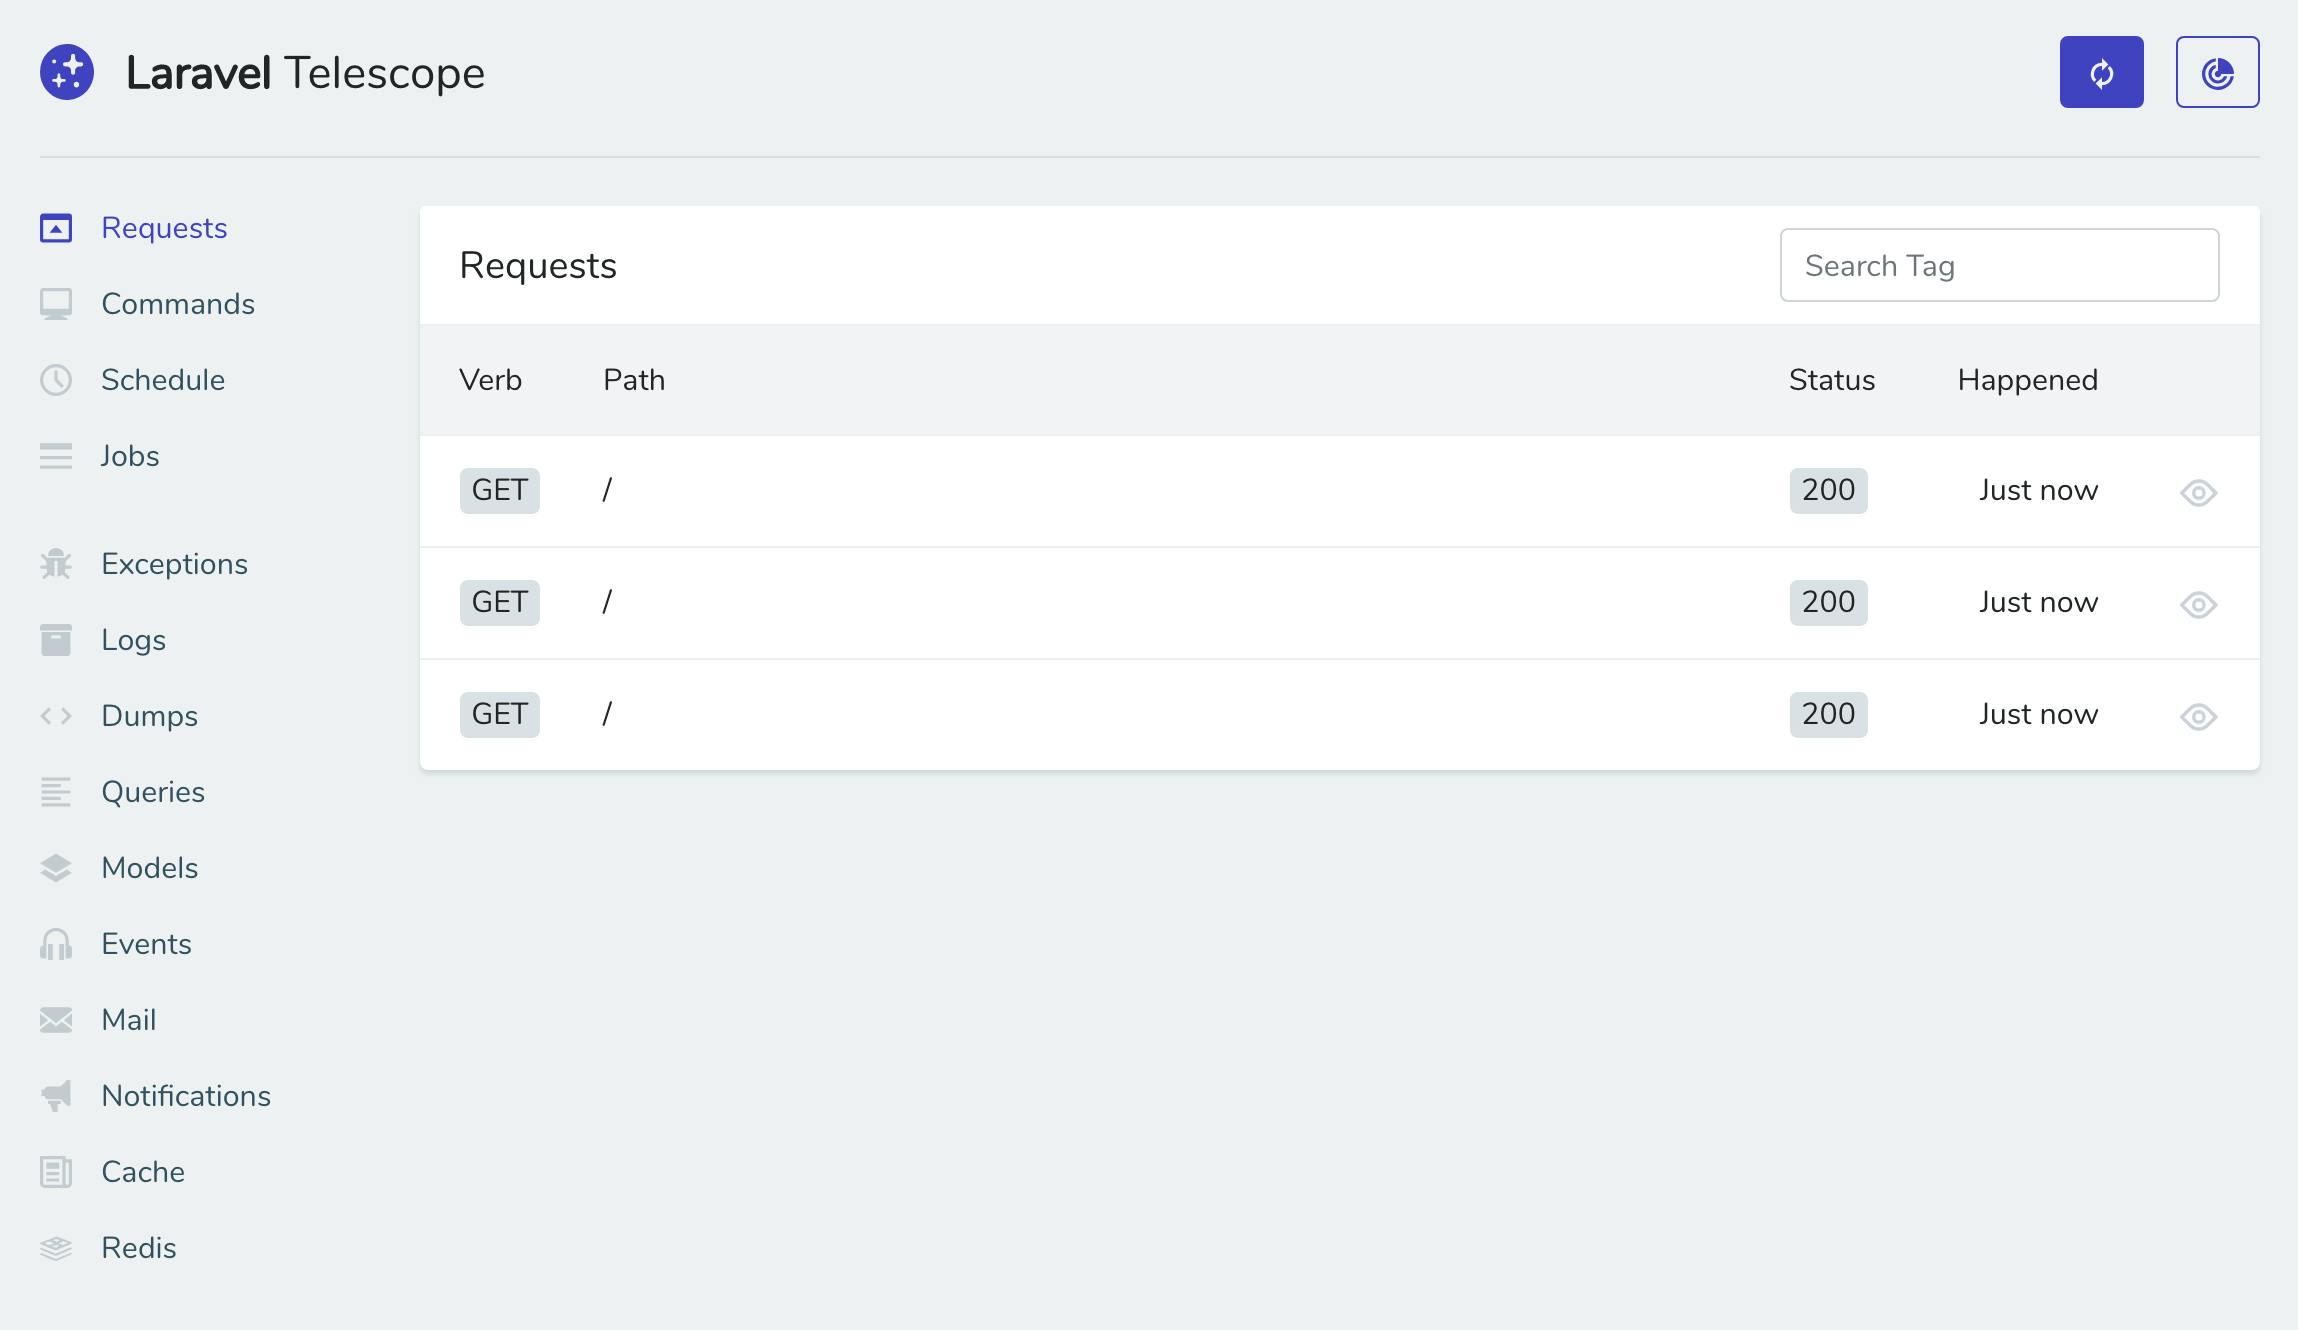
And this is exactly what it is, it’s your assistant while developing and debugging Laravel applications, it collects the important things you need to have an eye on like requests, database queries, queued jobs… basically everything’s happening in your application in one beautiful place so you can access them easily.
Laravel Telescope can also be helpful while improving the performance of your application, for example using its Queries feature that shows you all the database queries that are executed on every request, such thing can, for example, help you identify repetitive and unnecessary queries and fix them.
Laravel Telescope Installation
You can install it easily as any other Laravel package via composer:
composer require laravel/telescope
After installing it, you can publish its assets using the following command:
php artisan telescope:install
Finally, you have to run migrations to create the tables needed by Laravel Telescope:
php artisan migrate
That’s it, to access Laravel Telescope’s dashboard and start using it, visit /telescope.
Laravel Telescope in the Production environment
Now this dashboard is accessible only in the Local environment, if you try to access it in the Production environment, you will get a 403 FORBIDDEN error and that’s because of the authorization gate defined in app/Providers/TelescopeServiceProvider.php and that’s for sure a good thing, you don’t want to let everyone access Laravel Telescope’s dashboard.

To access the dashboard in a Production environment, edit the authorization gate in the way you want it to be, for example:
app/Providers/TelescopeServiceProvider.php
protected function gate()
    {
        Gate::define('viewTelescope', function ($user) {
            return in_array($user->email, [
                'your@email.com'
            ]);
        });
    }
Or maybe by users ID:
protected function gate()
    {
        Gate::define('viewTelescope', function ($user) {
            return in_array($user->id, [
                1,
            ]);
        });
    }
For more information about Laravel Telescope, visit the official documentation.
Here is their official repository on GitHub.
Laravel News Links