Social media platforms like Facebook are excellent for connecting with people online, but it’s important to be cautious. Here are some common mistakes you might be making on Facebook without even realizing it.
MAKEUSEOF VIDEO OF THE DAY
SCROLL TO CONTINUE WITH CONTENT
1 Oversharing About Your Personal Life
While it’s natural to want to connect with friends and family by sharing updates about your life, revealing too much information can compromise your privacy and security. Sharing things like your location, daily routines, or family information can expose you to potential privacy breaches.
This information can be exploited by hackers, stalkers, or even advertisers seeking to target you more aggressively. For example, posts about vacations can signal to potential burglars that your home is empty, significantly increasing the risk of a break-in. Additionally, sharing real-time updates can inadvertently inform malicious actors of your whereabouts, leaving you vulnerable.
It’s best to limit the details you share about your daily life. Consider curating your posts and keeping sensitive information for private conversations rather than sharing it publicly.
2 Including Excessive Details in Your Bio
It’s not just about what you post; it’s also important to reflect on the details you’ve included in your bio and how much information you’ve shared there. You may have unwittingly disclosed excessive personal details, such as phone numbers, email addresses, significant life events, and intimate family information.
It’s crucial to remember that your Facebook profile may be visible to strangers, especially if your privacy settings aren’t properly configured. This level of openness can leave you vulnerable to harassment or unwanted contact from individuals with ill intentions. Personal information is also used in spear phishing scams.
Rather than sharing sensitive information in your bio, consider offering a concise overview of your interests, hobbies, or professional background. This will allow you to convey your personality without compromising your privacy.
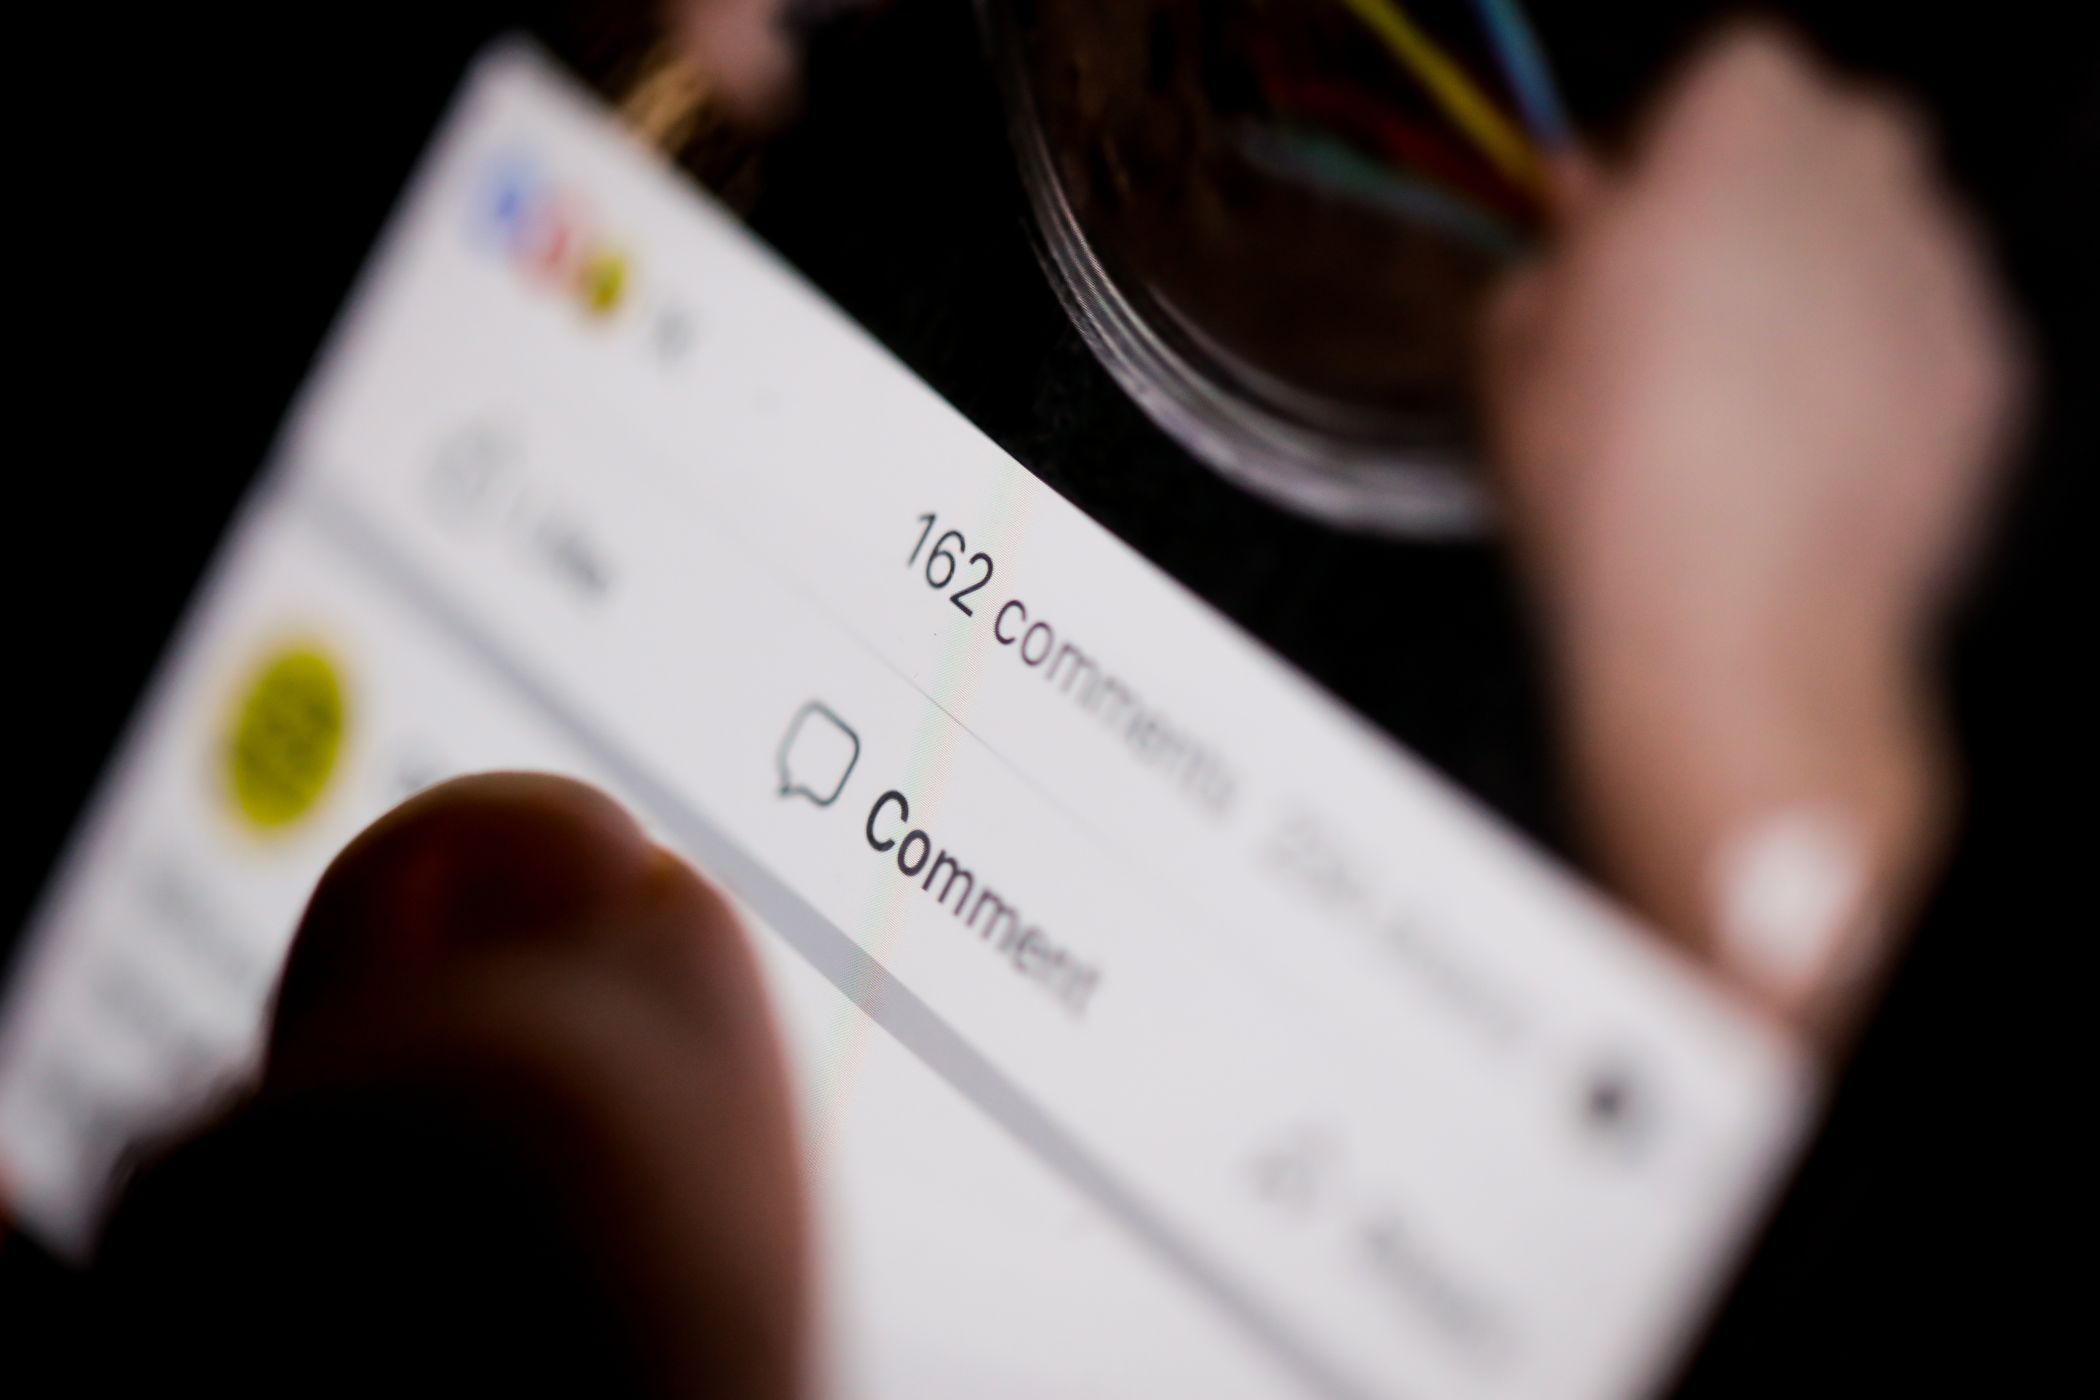
3 Spreading Misinformation or Unverified News
These days, social media platforms like Facebook serve as major sources of news and information for many. However, the ease of sharing content has also contributed to the widespread dissemination of misinformation and unverified news.
When you share articles, memes, or posts without verifying their accuracy or understanding their sources, you may unintentionally contribute to the spread of misinformation. This can be especially harmful, as misinformation has the potential to incite panic, shape public opinion, and even influence elections.
To combat this, it’s essential to verify the credibility of any information before sharing it. Engaging critically with what you read helps prevent the spread of misinformation and contributes to a more informed community. Every post you share has the potential to influence others, so ensure that the message you’re amplifying is accurate and valuable.
4 Engaging in Toxic Discussions or Trolling
Facebook is a platform designed for connection, yet it often becomes a battleground for toxic discussions and trolling. What may seem funny or harmless to you can be offensive or hurtful to others. It’s important to understand that engaging in heated debates or making sarcastic comments can escalate tensions and contribute to a hostile environment.
Toxic discussions not only damage relationships but can also tarnish your online reputation. Once words are typed and posted, they can spread rapidly, leaving a permanent mark on your digital footprint. Consider whether your words will contribute to a healthy dialogue or simply escalate tension. After all, social media should be a space for connection and understanding, not conflict and division.
5 Allowing Your Profile to Be Discoverable by Search Engines
By default, your Facebook profile is discoverable through search engines. This means that anyone can find your account simply by typing in your name in a Google or Bing search. While this may seem harmless, it can compromise your privacy and security. Strangers or unwanted acquaintances can easily locate your profile and gather personal information that could be used for malicious purposes.
Even if you believe your privacy settings are strict, search engine visibility can undermine those protections. Search engines index your information regardless of your privacy preferences, which can expose you to unwanted friend requests, harassment, or even identity theft.
To avoid this, it’s best to make your Facebook profile unsearchable via search engines. For that, open Facebook and head to Settings & privacy > Audience and visibility > How people find and contact you. Then, turn off the toggle next to Do you want search engines outside of Facebook to link to your profile.
6 Failing to Adjust Critical Privacy Settings
One of the most significant mistakes Facebook users make is neglecting to adjust their privacy settings. Sticking with the default settings often allows broader access to your profile and posts than you might realize.
For instance, by default, Facebook allows anyone—regardless of whether they are friends—to view your friends list, bio, and the pages you follow. This can lead to unintended exposure of personal information to strangers, increasing the risk of privacy breaches.
Moreover, you may not realize that your posts can be visible to the public, depending on your settings. Even seemingly innocent information can be misused by malicious actors. Therefore, it is essential to take the time to enhance your Facebook profile’s privacy by manually adjusting the privacy settings or using the Privacy Checkup tool.
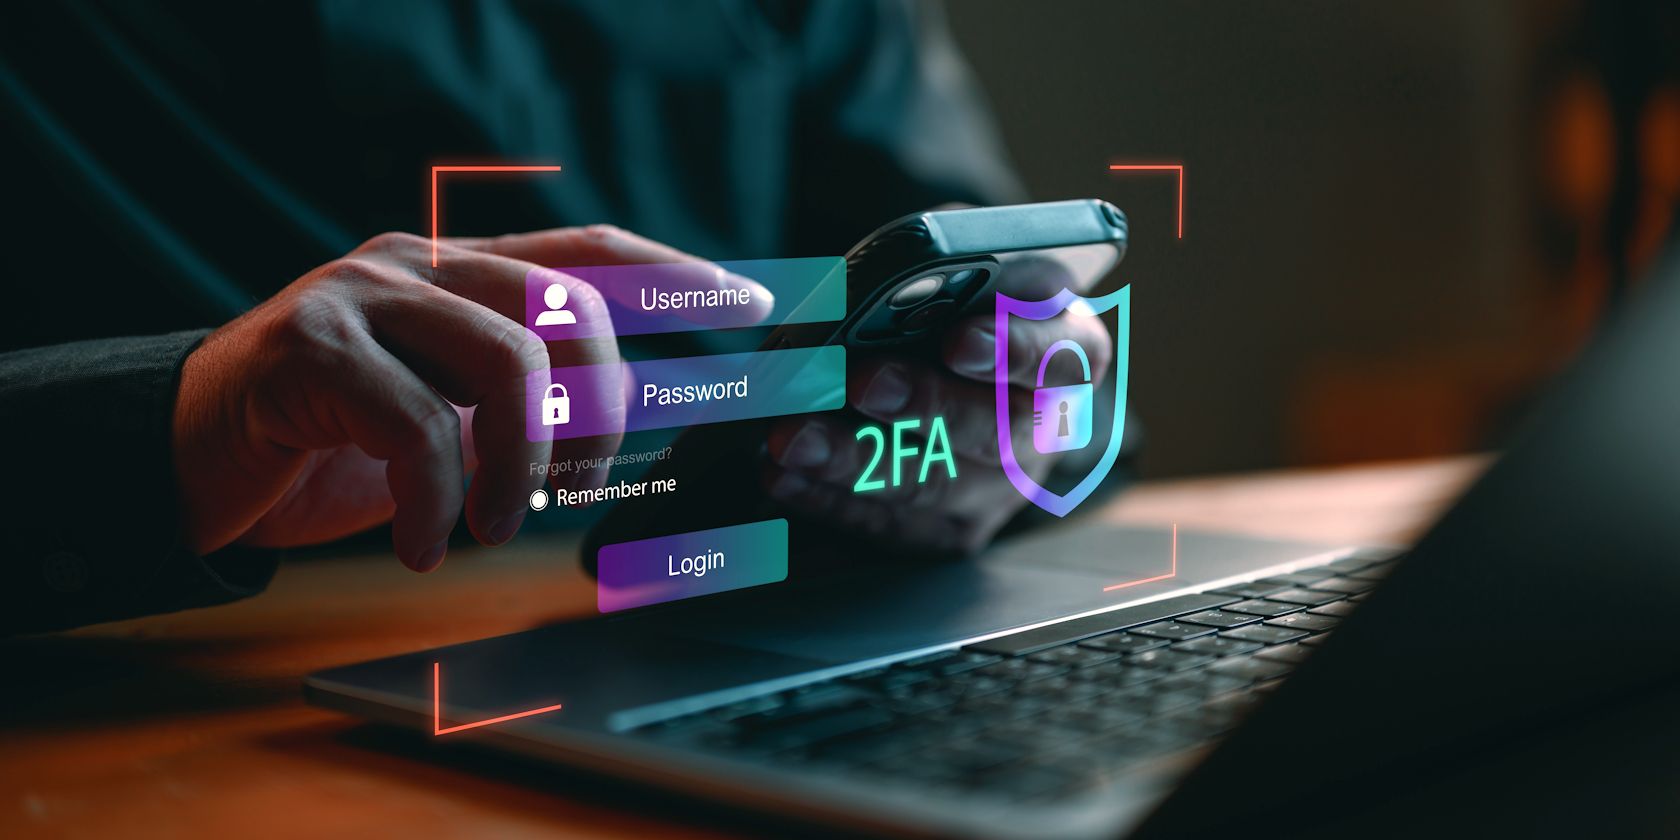
7 Overlooking Essential Account Security Measures
Keeping your Facebook account secure may not seem important, but it’s crucial for protecting your personal information and online identity. One common oversight is failing to enable two-factor authentication (2FA). Without it, your account is more vulnerable to unauthorized access, especially if your passwords are weak or reused across multiple platforms.
Over time, you may have unknowingly granted third-party apps and websites access to your Facebook account. These apps often require permissions that extend beyond what is necessary for their functionality, making it essential to regularly audit and manage these permissions. By taking a few moments to reassess what apps have access to your account and limiting permissions where possible, you can significantly enhance your data security.
In the fast-paced world of social media, it’s easy to fall into the trap of making mistakes, from oversharing personal information to neglecting privacy settings. However, by being aware of these common missteps, you can take proactive steps to enhance your Facebook presence and use the platform more effectively.