https://picperf.io/https://laravelnews.s3.amazonaws.com/featured-images/Filament_3.2_Social_Image_1.png
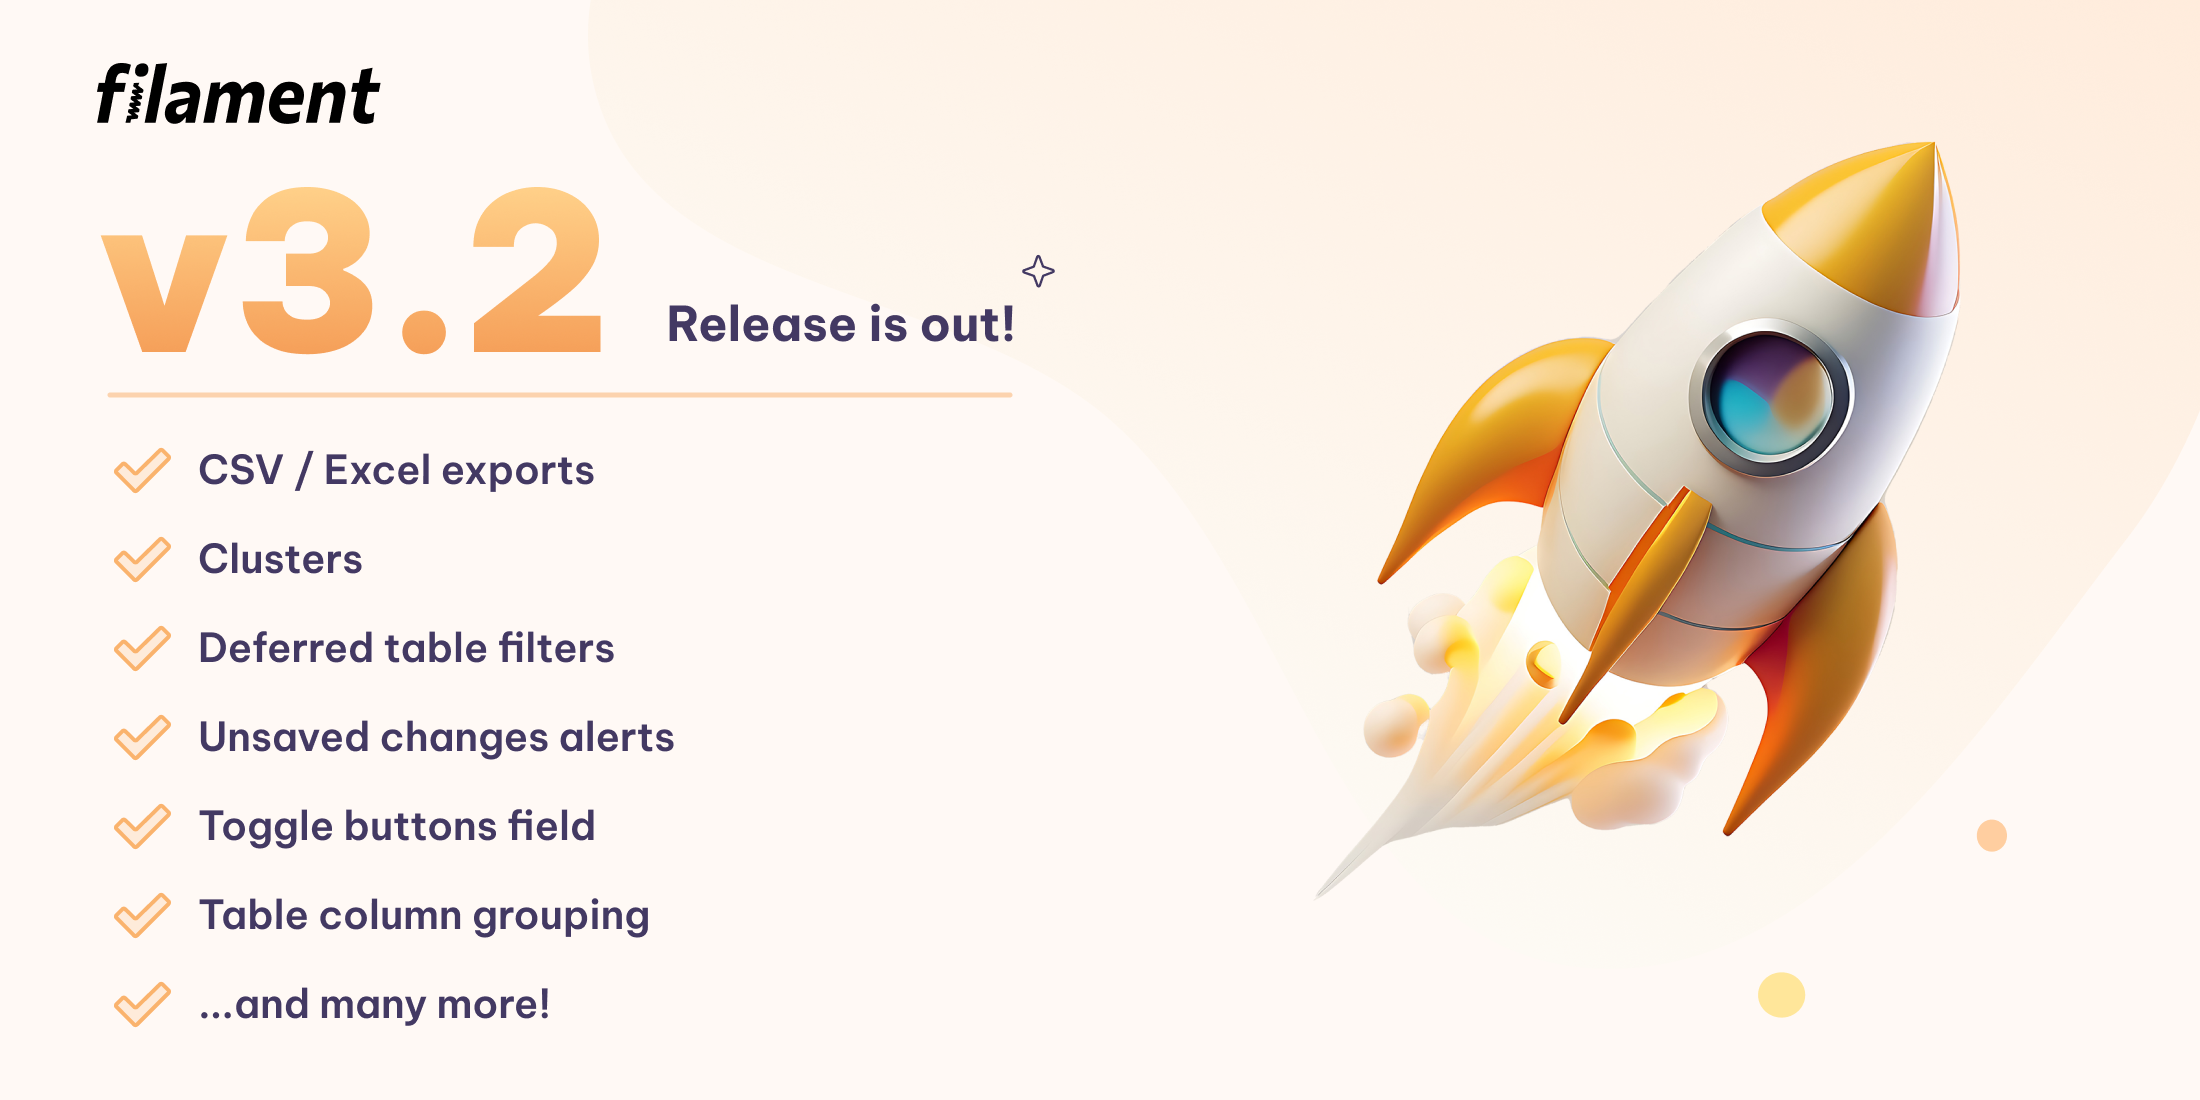
We’re only 15 days into January, and Filament v3.2 has already launched! This release is packed with a bunch of really exciting updates, so let’s dive right in and take a look!
As always, if you prefer to read about the changes directly on Github, check out the v3.2 changelog here.
CSV/Excel Export Action
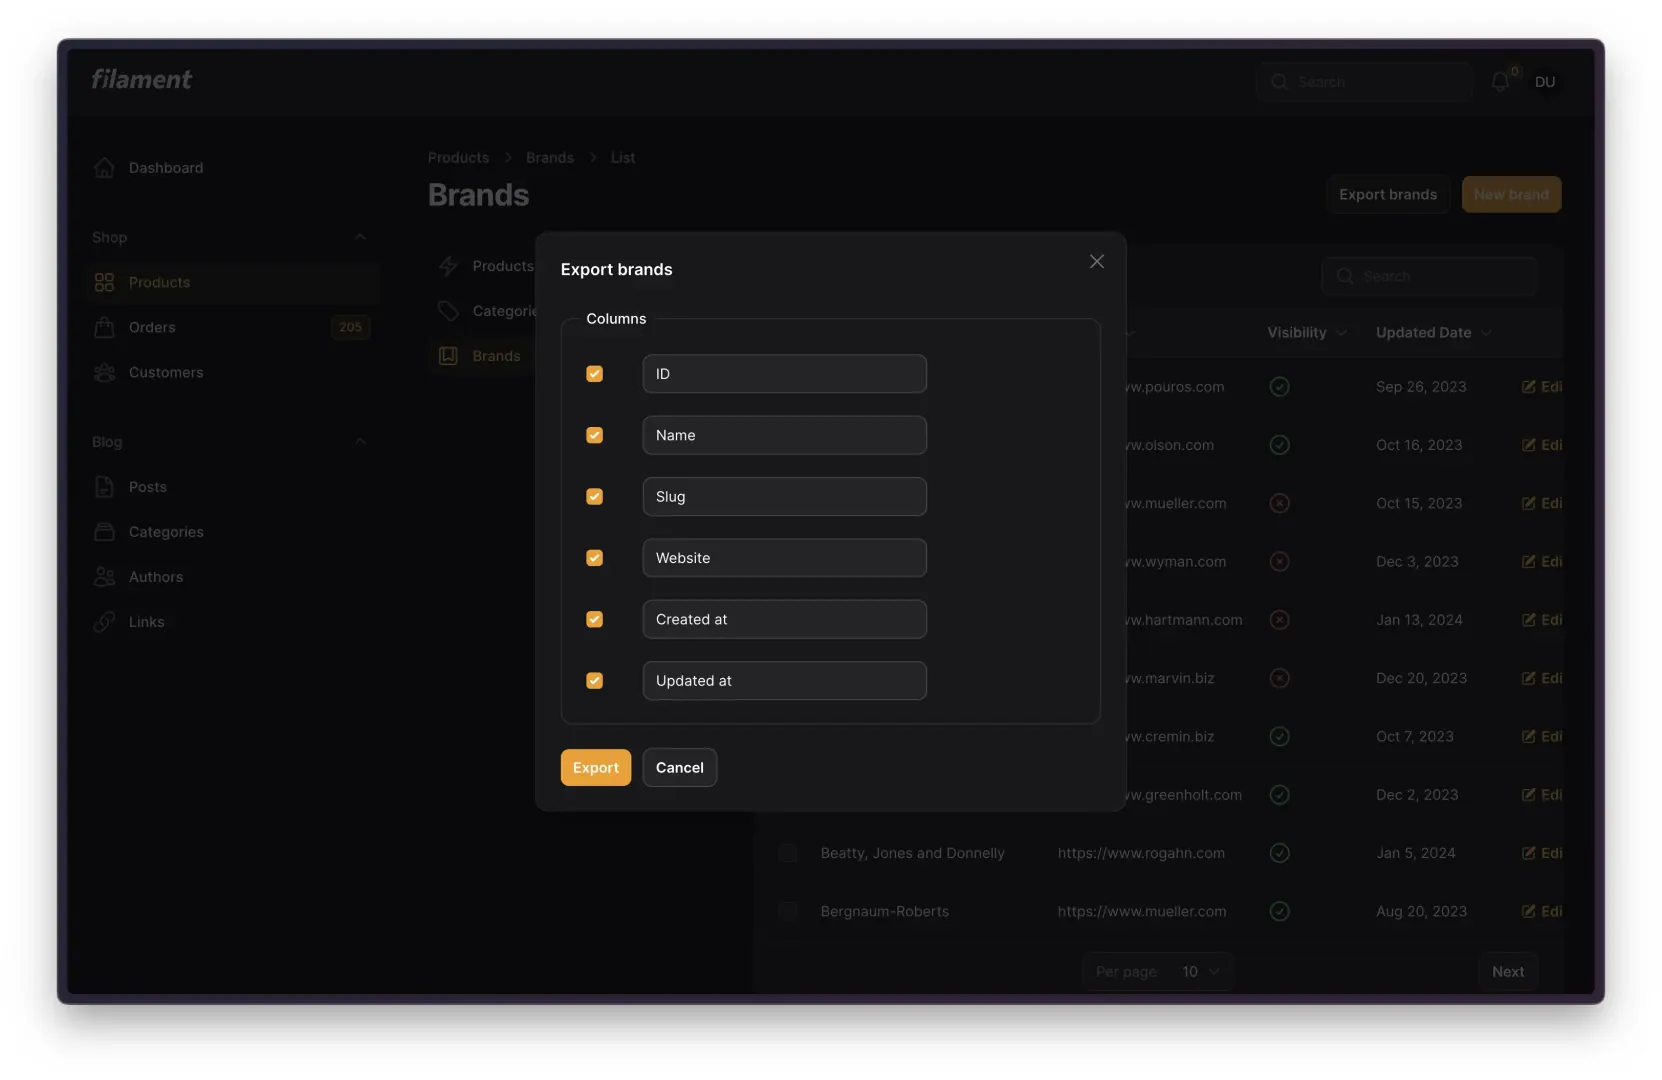
In Filament v3.1, we introduced the ability to import large amounts of data using a CSV. Since then, one of our most commonly requested features has been to add the exact opposite feature–exports! Now, in v3.2, a prebuilt ExportAction has been added to do just that.
Using a very similar API to the Import feature added in v3.1, developers can create Exporters that tell Filament how to export a given set of data.
Within the context of an Exporter, developers can define which columns should be included from the data, how they should be labeled, and even tweak the data itself that should be displayed in each table cell. Additionally, just like with Importers, Exporters can handle displaying data from related models via ExportColumn objects. At the most simple, they can be configured to display data from related models (the name of the User who wrote a Post object), but ExportColumns can even go so far as to aggregate relationships and output data based on the existence of a relationship.
This all just scratches the surface, so make sure to check out the official Export Action documentation on the Filament website for more details!
Clusters
Clusters are one of the most exciting additions to Filament in v3.2! Building on the sub-navigation feature added in v3.1, clusters are a hierarchical structure within Filament panels that allow developers to group resources and custom pages together. To give a less abstract definition, clusters help to quickly and easily group multiple pages across your Filament panel together, bundling them into a single entry in your main Filament sidebar.
Creating and using clusters is incredibly simple and can be set up in a few easy steps:
- Use the
discoverClusters()method in the Panel configuration file to tell Filament where to find yourClusterclasses - Run
php artisan make:filament-cluster YourClusterNameto have Filament set up a newClusterclass - Add the
protected static ?string $cluster = YourClusterName::classproperty to any resource or page class you want within a given cluster
Once you have completed these three steps, you’ll see your cluster appear on the main sidebar. And when clicked, Filament will open to a page with sub-navigation containing all resources and pages you gave the $cluster property.
This unlocks an incredible amount of flexibility and customizability when building panels in Filament. For more details on clusters and how best to use them, check out the documentation:
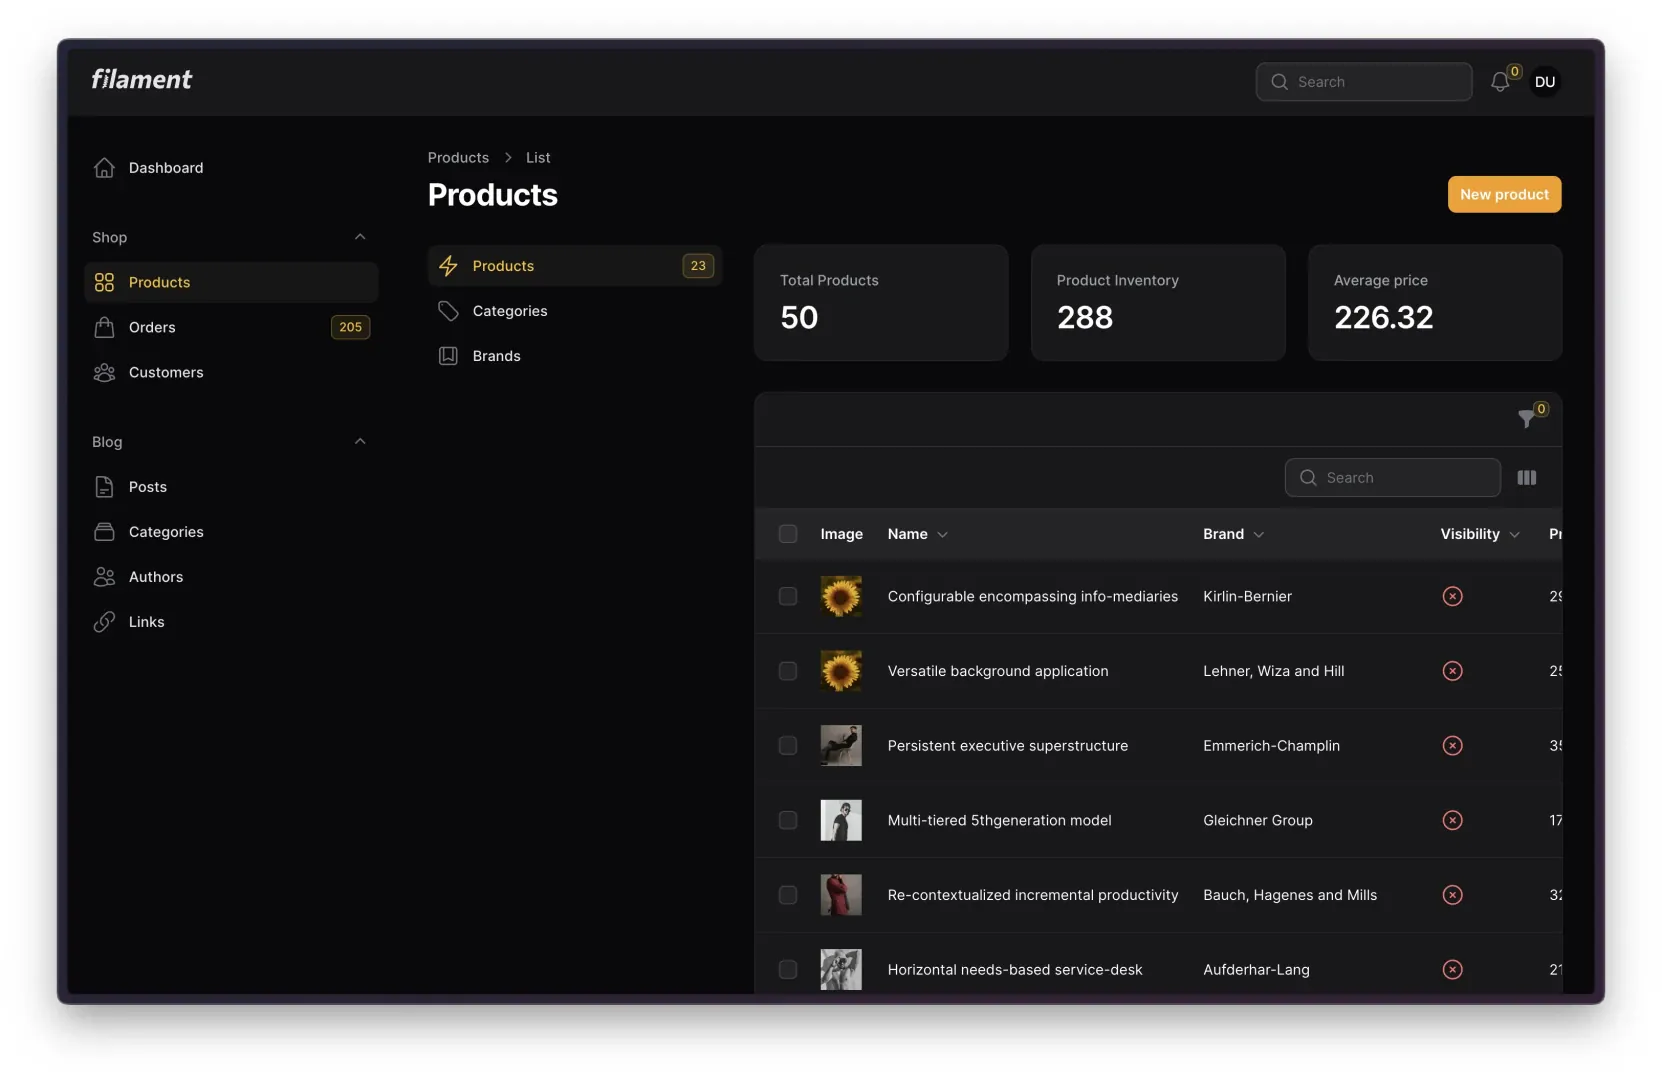
Deferred Table Filters
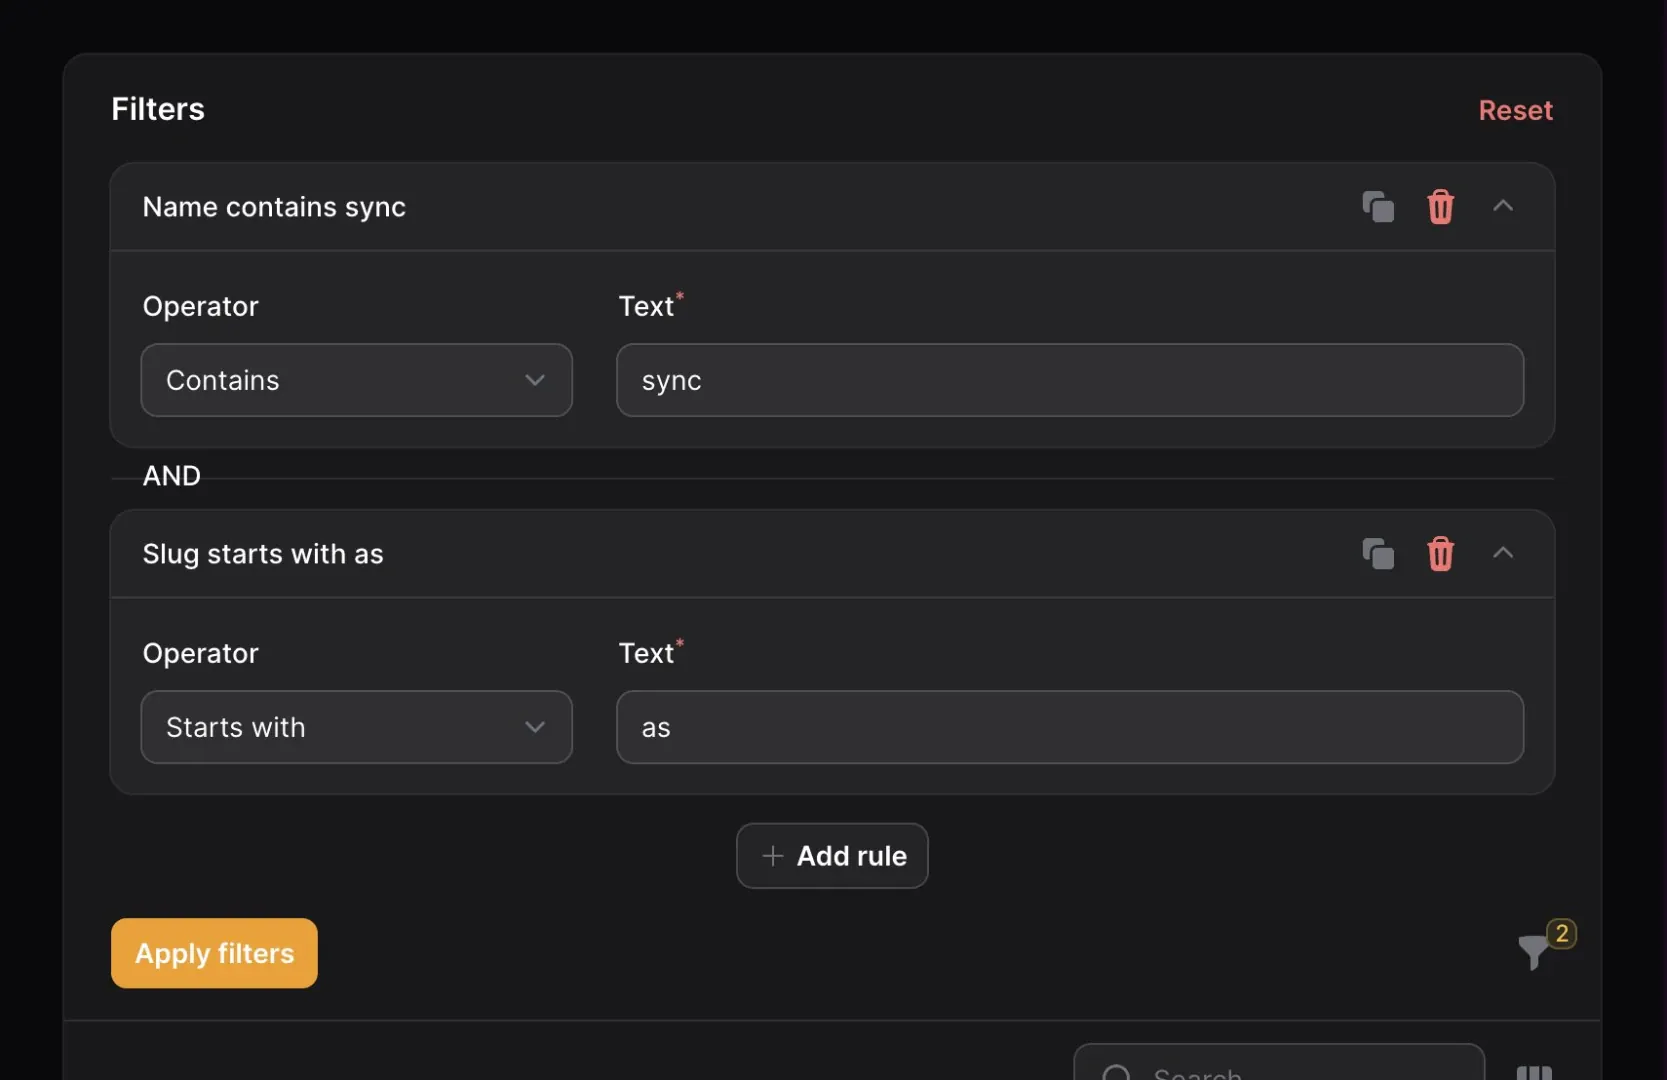
One of the most important features of the Filament tables package is the ability to quickly and easily create filters for the table data. In the past, whenever one of these filters was interacted with on the front-end, it would immediately fire off a request for new, filtered data. A lot of times, this was perfectly fine and users wouldn’t notice much of a delay (if any). However, there are certain occasions where interacting with a filter would cause a noticeable delay in the interface due to heavy queries, immense datasets, etc.
Now, in v3.2, table filters can now be deferred! When a table’s filters are deferred, the user can click around and toggle as many filters as they desire, but the actual query only gets run when the user clicks “Apply”. Enabling deferred filters for a table is as simple as adding one line of code to the $table object: ->deferFilters().
For more information on deferring table filters, take a look at the documentation:
Unsaved Changes Alerts
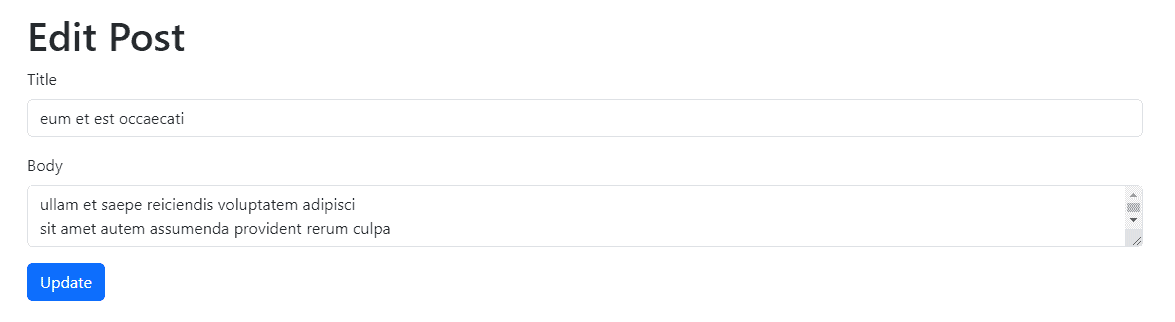
We’ve all been there. We’ve all been 90% of the way through a long and complex form when we accidentally navigate away from the page, wiping out all of our hard work. Well, thanks to the v3.2 release, this will no longer be a problem for Filament panels!
By chaining the unsavedChangesAlerts() method onto a $panel configuration object, Filament will automatically send an alert to users who try to navigate away from any given page without saving their in-progress changes. As you’d expect, these alerts are enabled for “Create” and “Edit” pages, but they are also enabled for any open action modals as well!
For more details on these alerts, see the following section of the panel configuration documentation:
ToggleButtons Component
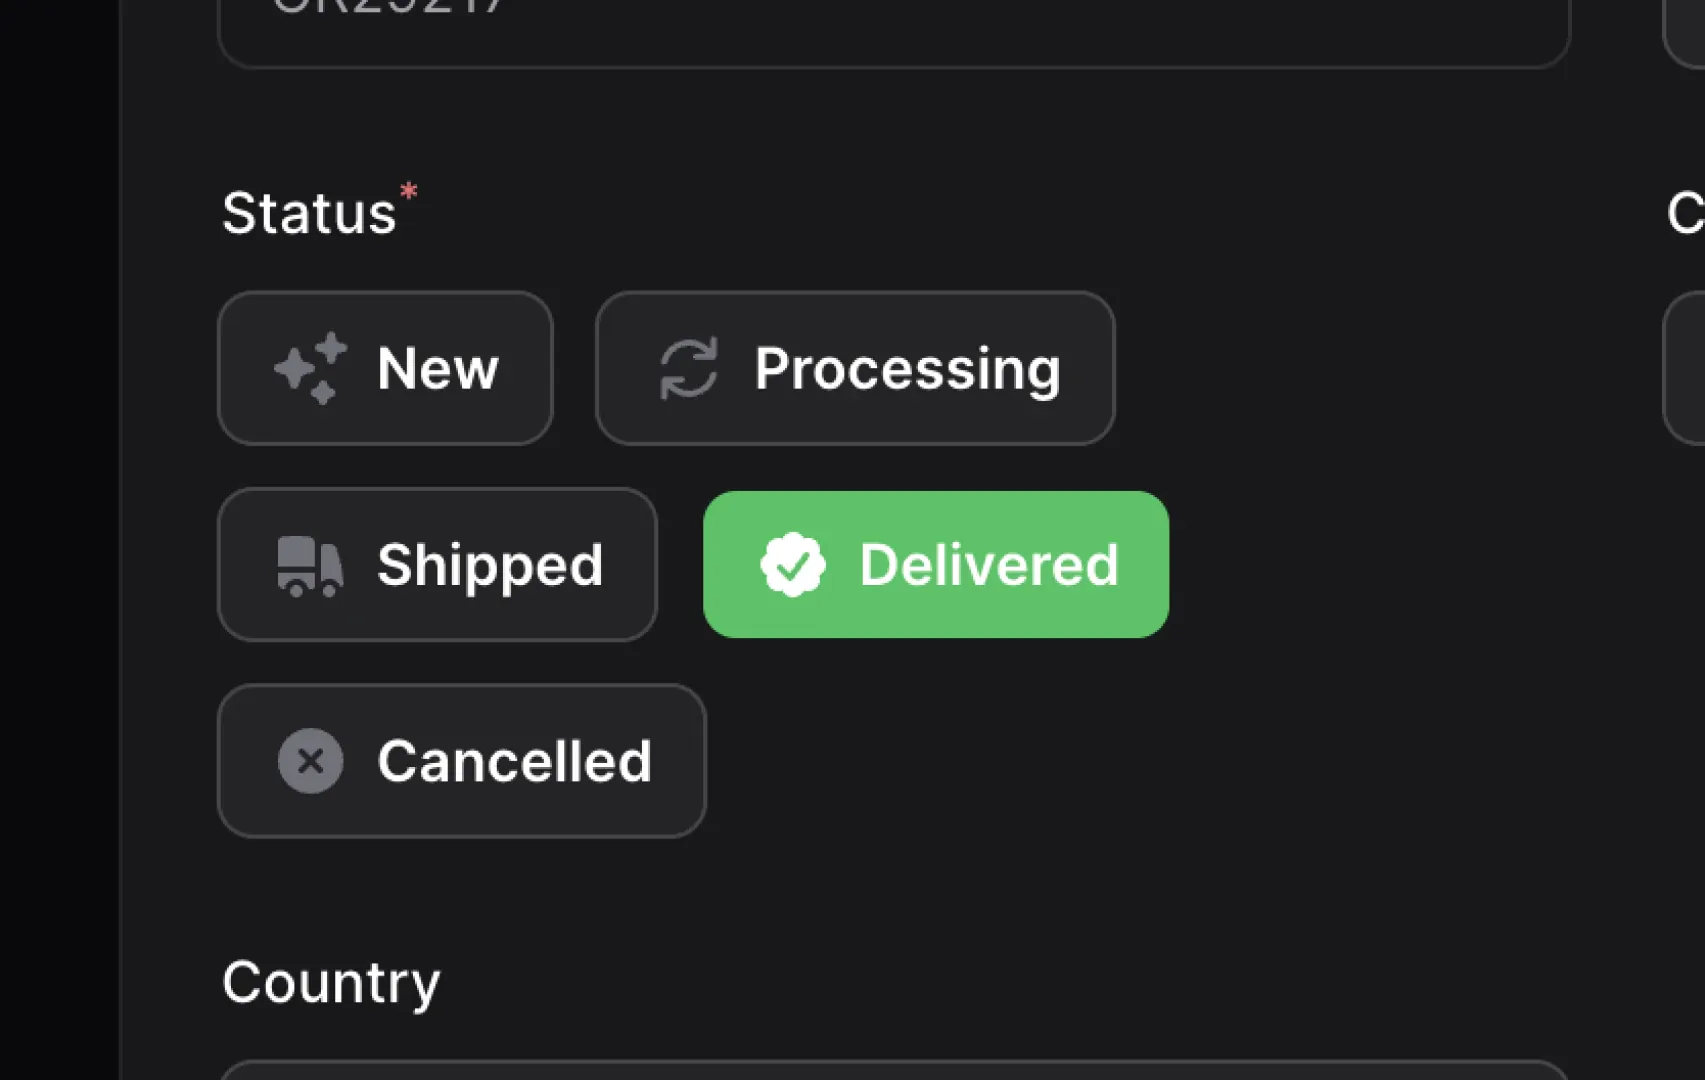
Filament v3.2 includes a new form component called ToggleButtons. ToggleButtons act as an alternative to the Select, Radio, and CheckboxList components by presenting a new UI for the same sort of functionality. ToggleButtons appear as a grouping of Filament buttons that the user can select one or more of, similarly to how a user would select one or more results from any of the alternative components listed above. As with all of Filament’s UI components, ToggleButtons have plenty of options when it comes to customizing their look and feel, so there should be a solution for every occasion.
Give them a try and let us know what you think!
For more information on ToggleButtons, check out the new dedicated documentation page:
Grouped Table Column Headers
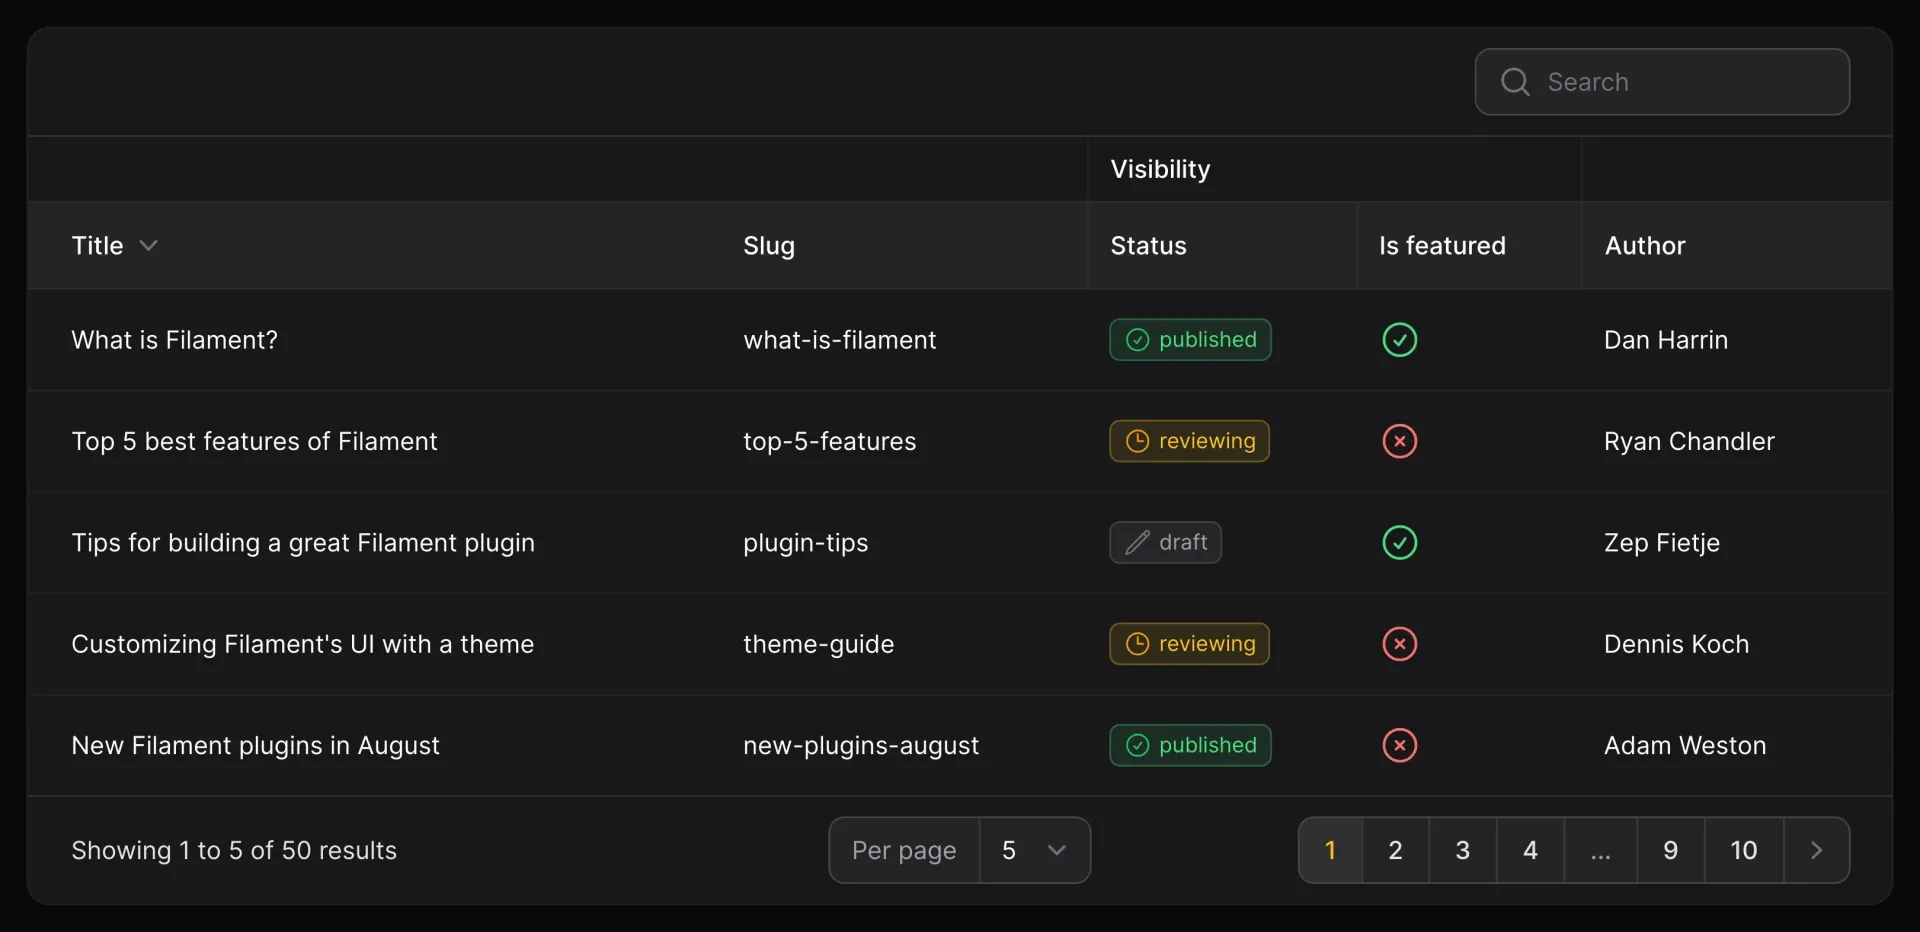
Sometimes, data that is contained within our models and database tables is connected in the business logic, but not in the actual data model itself. This is typically the case with loose groupings; for example, both a status and a is_featured column on a Post model may affect the overall “Visibility” of the Post. Previously, there was no good way in Filament to convey to the user that these two properties were related other than placing them next to each other in the table. However, that all changes with v3.2.
Now, with the same ease with which a developer would add a new column to a Filament table, they can also add column groups to bind columns together in the UI. For example, in our example earlier, status and is_featured are both grouped under the umbrella of “Visibility”. So, instead of just placing those two columns side-by-side and hoping that the association is picked up on by the user, we can wrap them in a ColumnGroup and let Filament display the association directly in the table.
The code for those columns would go from this:
TextColumn::make('status'),
IconColumn::make('is_featured'),
to this:
ColumnGroup::make('Visibility', [
TextColumn::make('status'),
IconColumn::make('is_featured'),
])
It’s that simple!
To learn more about grouping columns and the other ways you adjust the ColumnGroup object, take a look at the documentation linked below:
Revealable Password Fields
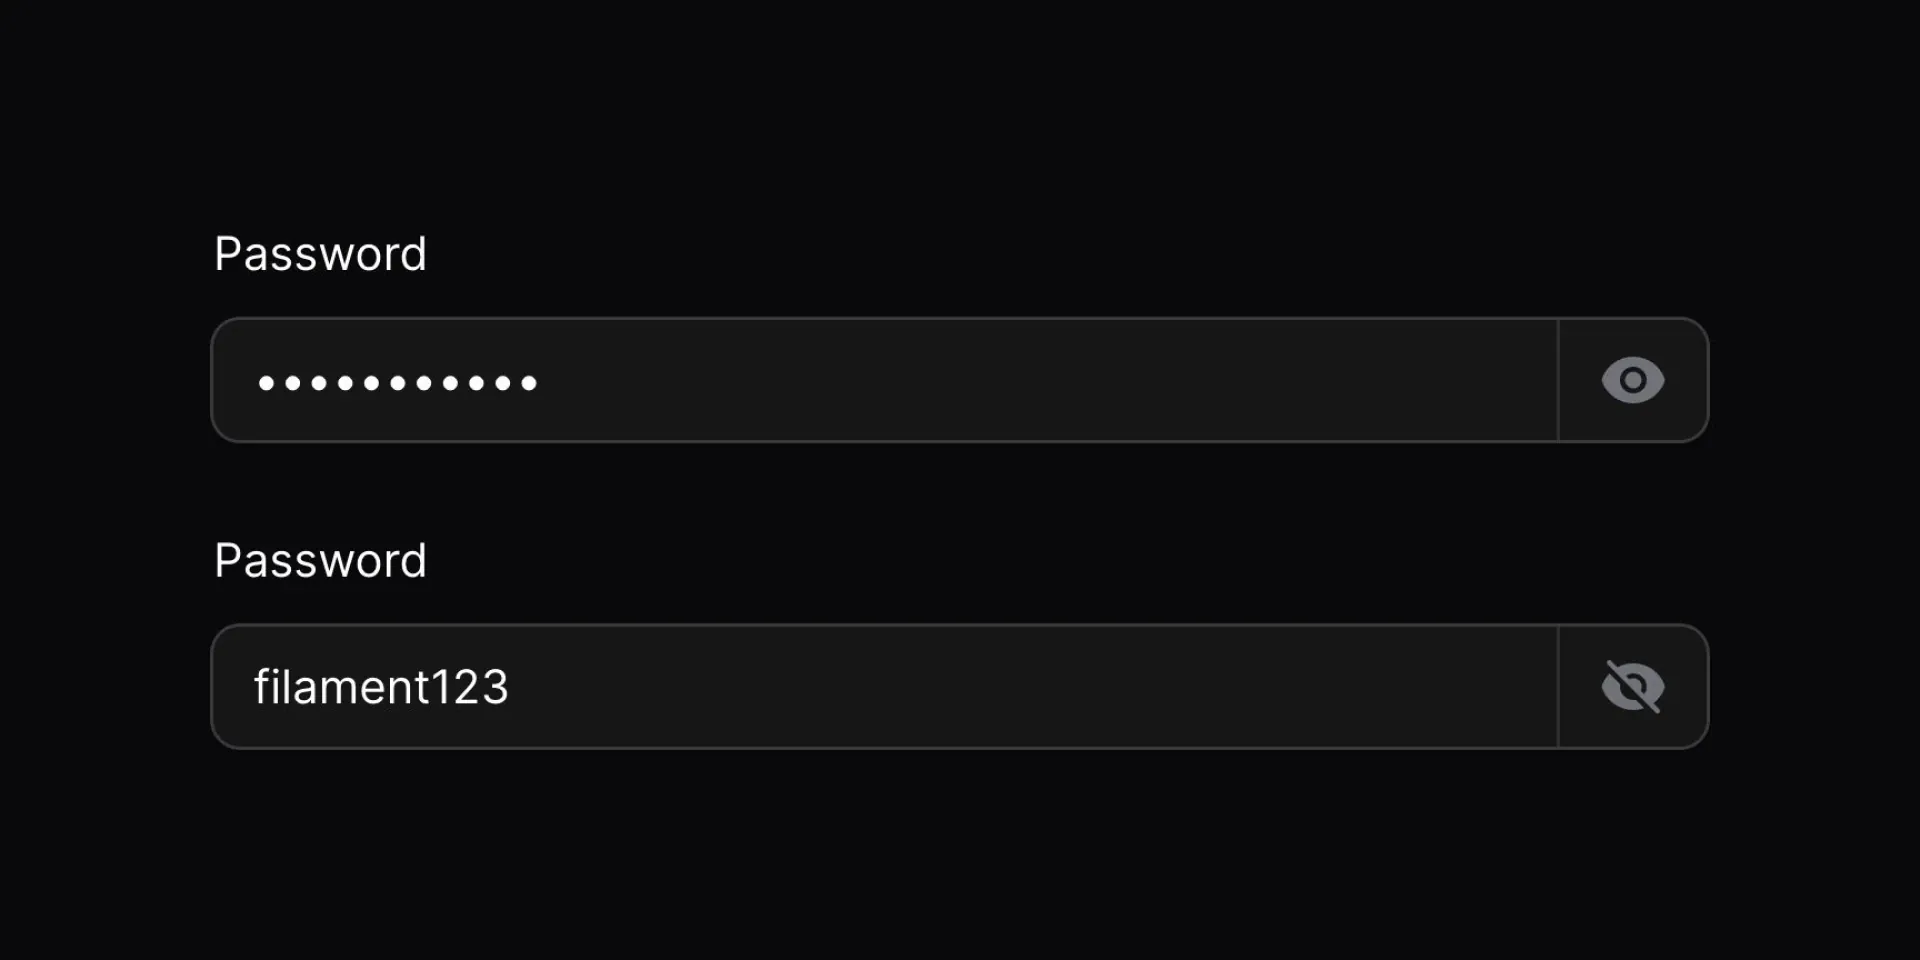
This is a seemingly small update that has been asked for time and time again, so we’re very happy to bring revealable password fields to Filament v3.2!
This does exactly what it says on the tin. Now, by chaining the revealable() method onto your password field declaration, Filament will add a toggle button to the end of the TextInput field that will show/hide the password characters. No more having to hope that the characters behind the masked dots in the input are the ones that you intended to type! Just click and reveal your "password123" password in all its plain-text glory!
KeyValueEntry Infolist Component
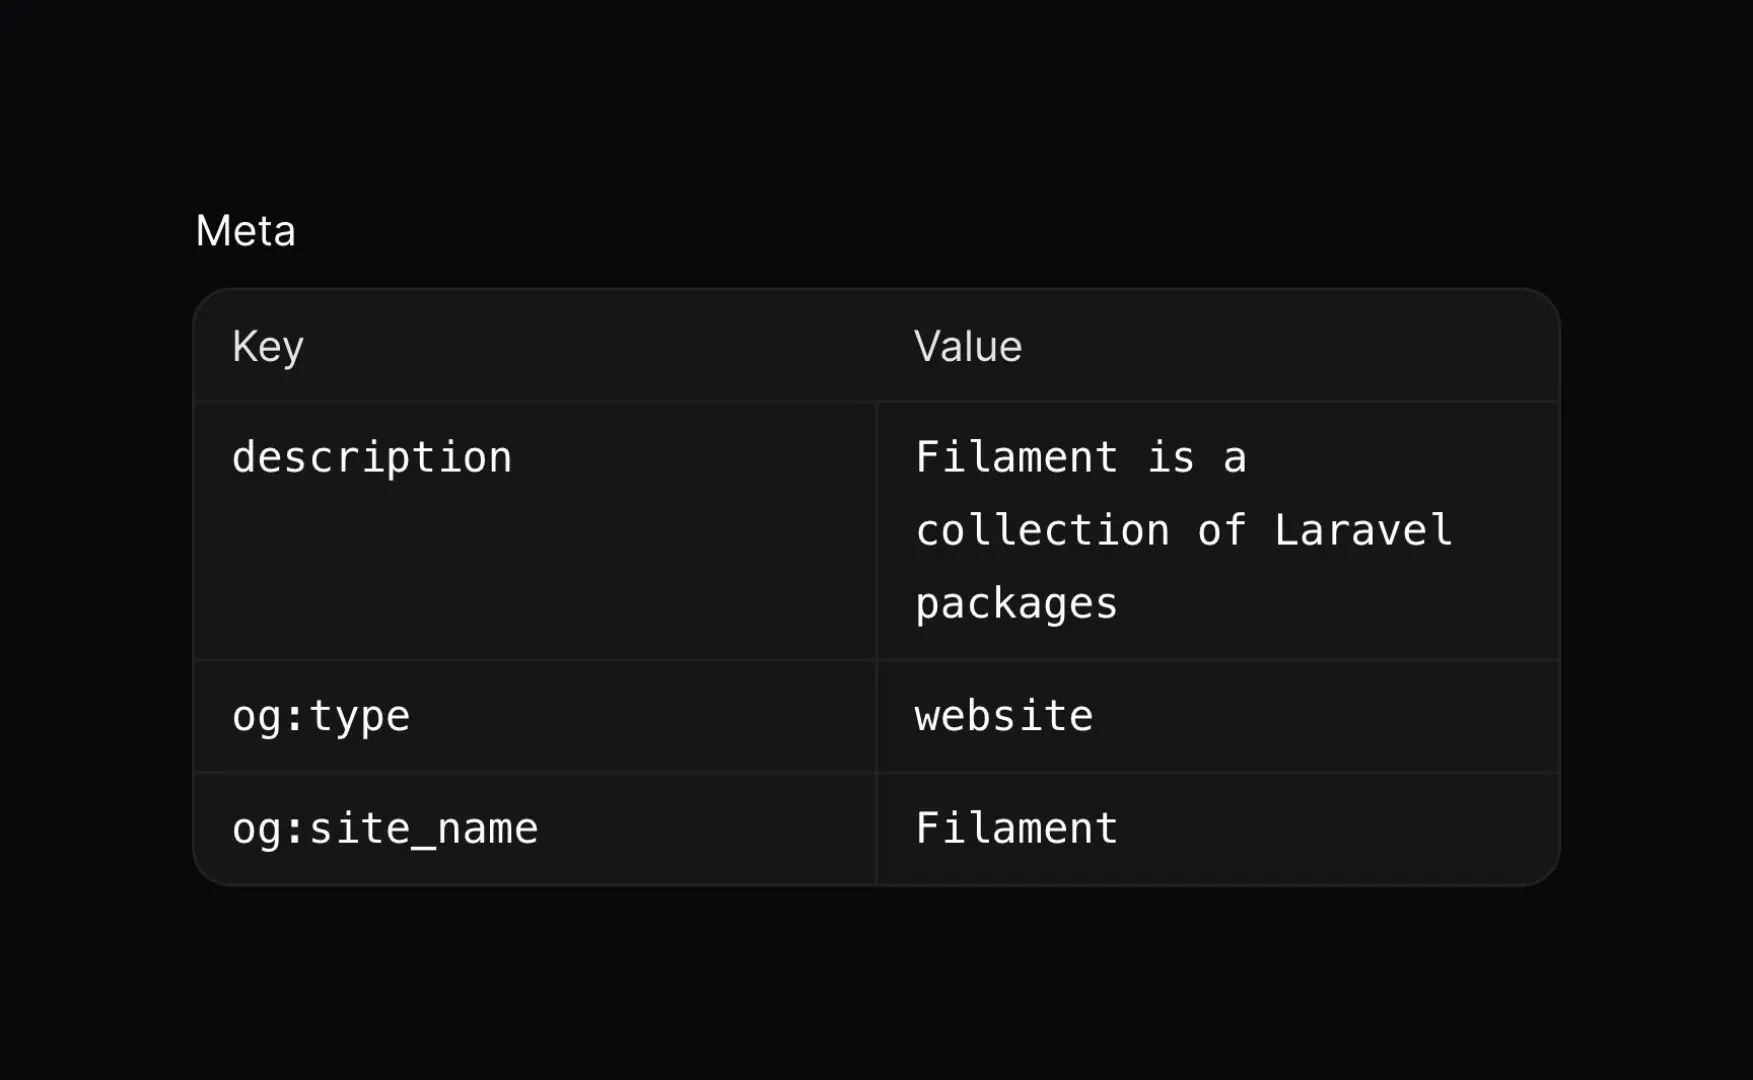
In v3.2, a new Infolist component has been added called the KeyValueEntry. KeyValueEntry components simply display a list of key-value pairs in a nicely formatted two-column table. This list of key-value pairs can be rendered from either a one-dimensional JSON object or a PHP array, which makes this entry exceptionally flexible to meet many use-cases.
The KeyValueEntry component also pairs very well with the existing KeyValueField in the Filament form builder!
For more information, check out the documentation:
Split Form Layout Component
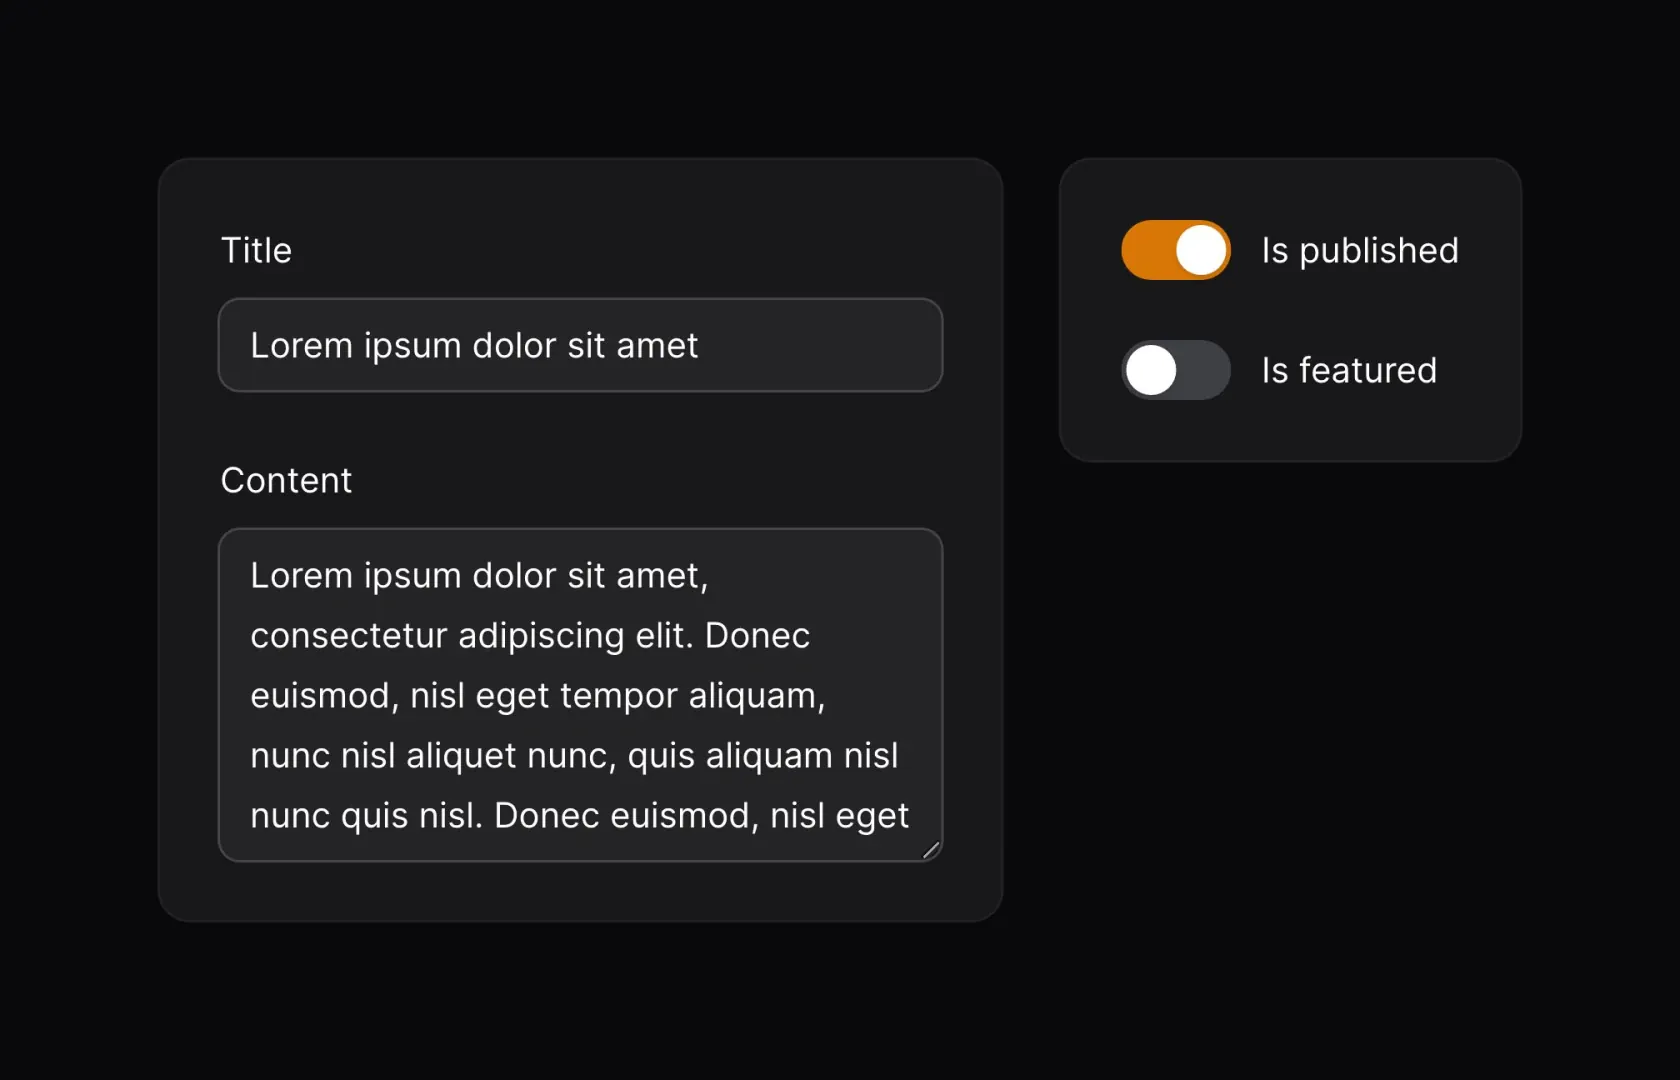
The Split form layout is another highly-requested feature that we’ve added into v3.2! Until now, form layouts were fairly strictly confined to using a grid with N number of columns. With the Split layout, however, forms can be built with flexibility in mind!
Split, unlike the Grid layout, will allow you to define your layouts with flexbox. This allows for form sections to grow and shrink as the content requires without needing to worry about the content clipping if the section is not wide enough.
One very common use-case for Split so far is to handle sidebars. Often, forms will have one main section that takes up the majority of the page’s horizontal space and will have another sidebar section for metadata, settings, etc. Using the Split layout, we can set the sidebar section to shrink to only take up as much width as the section contents require, allowing our main section to take up as much space as is available!
There are a lot of different uses for the Split component, so take a look at the documentation to see where you might be able to implement it in your app!
Enum Descriptions
This is a simple, but very handy quality-of-life change! Now, in v3.2, Filament offers a HasDescription interface that allows enums to have a textual description displayed in the UI, usually under the label. Similarly to the HasLabel interface, HasDescription will require developers to implement the getDescription() method on the given enum, returning the desired description string for each enum case.
For code examples and specific instructions, see our documentation here:
Sidebar Centering UI Tweaks
Last, but certainly not least, now, when you have a scrolling sidebar in your Filament panel, the active item will always attempt to remain as close to the vertical center of the window as possible when navigating between pages! Hopefully, this will further enhance the user experience, since your users won’t have to hunt around for the currently-active page!
Thank You!
As always, we could not have done this without the incredible Filament community! All of you are so crucial to the work that we do, and we are so thankful for the contributions, discussions, and ideas that each of you gives day in and day out in our Discord and on Twitter.
We’re so excited to finally have released v3.2 for all of you to use. Let us know what you think, we’d love to hear it!
Until next release!
The post Introducing Filament v3.2 appeared first on Laravel News.
Join the Laravel Newsletter to get all the latest Laravel articles like this directly in your inbox.
Laravel News


 Just as it is with power tools, each type of firearm has its own purpose. With the modularity of platforms like the AR-15, one type of gun can be configured in many different ways, covering different kinds of tasks. In my personal collection, I have a shorty AR for close range, a standard 16” do-it-all […]