https://cdn.arstechnica.net/wp-content/uploads/2024/01/71V3DbiEJfL._AC_SL1500_-760×380.jpg
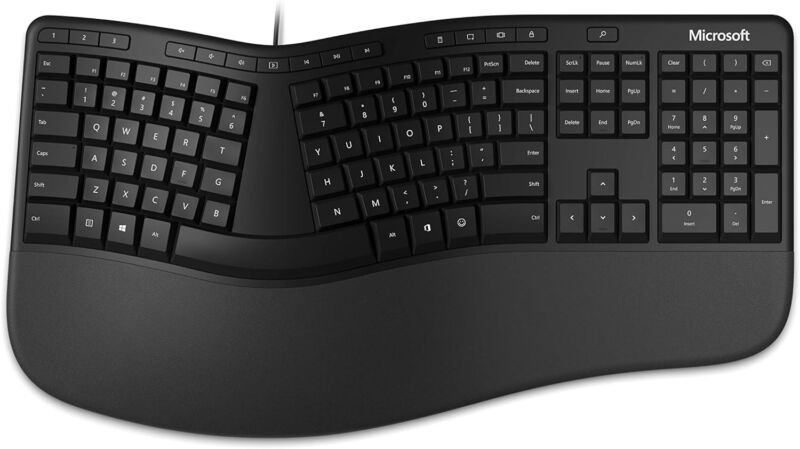
Enlarge / The Microsoft Ergonomic Keyboard is making a comeback.
Microsoft
In April, Microsoft announced that it would stop selling Microsoft-branded computer peripherals. Today, Onward Brands announced that it’s giving those discarded Microsoft-stamped gadgets a second life under new branding. Products like the Microsoft Ergonomic Keyboard will become Incase products with "Designed by Microsoft" branding.
Beyond the computer accessories saying "Designed by Microsoft," they should be the same keyboards, mice, webcams, headsets, and speakers, Onward, Incase’s parent company, said, per The Verge. Onward said its Incase brand will bring back 23 Microsoft-designed products in 2024 and hopes for availability to start in Q2.
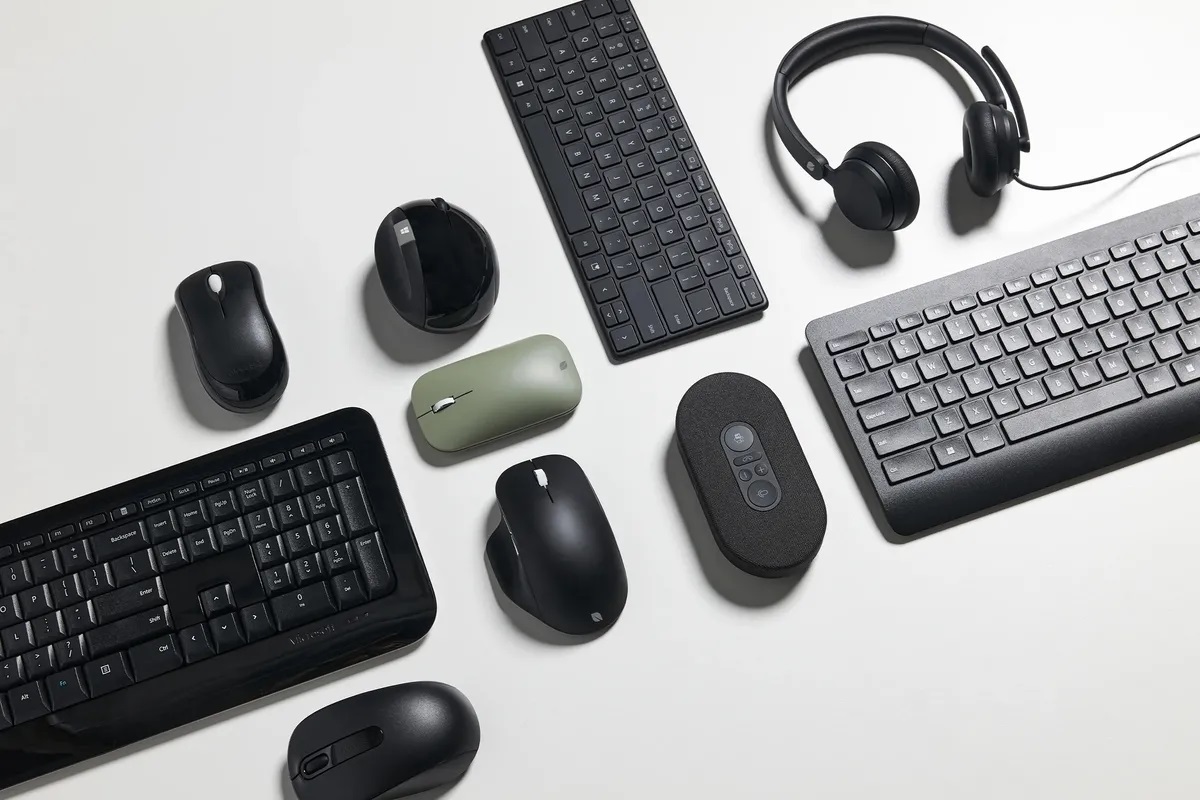
Enlarge / Some of the Microsoft-designed gear that Incase is relaunching.
Incase also plans to launch an ergonomic keyboard that Microsoft designed but never released. Onward CEO Charlie Tebele told The Verge that there’s "potential" for Incase to release even more designs Microsoft never let us see.
Licensing deal
The return of Microsoft peripheral designs resurrects (albeit in a new form) a line of computer gear started in 1983 when Microsoft released its first mouse, the Microsoft Mouse.
Neither Onward nor Microsoft shared the full terms of their licensing agreement, but Onward claims that Incase will leverage the same supply chain and manufacturing components that Microsoft did, The Verge noted.
"Microsoft will still retain ownership of its designs, so it could potentially bring back classic mice or keyboards itself in the future or continue to renew its license to Incase," The Verge reported, pointing out that Onward isn’t licensing every single one of Microsoft’s computer peripherals. Some classics, like the Intellimouse or its modern iterations, for example, don’t make the Incase reboot list.
For its part, Microsoft is still "convicted on going under one single" Surface brand, Nancie Gaskill, general manager of Surface, told The Verge.
That said, in Microsoft’s old designs, Incase, whose website is currently filled with backpacks, bags, and laptop and AirPod cases, suddenly finds itself selling keyboards, mice, and other peripherals. Onward’s other brands, Griffin, Incipio, and Survivor, also don’t sell the types of products that Incase is licensing here. If all goes well, Incase could build its own computer accessories portfolio.
Microsoft’s initial departure from Microsoft-brand peripherals meant it would only focus on more expensive, higher-end designs worthy of Surface branding. But that left a gap for the numerous users who felt satisfied with Microsoft’s various designs that were simpler and more affordable. Incase’s venture could help serve those customers, while Microsoft’s legacy with such products can continue without major investment from the tech giant.
Here’s a full list of the Microsoft-designed peripherals that Incase plans to bring back in 2024:
Keyboards
- Bluetooth Keyboard
- Bluetooth Number Pad
- Designer Compact Keyboard
- Ergonomic Keyboard
- Sculpt Comfort Desktop
- Sculpt Ergonomic Desktop
- Sculpt Ergonomic Keyboard
- Wired Desktop 600
- Wired Keyboard 600
- Wireless Comfort Desktop 5050 AES
- Wireless Desktop 850
- Wireless Desktop 900
Mice
- Bluetooth Ergonomic Mouse
- Bluetooth Mouse
- Mobile Mouse 1850
- Modern Mobile Mouse
- Sculpt Ergonomic Mouse
Audio
- Audio Dock
- Modern USB Headset
- Modern USB-C Headset
- Modern USB-C Speaker
- Modern Webcam
- Modern Wireless Headset
Ars Technica – All content


