To stoke enthusiasm for WW84, Warner Bros. Pictures has released footage of the first three minutes of the movie. The scene features a young Diana as she reminisces about her childhood and training on Themyscira, but doesn’t give up much else. DC’s latest premieres in theaters and on HBO Max on 12.25.2020.
Smith & Wesson Introduces New M&P15 Pistol in .223/5.56!
https://ift.tt/3r7VMZ9
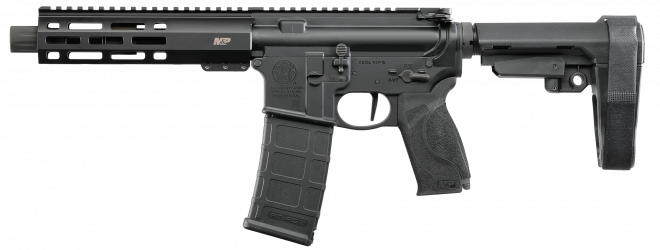
I have to admit I am a big admirer of Smith & Wesson and especially so with how they treat their customer and deliver a quality, American made product. That all being said I am glad to inform you of the newest introduction in their M&P15 line of firearms. The Smith & Wesson M&P15 Pistol! At the moment it seems like this one is solely .223/5.56. Let’s jump right into the specs!
In a world full of AR15 based pistols it is pleasant to see Smith & Wesson set themselves apart with a number of unique features all bundled up in one package. Some features to note would be the introduction of not only a flat-faced trigger, but also the very interesting addition of their own pistol grip. A pistol grip that any Smith & Wesson fan will notice is the very same for their M&P 2.0 series of pistols! This works the exact same way in that you can change out different grip modules to fit the palm of your hand better. The specifications are as follows:
Some more notable features would be a one-point QD sling swivel attachment point in the arm brace, a Hodge® rail free float handguard with M-LOK® slots, forged upper and lower receiver, integral trigger guard, a chrome firing pin, and a threaded barrel with a blast diverter. Aside from that chunk of characteristics we also are presented with Armornite® finish which Smith & Wesson explains below:
“Armornite® finish is a hardened nitride finish that provides enhanced corrosion resistance, greatly improved wear resistance, decreased surface roughness, reduced light reflection and increased surface lubricity. Armornite is used on many S&W® and M&P® products imparting a high level of protection internally and externally where applied.”
The new Smith & Wesson M&P15 Pistol has an MSRP of $896. As far as AR15 style pistols I do not think that is a bad price point at all, especially coming from a company that has a reputable lifetime warranty and great customer service. I think this new pistol has a good home with Smith & Wesson‘s M&P15 style firearms!
So there you have it! Smith & Wesson Introduces their first Pistol offering in the M&P15 lineup and with both callbacks to their other handguns as well as their AR15’s. I personally have gotten the chance to handle plenty of AR pistols, but this one with that M&P M2.0 grip should be a different feel altogether! I am excited to see what comes of Smith & Wesson’s new pistol, but what do you think? Would you be up for picking up the newest S&W AR15? As always, let us know all of your thoughts in the Comments below! We always appreciate your feedback.
In this step-by-step course, you’ll learn the basics of Python programming with the help of a simple and interactive Python library called turtle. If you’re a beginner to Python, then this course will definitely help you on your journey as you take your first steps into the world of programming. The Python turtle library comes with a similar interactive feature that gives new programmers a taste of what it’s like to work with Python.
In this course, you will:
Understand what the Python turtle library is
Learn how to set turtle up on your computer
Program with the Python turtle library
Grasp some important Python concepts and turtle commands
Develop a short but entertaining game using what you’ve learned
[ Improve Your Python With ð Python Tricks ð â Get a short & sweet Python Trick delivered to your inbox every couple of days. >> Click here to learn more and see examples ]
Smith & Wesson M&P15-22 Pistol Makes Its Triumphant Return
https://ift.tt/3nnQ2bi
For AR pistol fans, Smith & Wesson just made an exciting announcement marking the return of the M&P15-22. Chambered in .22 LR, the M&P15-22 comes compact with a 25-round magazine, making it suitable for a wide range of purposes.
RELATED STORY
Smith & Wesson Releases Optics-Ready M&P9 M2.0 Compact OR
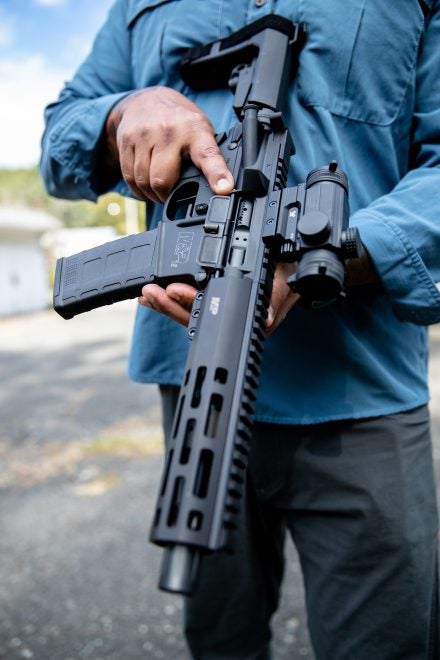
The Smith & Wesson M&P15-22 Pistol Returns
With an 8-inch barrel, the M&P15-22 measures just 25.4 inches fully extended. In a home defense situation, the pistol remains extremely compact for working corners. Measuring just 22.8 inches with the SB Tactical SBA3 adjustable pistol arm brace collapsed, the M&P15-22 becomes highly portable as well. We could easily see this serving as a truck gun, trainer or fun plinker for a day on the range.
A polymer receiver helps keep weight down. The pistol weighs just 53.6 ounces overall. Meanwhile a carbon steel barrel with a 1:15-inch twist provides the heart of the platform. It also includes a functioning charging handle and shell deflector, welcome additions.
An M&P handguard features M-LOK slots for accessory attachment. A two-position safety, one-point QD sling swivel and threaded barrel with muzzle flash provide familiar AR-style components.
A typical blow back action completes a multi-purpose pistol that comes with no sights included. However, the platform includes a full-length Picatinny rail on top. Simply top it with your reflex or red dot of choice, and you’re off and running.
In an era where .223 ammo proves increasingly difficult to find, adding a .22 LR to the stable provides another option. The S&W M&P15-22 retails for $504 . For even more info, please visit smith-wesson.com.
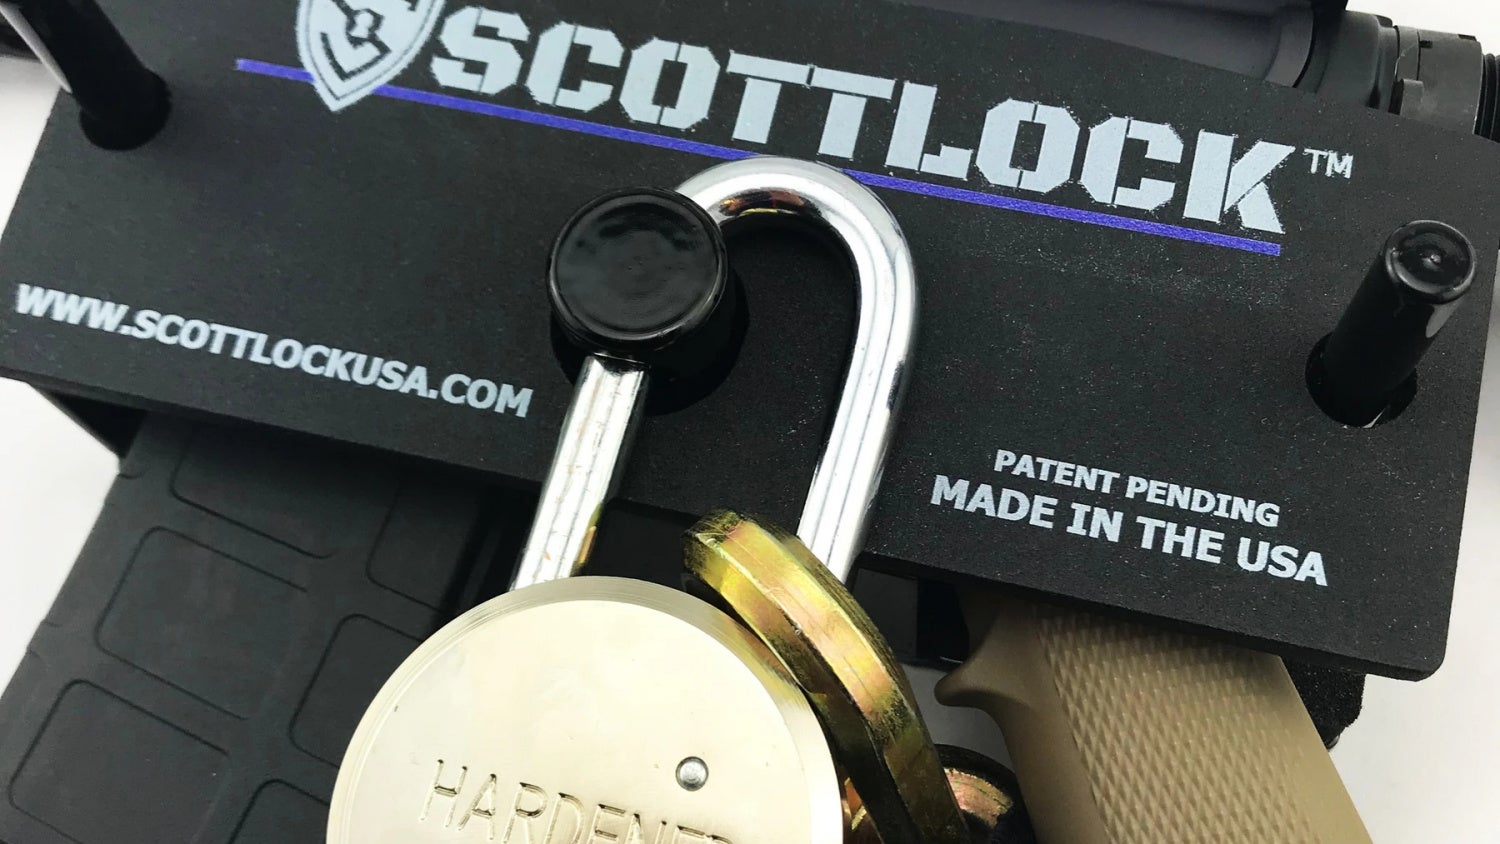
Rifle retention systems are nothing new in the world of firearms. Law enforcement agencies across the country use them in one form or another. However, for the average Joe, rifle retention systems would inevitably become a costly modification to your personal vehicle, and what’s more, is that once these modifications are made they can’t easily be transferred. The SCOTTLOCK portable rifle retention system promises to be a robust yet portable way to secure your AR-15 rifle within your vehicle.
SCOTTLOCK – A Robust and Portable AR-15 Rifle Retention System
From the SOTTLOCK website:
SCOTTLOCK™ is an incredibly robust portable security system created to protect a police officer’s tactical AR-15 rifle while keeping it close at hand. SCOTTLOCK™ was designed by law enforcement officers with tactical situations in mind. Having your AR-15 in a case in your trunk is not helpful when seconds count. Have it with you. Lives depend on it.
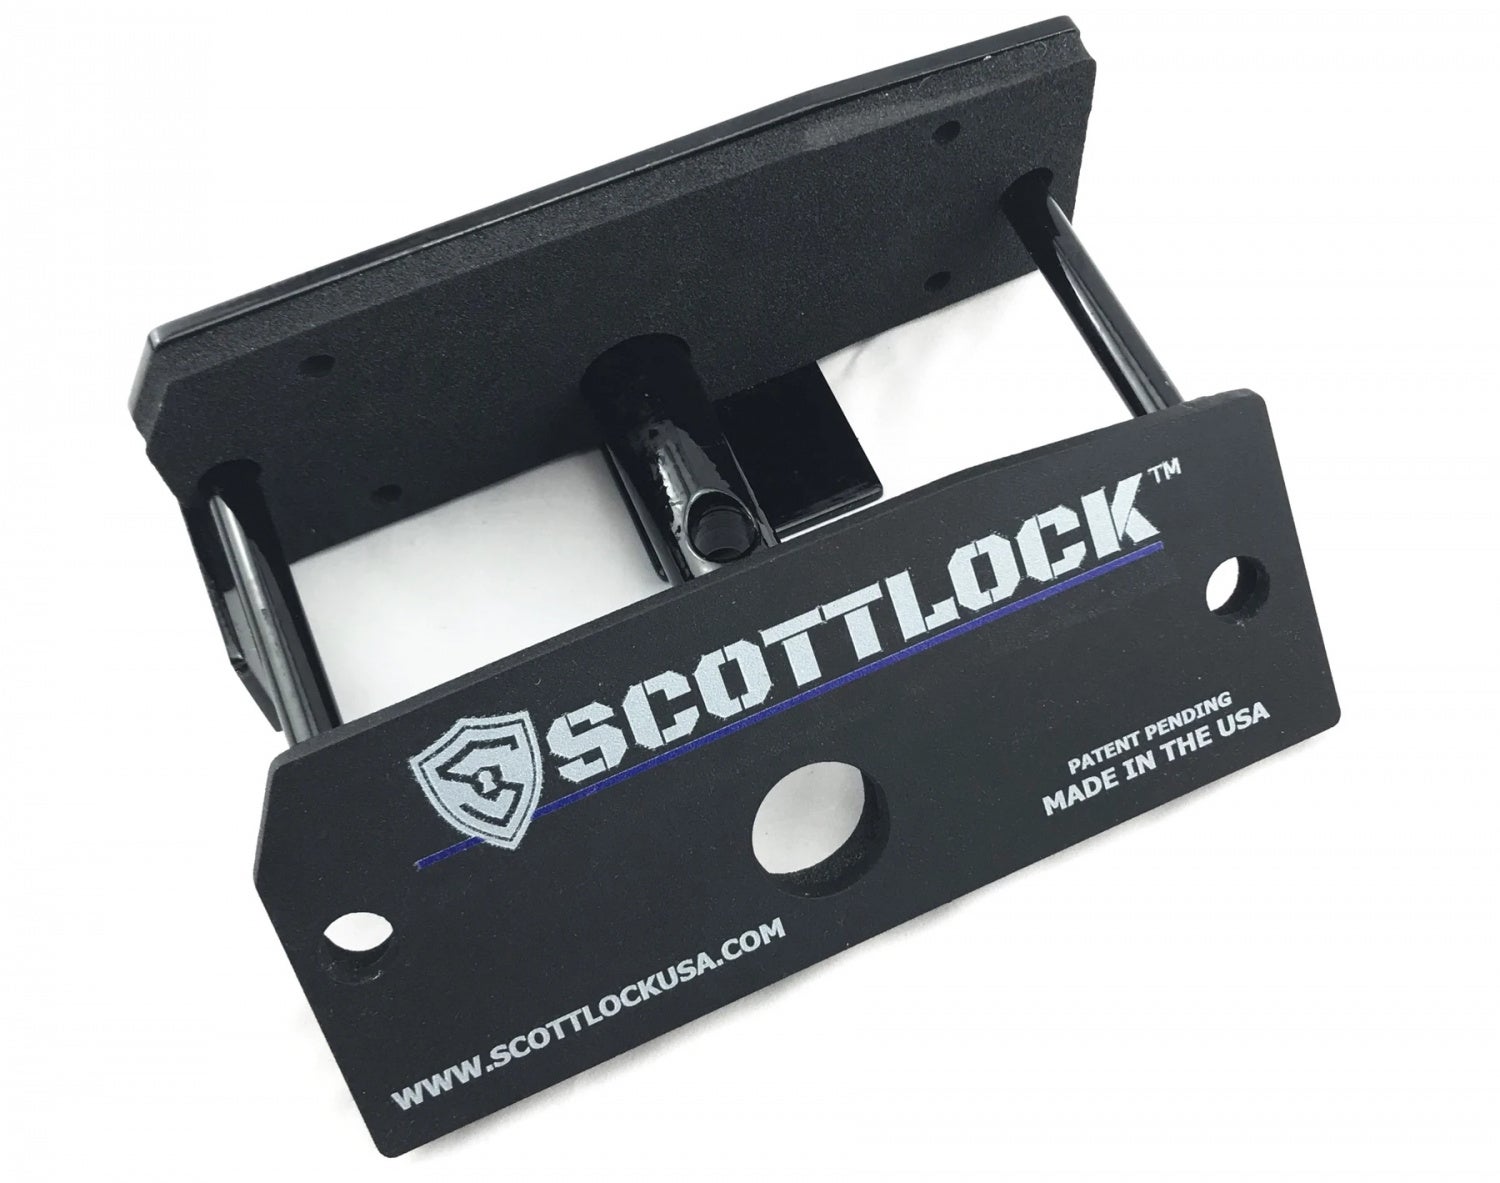
The SCOTTLOCK™ is constructed of two steel plates covered with a military-grade polymer coating. Your rifle is sandwiched between a layer of protective foam. Designed, developed, and deployed by active duty Law Enforcement / SWAT personnel. It will protect all* AR-15’s, without damaging them.
Features:
Made completely in the USA
Patent Pending
Fits mil-spec AR-15 rifles (.223 and .556 calibers)
Weighs approximately 4.2 lbs
Approximately 8.5″ x 3.5″
Prevents manipulation of the trigger, safety, magazine release, and assembly pins
Water and solvent resistant
Works with many different types of locks (keyed, combination, etc)
Money-Back Guarantee
Lock, cable, and rifle not included 😉
Accessories for the SCOTTLOCK are available like a Steel/Wall floor anchor that secures either a retaining chain or cable to both the firearm and the frame of your car. SCOTTLOCK also sells Rekeyable padlocks and gun magnets as well. The SCOTTLOCK gun lock currently sells for $231.00 and will fit mil-spec AR-15 rifles, however, according to the website, rifles equipped with the MAGPUL B.A.D. Lever cannot be secured with the SCOTTLOCK.
We are committed to finding, researching, and recommending the best products. We earn commissions from purchases you make using the retail links in our product reviews.
Most substances wipe off tile pretty easily, but getting the surrounding grout back to its original pearly white state is much harder. Because it is so narrow and coarse, scrubbing grout lines clean can be a hassle (unless you like spending hours hunched over with a toothbrush). Luckily, we have three methods to make cleaning grout a breeze.
Steam cleaner
As we have tested before, a handheld steam cleaner with a brush attachment does wonders for blasting dirt off of grout. Since the steamer will blast dirty water on the tiles below, make sure you go in with a top-to-bottom method, and be sure to wipe off all the dirty water as you clean.
Magic eraser
A Magic Eraser (generic name: melamine foam) is great at brightening grout. Just wet the eraser and squeeze out the extra water. Scrub along the grout and watch it make quick work of any gunk and grime.
Bleach gel
Squirt some toilet cleaning bleach gel along grout lines in your shower. Roll up a length of toilet paper into a long snake and carefully press it against the bleach. Let it sit one hour, then remove the toilet paper, rinse, and wipe dry.
Builder Laura Kampf designed and created this dangerous but awesome looking machine which generates a huge stream of sparks for creating epic long-exposure photos. When she got stumped about the ignition system, she turned to her pal Adam Savage to help come up with a creative solution.
Laravel Jetstream Subscription Billing With Stripe Checkout and Customer Portal
https://ift.tt/2K4IDz3
Laravel Jetstream was recently released and is a great starting point for a new project. I prefer the Livewire stack, which is used in this guide, but there is also an Inertia.js + Vue option.
I recently started a project using Jetstream since it gives you a lot of the same features as Laravel Spark, minus the subscription billing. But, I still needed billing. So, I decided to add Stripe Checkout and customer portal, offloading all of the billing front-end to Stripe.
Here’s how I did it from start to finish.
Start a new Laravel project
laravel new cool-project
cd cool-project
You’ll want to set up your preferred database at this point and ensure that your application can connect to it.
Install Jetstream
Check out the Jetstream documentation if you’re not familiar with it. Install Jetstream with the teams option.
composer require laravel/jetstream
php artisan jetstream:install livewire --teams
Publish the Jetstream views in your application so we can make a few updates later.
php artisan vendor:publish --tag=jetstream-views
And, migrate the database.
php artisan migrate
Lastly, let’s build the front-end.
npm install && npm run dev
Install Laravel Cashier
Why do we need Cashier? Because it’s still a great option to handle the Stripe webhooks for us. And, we’ll extend it to handle a custom webhook.
Install Cashier:
composer require laravel/cashier
If you don’t have a Stripe account, you’ll want to set that up and add your API keys.
This is where I fork from the typical Cashier installation. I prefer team billing, but Cashier, by default, expects billing to be set up by user.
You can tell Cashier what model to use by adding an .env variable.
Add the following to your .env file.
CASHIER_MODEL=App\Models\Team
We also need to update the Cashier database migrations to use teams instead of users. Let’s publish the migrations to our project so we can make those updates.
Let’s make a controller to handle the Stripe session.checkout.completed webhook. This is the webhook that is called after a person successfully sets up their subscription and is not handled by Cashier.
We still need to give the user a way to access this new team billing functionality. Let’s add Stripe.js and create the Jetstream-flavored billing view. This view is a good start and works, but it could be slicker.
Add Stripe.js to resources/views/layouts/app.blade.php in the <head> section.
<scriptsrc="https://js.stripe.com/v3/"></script>
Create a new view at resources/views/billing.blade.php and update with the following:
Finally (finally!), we’ll add a “Billing” link to the Jetstream navigation dropdown.
In navigation-dropdown.blade.php, add the following in the “Team Management” section.
<!-- Team Billing --><x-jet-dropdown-linkhref=""></x-jet-dropdown-link>
That’s it! 🎉
This was super long, but I hope it helped someone. Laravel Jetstream is a great starting point and Stripe checkeout and customer portal make it relatively easy to add subscription and billing management.
Crater is free for life with all of the below features catered
towards the freelance and small business community.
Invoices
Create and send professional
invoices to clients and save time
for what really matters.
Estimate
Create a quick and detailed
quote including prices, discounts,
inventory and more.
Track Payment
Easily keep a detailed note of
your transactions and never lose
a payment history.
Expenses
Keep track of your spending on various services with our easy to use expense tracking.
Reports
Get detailed reports on your
invoices with one or various
clients.
Taxes
Input different tax
types & calculate them
as simple or compound tax per-item or directly on invoice total.
Send your invoices to the clients instantly, track your payments
or check a detailed client history, Crater App for iOS and Android
let you manage everything from your phone.
Professional Invoice Templates
Choose between three specially designed templates
for creating invoices and estimates.
Drug Reverses Age-Related Mental Decline Within Days
https://ift.tt/2IJayUB
The University of California San Francisco issued this glowing announcement of some new research:
Just a few doses of an experimental drug can reverse age-related declines in memory and mental flexibility in mice, according to a new study by UC San Francisco scientists. The drug, called ISRIB, has already been shown in laboratory studies to restore memory function months after traumatic brain injury, reverse cognitive impairments in Down Syndrome, prevent noise-related hearing loss, fight certain types of prostate cancer, and even enhance cognition in healthy animals. In the new study, published Dec. 1, 2020, in the open-access journal eLife, researchers showed rapid restoration of youthful cognitive abilities in aged mice, accompanied by a rejuvenation of brain and immune cells that could help explain improvements in brain function. "ISRIB’s extremely rapid effects show for the first time that a significant component of age-related cognitive losses may be caused by a kind of reversible physiological "blockage" rather than more permanent degradation," said Susanna Rosi, PhD, Lewis and Ruth Cozen Chair II and professor in the departments of Neurological Surgery and of Physical Therapy and Rehabilitation Science. "The data suggest that the aged brain has not permanently lost essential cognitive capacities, as was commonly assumed, but rather that these cognitive resources are still there but have been somehow blocked, trapped by a vicious cycle of cellular stress," added Peter Walter, PhD, a professor in the UCSF Department of Biochemistry and Biophysics and a Howard Hughes Medical Institute investigator. "Our work with ISRIB demonstrates a way to break that cycle and restore cognitive abilities that had become walled off over time…." "We’ve seen how ISRIB restores cognition in animals with traumatic brain injury, which in many ways is like a sped-up version of age-related cognitive decline," said Rosi, who is director of neurocognitive research in the UCSF Brain and Spinal Injury Center and a member of the UCSF Weill Institute for Neurosciences. "It may seem like a crazy idea, but asking whether the drug could reverse symptoms of aging itself was just a logical next step." Forbes also reports that "In all studies, the researchers have observed no serious side effects."