How to Protect Your Laravel Web Application Against the OWASP Top 10 Security Risks
https://ift.tt/321qsQ0
I remember the first time one of my sites got hacked.
The client emailed saying their website was taking ages to load. I jumped online as soon as I got home from college and noticed somebody had used SQL injection to inject a <script> tag into all the product titles.
The script attempted to redirect visitors to a malicious website. I was devastated.
This was back in 2004, and I had just taught myself ASP and SQL Server. It was a sobering moment and one that brought home the realisation that any website could be a target, no matter how small.
It also taught me about the importance of web security, and it’s been at the forefront of my development process ever since.
No site can ever be completely safe — the sheer number of high-profile breaches are a testament to this. But you can follow some best practices to make your site less of a target for a casual malicious actor or automated script.
OWASP & Laravel
The Open Web Application Security Project (OWASP) is an international non-profit organisation dedicated to creating awareness about web application security.
The OWASP Top Ten is a standard awareness guide about web application security and consists of the topmost critical security risks to web applications.
Laravel is one of my favourite PHP frameworks. I’ve used it extensively over the years for anything from small business sites to large fintech and e-commerce applications demanding security at the core.
The great thing is, Laravel takes care of many of these security features out the box.
I’ll run through the OWASP Top Ten and note how you can harden your Laravel web applications with some basic security best practices.
1. Injection
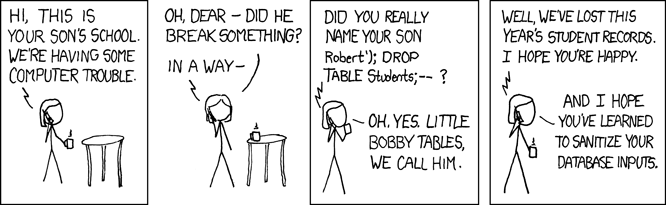
“Injection flaws, such as SQL, NoSQL, OS, and LDAP injection, occur when untrusted data is sent to an interpreter as part of a command or query. The attacker’s hostile data can trick the interpreter into executing unintended commands or accessing data without proper authorisation.” — OWASP Top 10
The Laravel query builder uses PDO parameter binding to protect the application against SQL injection attacks. This means you don’t have to sanitise values being passed as bindings.
Be aware that Laravel also allows you to run raw SQL queries. You should avoid this if possible. Stick to Eloquent instead.
Bear in mind that PDO does not support binding column names. You should never use input from users to dictate the table column name, including columns used in an ORDER BY statement.
If you do need some flexibility, ensure you check the column names against a whitelist.
2. Broken Authentication

“Application functions related to authentication and session management are often implemented incorrectly, allowing attackers to compromise passwords, keys, or session tokens, or to exploit other implementation flaws to assume other users’ identities temporarily or permanently.” — OWASP Top 10
There are several strategies you can use to protect your application from this type of attack.
- Use CAPTCHA for any endpoints that can be exploited using brute-force techniques. This includes login, registration, and forgot password forms. CAPTCHA will stop most automated attacks. Go with something like Google’s reCAPTCHA rather than developing your own implementation.
- Rate-limit login attempts. If used in conjunction with CAPTCHA, it allows for a great defence-in-depth strategy. Laravel has a middleware that can be used straight away in your routes or controllers to throttle requests.
- Build multi-factor authentication for your member and admin accounts. There are great packages available that you can use to generate QR codes and validate one-time password codes upon login. Avoid other means of delivering this code, such as email or SMS. It simply isn’t secure enough.
- Never commit any default login details or sensitive API credentials to your code repository. Maintain these settings in the
.envfile in the project root. - Configure sessions securely: they should be sent over HTTPS only and never display in your application. The
securesetting can be enabled in thesession.phpconfig file of your Laravel application.
3. Sensitive Data Exposure

“Many web applications and APIs do not properly protect sensitive data, such as financial, healthcare, and PII. Attackers may steal or modify such weakly protected data to conduct credit card fraud, identity theft, or other crimes. Sensitive data may be compromised without extra protection, such as encryption at rest or in transit, and requires special precautions when exchanged with the browser.” — OWASP Top 10
Not a week goes by without news about another high-profile data breach. And most concerning of all is that at times, these breaches reveal how the company used weak security practices. Weak password hashes and unsecured S3 buckets are common occurrences.
Here are a few ways you can combat this:
- Ensure you serve the entire application over HTTPS with a TLS certificate. If users try to access the HTTP equivalent, redirect them to the secure route instead and make use of HSTS headers.
- Hash all passwords using an adaptive salted hashing function. These are hash functions where the work factor can be increased over time as processor power increases. Laravel supports both Bcrypt and Argon2 by default.
- Encrypt all sensitive data stored at rest. Never use your own developed encryption functions. Instead, use Laravel’s built-in encryption functions that use OpenSSL to provide AES-256 and AES-128 encryption.
- If you use enumeration for files or primary keys to identify records, you could be inadvertently be exposing information about your system. Using a URL like
/member-profile/23will reveal you have (at least) 23 members on your system. If you include uploaded files like/user-images/45.jpg, you could open yourself to an enumeration attack where a malicious actor could try all number combinations and extract all user images from your website. To combat this, use a different scheme like UUIDv4 to identify records that are public and might require protection. For files, use automatically generated file names or a hashed folder structure to prevent enumeration.
Never trust user-uploaded files. If these uploaded files are not validated or handled correctly, they can allow access to your entire system. The OWASP Unrestricted File Upload page includes several precautions to take. You can implement most of these using Laravel’s validation functionality:
- Setting a minimum and maximum file upload size.
- Limiting the number of simultaneous file uploads.
- Only allow specific file types by checking their MIME.
- Rename all files upon upload.
- Upload files to a non-public directory or third-party object storage like AWS S3. You don’t want somebody uploading a PHP shell script, allowing them to run commands directly on your server.
Best of all, you can wrap this all into a Laravel rule and simply call this rule as part of your validation flow.
4. XML External Entities (XXE)
“Many older or poorly configured XML processors evaluate external entity references within XML documents. External entities can be used to disclose internal files using the file URI handler, internal file shares, internal port scanning, remote code execution, and denial of service attacks.” — OWASP Top 10
This vulnerability applies to any system that parses XML. A security researcher found this vulnerability in Facebook a few years ago. This SensePost article goes into more detail about how this was accomplished.
The quickest way to prevent this attack is to disable external entity resolution when using the default PHP XML parser. This is done by setting libxml_disable_entity_loader to true.
If you cannot disable this functionality, make sure that your XML parser is updated and that you’re using at least SOAP v1.2 or higher where applicable. Always be vigilant when it comes to user-uploaded or third-party XML.
5. Broken Access Control
“Restrictions on what authenticated users are allowed to do are often not properly enforced. Attackers can exploit these flaws to access unauthorised functionality and/or data, such as access other users’ accounts, view sensitive files, modify other users’ data, change access rights, etc.” — OWASP Top 10
In 2011, attackers made off with details of over 200,000 Citigroup customers after discovering an exploit in the way they handled customer account numbers. Once they logged into an account, all they had to do was change the customer number in the URL to jump to the record of another customer.
This allowed them to create an automated process that would cycle through all possible numbers and capture all the confidential data.
The system didn’t have any authorisation checks in place to ensure the account number being accessed belonged to the logged-in user.
- Always perform authorisation checks on any operations that are only available to logged-in users. This includes the page (for example, allowing you to update details), as well as the destination of the form submit.
- There are popular RBAC (Role-Based Access Control) packages that can be used with Laravel allowing you to manage user permissions and roles. You can also use Laravel’s built-in authorisation services.
6. Security Misconfiguration

“Security misconfiguration is the most commonly seen issue. This is commonly a result of insecure default configurations, incomplete or ad hoc configurations, open cloud storage, misconfigured HTTP headers, and verbose error messages containing sensitive information. Not only must all operating systems, frameworks, libraries, and applications be securely configured, but they must be patched/upgraded in a timely fashion.” — OWASP Top 10
When configuring your web application, always consider the principle of least functionality. Harden your installation by removing or disabling all services you don’t need.
Back in 2001, the Nimda worm wreaked worldwide havoc by exploiting several IIS (Internet Information Server) vulnerabilities.
Many systems had IIS installed by default, even though they didn’t use the Microsoft web server at all. The result was a high infection rate that could have been prevented by hardening the system and uninstalling any services not required by the system or network.
- Keep all server software and any dependencies in your web application up to date.
- Disable directory listing for your web server.
- Disable debugging on production servers. Even on staging servers, debugging can reveal sensitive server information by outputting all your environment variables. Make use of the
debug_hideapp configuration option in Laravel to prevent this.
7. Cross-Site Scripting (XSS)
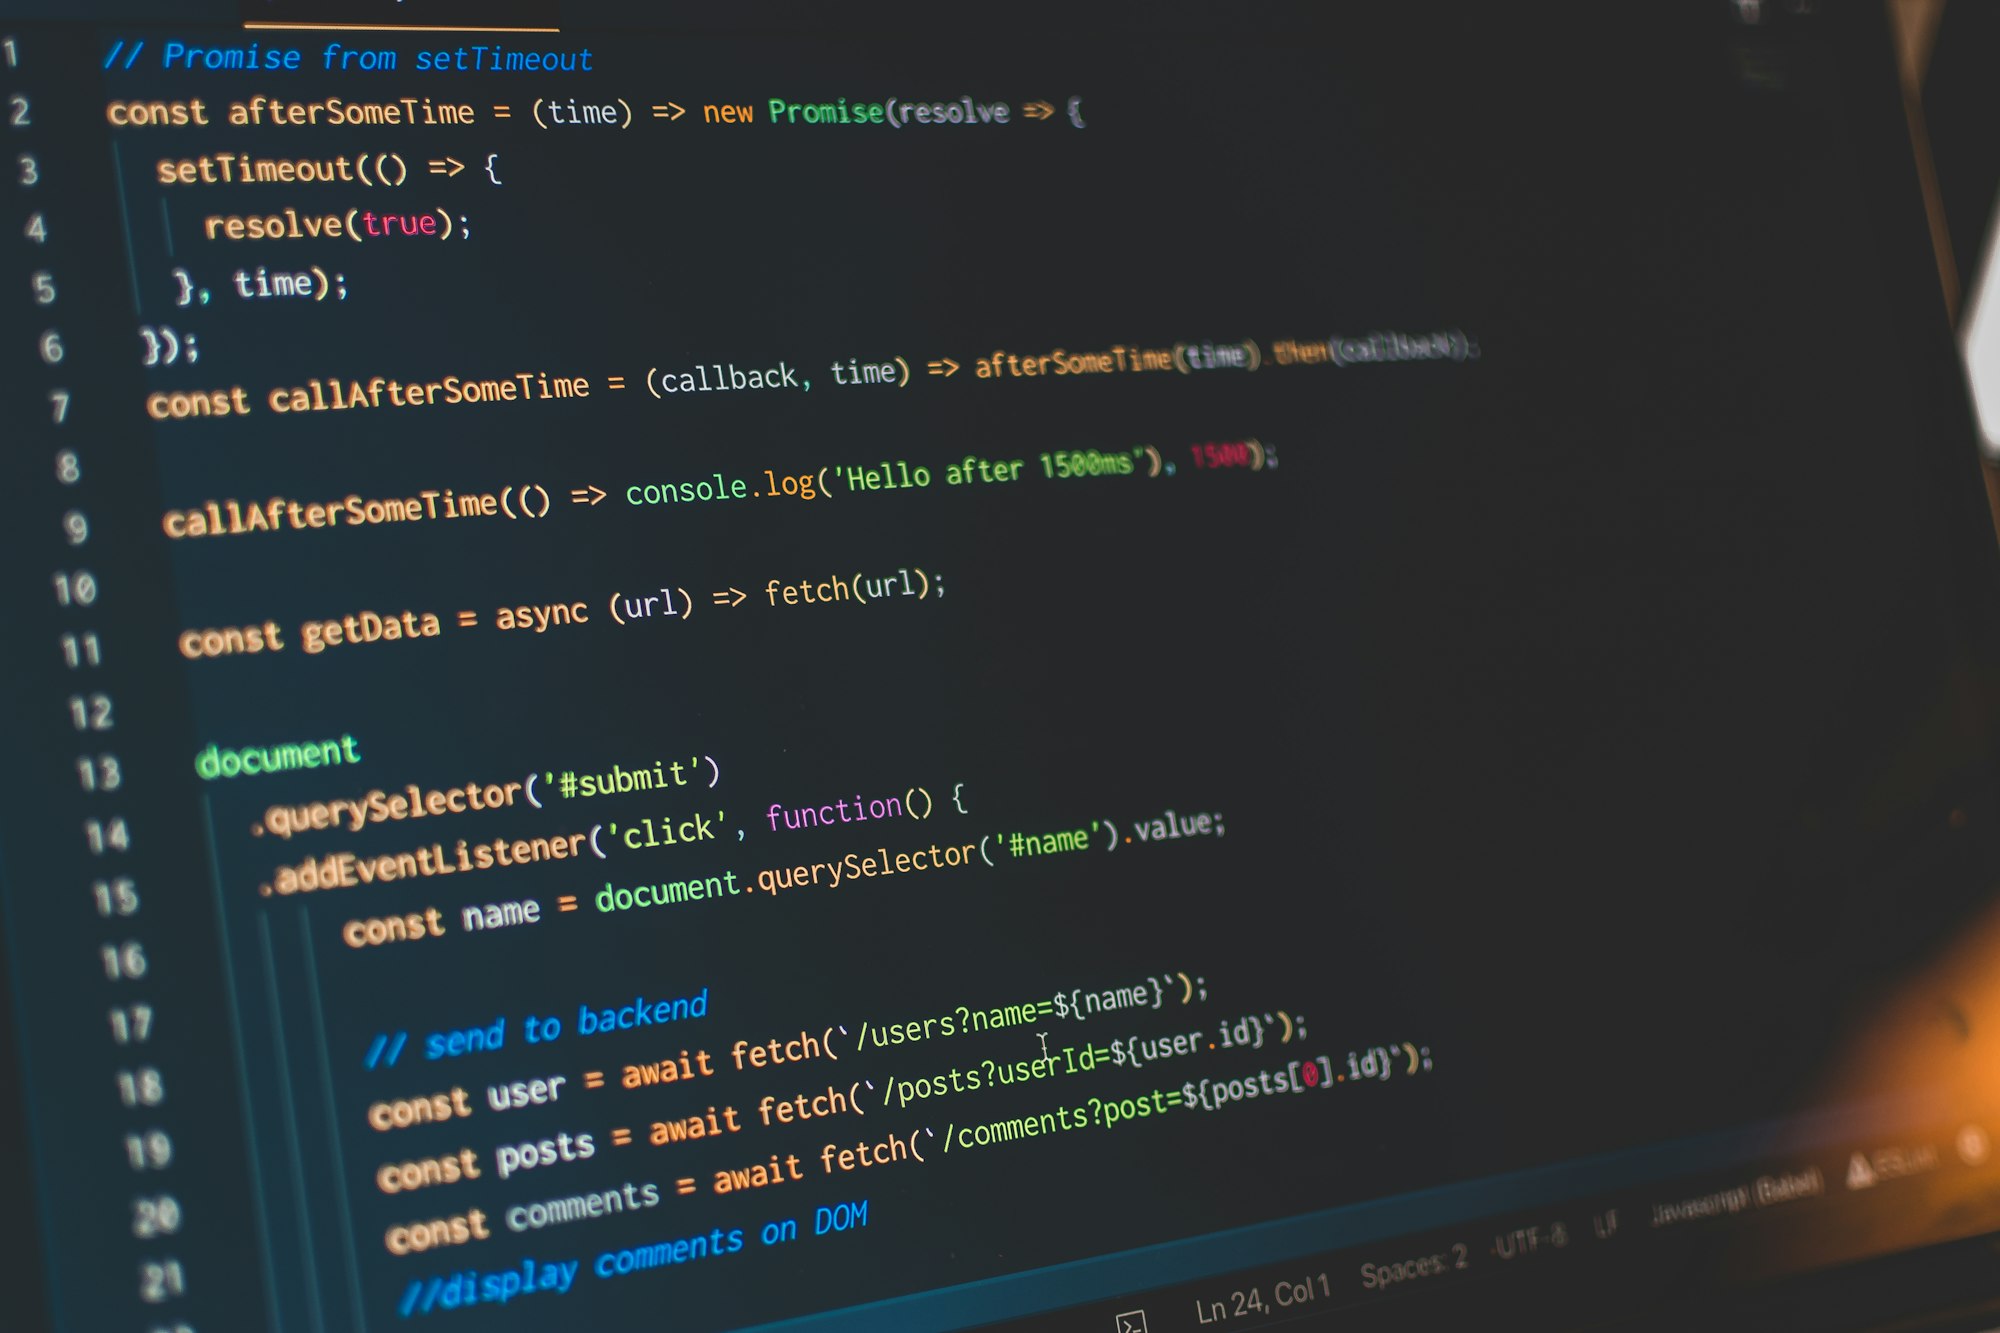
“XSS flaws occur whenever an application includes untrusted data in a new web page without proper validation or escaping, or updates an existing web page with user-supplied data using a browser API that can create HTML or JavaScript. XSS allows attackers to execute scripts in the victim’s browser which can hijack user sessions, deface web sites, or redirect the user to malicious sites.” — OWASP Top 10
Never display user-supplied input without escaping the data. Laravel’s template engine, Blade, automatically escapes content rendered using the default syntax. This sends it through PHPs htmlspecialchars function.
Escaping all output this way will reduce your website visitors’ exposure to XSS and CSRF (Cross-Site Request Forgery) attacks.
Unfortunately, it’s not always as simple as that. If you’ve ever included WYSIWYG HTML editors in your application such as TinyMCE or CKEditor, you know this poses a risk (especially since escaping the output would result in a bunch of HTML tags rather than the formatted content).
In these instances, use a package like HTMLPurifier to remove any potentially malicious code.
8. Insecure Deserialisation
“Insecure deserialisation often leads to remote code execution. Even if deserialisation flaws do not result in remote code execution, they can be used to perform attacks, including replay attacks, injection attacks, and privilege escalation attacks.” — OWASP Top 10
Be wary of unserialising anything from untrusted sources. This includes cookies your application might create. A malicious user can edit that cookie in their browser and use this as an attack vector against your application.
By default, all cookies created by Laravel are encrypted and signed. This means they’ll be invalid if a client tampers with them.
9. Using Components with Known Vulnerabilities

“Components, such as libraries, frameworks, and other software modules, run with the same privileges as the application. If a vulnerable component is exploited, such an attack can facilitate serious data loss or server takeover. Applications and APIs using components with known vulnerabilities may undermine application defenses and enable various attacks and impacts.” — OWASP Top 10
Because most of the dependencies you may be using in Laravel are open source, it allows malicious users to analyse the packages and find ways to exploit vulnerabilities. A few ideas to mitigate this problem:
- Ensure you keep all dependencies up to date.
- Remove any dependencies not in use. This will reduce the potential number of attack entry points.
- Subscribe to security bulletins and include a security scanner (such as Snyk) as part of your CI/CD pipeline.
- Consider using an LTS (Long Term Support) version of Laravel rather than the latest version. LTS versions receive security fixes for three years rather than the one year for non-LTS releases.
10. Insufficient Logging and Monitoring

“Insufficient logging and monitoring, coupled with missing or ineffective integration with incident response, allows attackers to further attack systems, maintain persistence, pivot to more systems, and tamper, extract, or destroy data. Most breach studies show time to detect a breach is over 200 days, typically detected by external parties rather than internal processes or monitoring.” — OWASP Top 10
When it comes to your application and server, log everything, including failed login attempts and password resets.
Laravel comes with Monolog out of the box. You can even integrate it with a third party logging service like Papertrail and receive alerts for specific log events.
Conclusion
Thank you for reading, I hope this has proven useful! Sign up to my newsletter or visit my blog where I’ll share insightful web development articles to supercharge your skills.
Resources
The OWASP website is a brilliant source of information, and they provide several in-depth guides about many of the security issues mentioned above.
programming
via Laravel News Links https://ift.tt/2dvygAJ
August 24, 2020 at 09:42PM