https://www.alloutdoor.com/wp-content/uploads/2023/10/pelican-vault-v200-06.jpg
Before we jump into this, it’s important to clear something up: federal regulations say that you can check a firearm in your baggage by following certain steps – which we’ll cover here – but some state laws vary. The Firearm Owners Protection Act is supposed to allow gun owners to travel through states with a legally possessed firearm, even if that firearm is illegal in that state, under a provision called the Safe Passage Act. But in spite of this, You could still potentially face penalties, or be temporarily detained and questioned by some unfriendly authorities, if you fly into a state with restrictions on the guns you’re traveling with. That includes connecting flights. Yes, it’s terrible, but some gun owners have faced hurdles for flying with perfectly legal firearms and making connecting flights in restrictive states like New York.
Travel and Firearm Coverage on AllOutdoor
- The Path Less Traveled #070: Stealth Camping, Ever a Good Idea?
- Do-It-Yourself Project (DIY) – Custom Gun Case Foam Replacement
- AllOutdoor Review – Savior Equipment Fiddle Master “Violin” Gun Case
- AllOutdoor Review – Yeti Loadout GoBox 30 Gear Case
In short, always check the local and state laws of all locales you plan on visiting – even those wherein you may simply sit in the airport waiting for your next flight. With that out of the way, let’s answer the common questions and bust some myths. Then we’ll go over how to properly store your guns and declare them at your departure for air travel.
- Can I Really Fly with a firearm? – Yes, but under normal circumstances, only in the U.S. It is possible to fly internationally with guns, and plenty of hunters do it. But you need to comply with the Arms Export Control Act, and deal with the legalities of strict laws overseas. We’re only going over flying with your firearms in betwixt our 50 great states.
- Can a Firearm be Carried-On a Plane? – Absolutely not and, if you try to stow your gun in a carry-on, you will most certainly not be going anywhere (besides a locked room, in handcuffs). All firearms must be transported in checked baggage and stored in the cargo hold. Importantly, though, firearm optics can be carried onboard any flight. Scopes and night vision devices can be delicate, and they’re expensive, so you might want to tuck yours in your overhead bag instead.
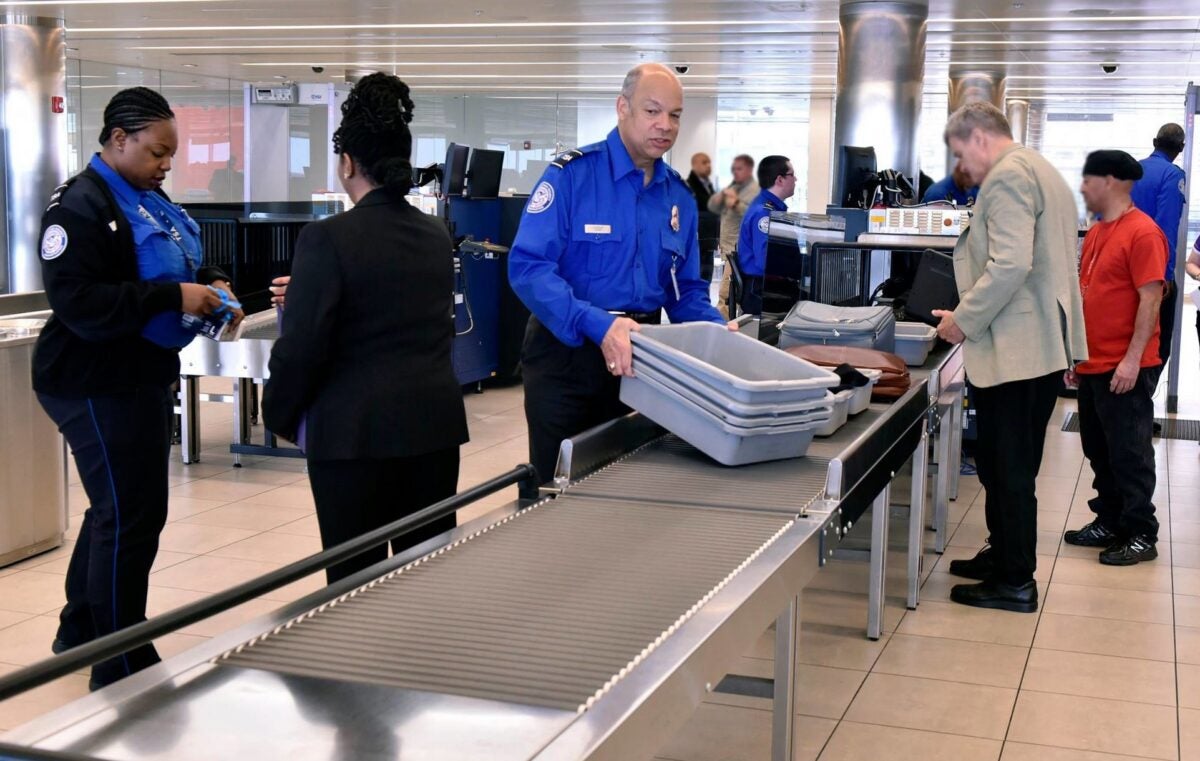
- What if I’m Law Enforcement? – No go. All firearms must always be checked with TSA before you go through security. Only air marshals on duty can carry firearms aboard an aircraft.
- Can I Fly with Ammo, too? – Yes, but you can’t travel with loose rounds. All live ammo must be stored inside a box or container, or magazines (more on that next), then stored inside a locking box.
How Exactly Do I Store my Firearm and Ammo?
Easy! You can store your firearms inside a locking hard case. Of course, your case needs to be able to withstand the rigors of air travel and it must be able to withstand basic handling. That means no flimsy, $20 gun cases that you could easily pry open, or break the latches.
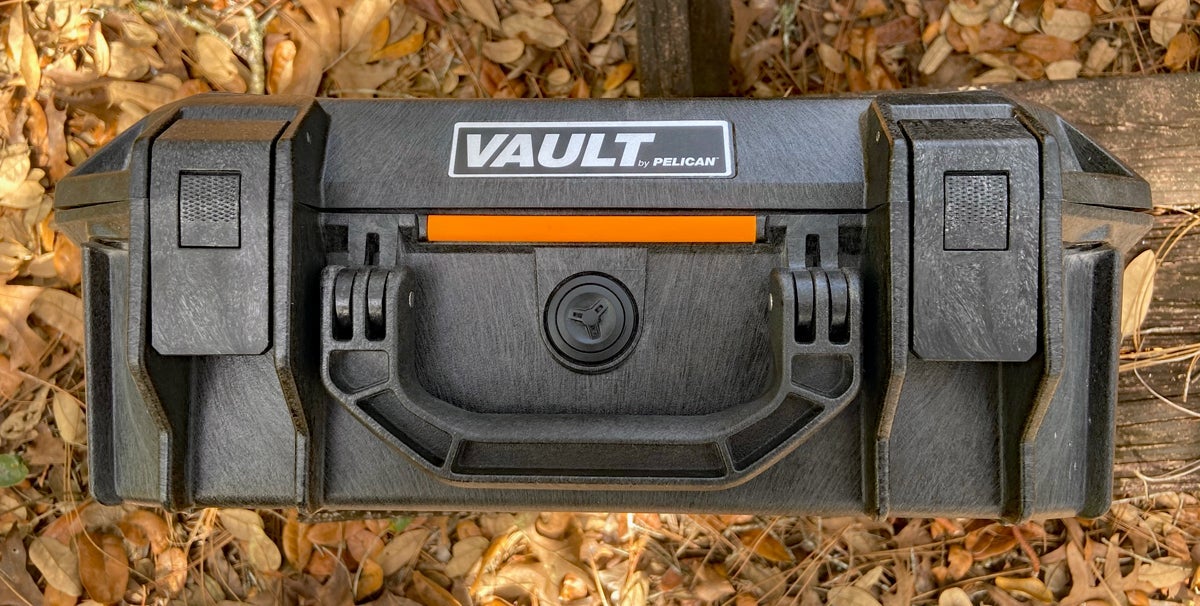
A Pelican case, like the Vault V200 Handgun Case, or any similar locking hard case sets the standard for what is considered air travel-worthy.
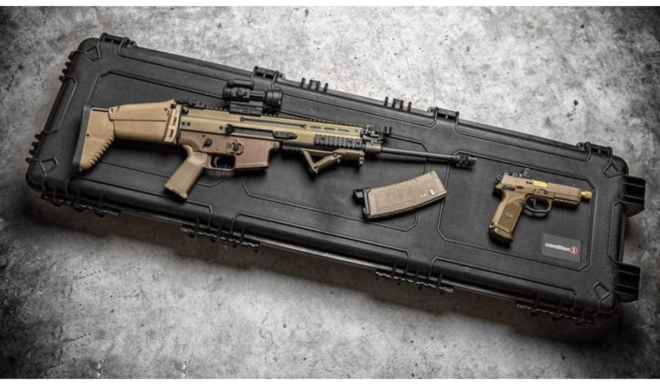
Rifle cases are no different. Condition1’s Hard-Shell Long Gun Cases are great options. The TSA spells out some firearm and ammo transportation guidelines, but here’s the gist:
- Your gun case needs to be hard-sided. No soft cases are allowed.
- You case needs to be lockable, either with a key lock or padlock.
- Your case needs to be impact- and weather-resistant.
- Ideally, your case should have a pressure relief valve.
- Ammo and firearms must be stored separately.
The TSA takes these guidelines seriously. If you show up and have even a single loose round bouncing around in your gun case, you’re probably going to miss your flight and you could even be on the hook for a $10,000 fine, if not jail time. Besides storing ammo and guns in separate locking containers, there are some extra guidelines to follow when it comes to ammo, too:
- Ammo can’t be larger than .75 caliber. So, no mortars or rockets. Sorry.
- Ammo can’t be left in magazines or stripper clips unless they’re capped.
- Ammo can be stored inside a firearm case only if the ammo is first stored inside its own separate, locking hard case. That smaller case can then be placed inside the firearm case if there’s room.
Beyond these requirements, here are some tips and tricks you should consider when traveling with guns and ammo. This can make your travel easier and worry-free.
- Contact info. Place it inside your gun case. If your case gets lost, TSA can more easily contact you if you get separated from your checked luggage.
- TSA-approved locks. Some advocate for not using TSA-approved locks (they can be opened by TSA agents). But if your gun case does happen to get misplaced, the only choice agents have is to either 1. cut your locks, or 2. open them if possible.
- Tell security you’re traveling with firearms at the curb. Virtually every single airport in the U.S. has security or law enforcement at the departure terminal curbside. Approaching security can make your check-in process easier. Usually, they’ll be happy to escort you to the separate screening area for checking your firearms. They’ll ensure your guns and ammo are stored correctly before entering the airport, helping you to avoid any issues later.
- Don’t open your cases at your destination. Of course you want to check your firearms and kit after you land, but wait until you exit the airport. If you’re seen opening your cases after you collect them, you’re bound to get swarmed by security.
- Call ahead and speak to your airline and airports. It’s a good idea to confirm your airline’s policy concerning checking firearms. Some are easier to deal with than others. The same goes for airport security: Call your departure and arrival points and confirm where you need to go for screening before the day you fly.
Did you know Pelican makes rugged carry-on cases for your other gear? Check out our review of the Pelican 1535 Rolling Carry-On Case.
The post Can You Fly on a Plane with a Firearm?… Yes! Here is How You Do It appeared first on AllOutdoor.com.
AllOutdoor.com


 Response Time (ms), Aimeos Tuned MySQL Configuration vs Default
 CPU Utilization (%), Aimeos Tuned MySQL Configuration vs Default
 Queries Per Seconds, Aimeos Tuned MySQL Configuration vs Default