Whether you’re running 440C or S90V, even the most super of steels will need to be sharpened eventually. This can be an intimidating task to some, but we’re going to take a look at three systems that make the job easy and achieve fantastic results.
The theory of sharpening is simple. Using something abrasive, usually a stone, material is removed from one side of the edge until you can feel a burr on the opposite side along the entire length of the edge. The process is duplicated on the opposite side.
It’s usually best to alternate the side you are working on every few strokes so that each has a similar amount of material removed, keeping the edge itself even and centered.
Once you are able to raise a consistent burr on each side, you’ll move to finer grit abrasives until you achieve the desired amount of refinement on the edge. The grit you start with will depend on how degraded the edge is.
You can go as high as you want with your grit, all the way up to a mirror polish if desired, but you’ll want to go up to something in the “fine” range…at least 1,000 grit (but often much higher).
This is by no means an exhaustive overview, but it’s plenty to get you started. There are myriad ways to achieve the results you need, and today we’re going to take a look at three of our favorite sharpening systems that are suitable for all levels of experience.
The first is the Spyderco Sharpmaker, an intuitive and easy-to-use device that can achieve hair-shaving results on almost any steel out there, as long as the edge isn’t so far gone that you need to reprofile it.
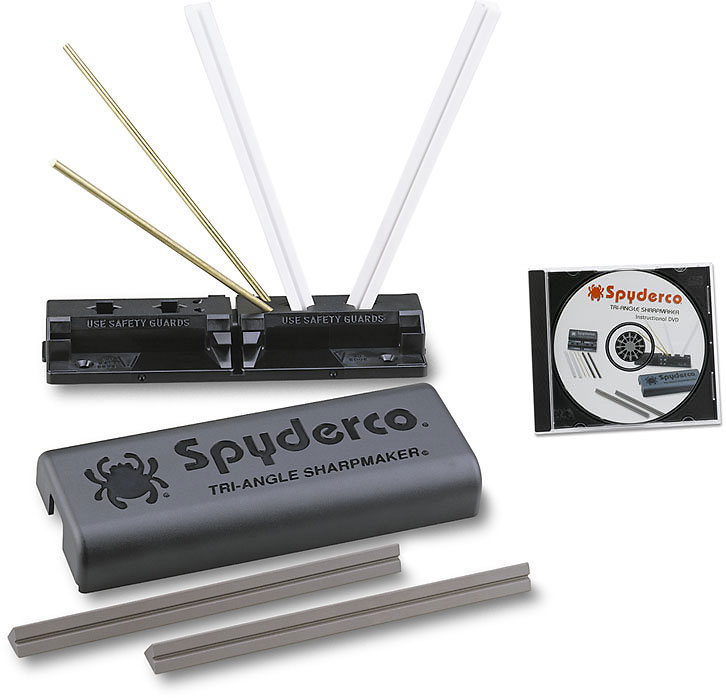
All of the elements come in a black plastic case that doubles as a stand, making this a very tidy package to store when not in use. There are two preset angles for the stones, meaning you don’t have to worry about maintaining the proper angle as you would when freehand sharpening on a flat stone.
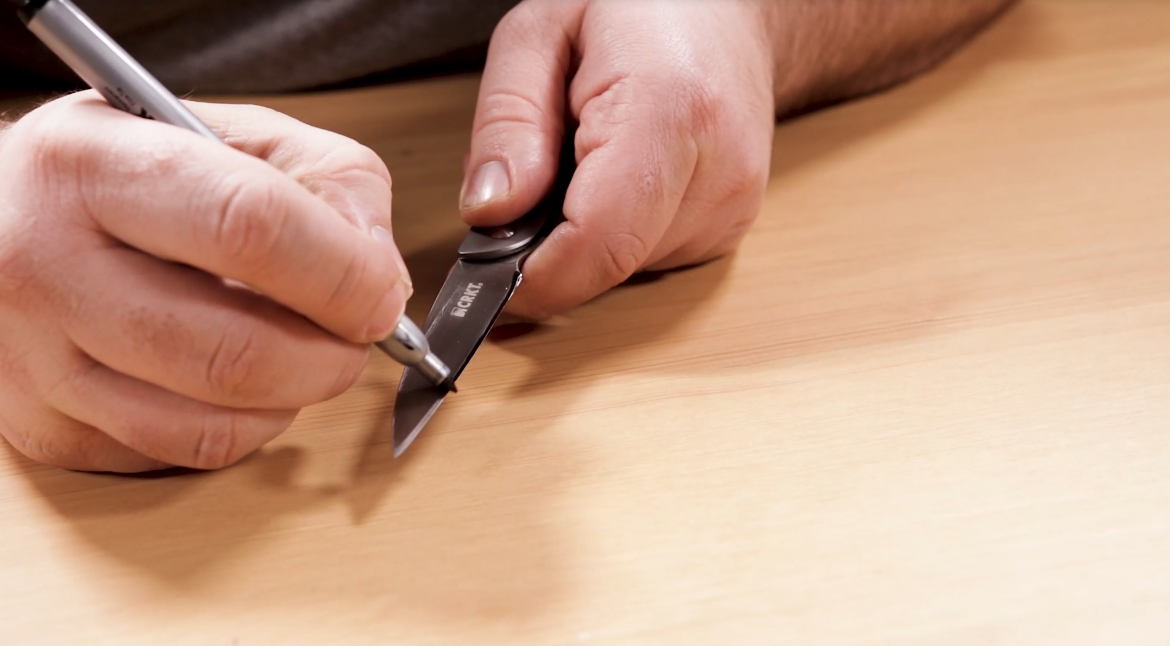
One way to check and see if the preset angle is matching up to your knife is to color the sharpened edge in with a black marker. After a few strokes, if the marks have disappeared, you know you are lined up properly.
Once the brass guards are in place, you start with the corner of the triangular brown medium stones. All you have to do is hold the blade straight up and down and place the heel of your blade at the top of the stone. Bring the blade straight down, and draw it towards you as you do, so that you hit the whole edge by the time you reach the bottom of the stone.
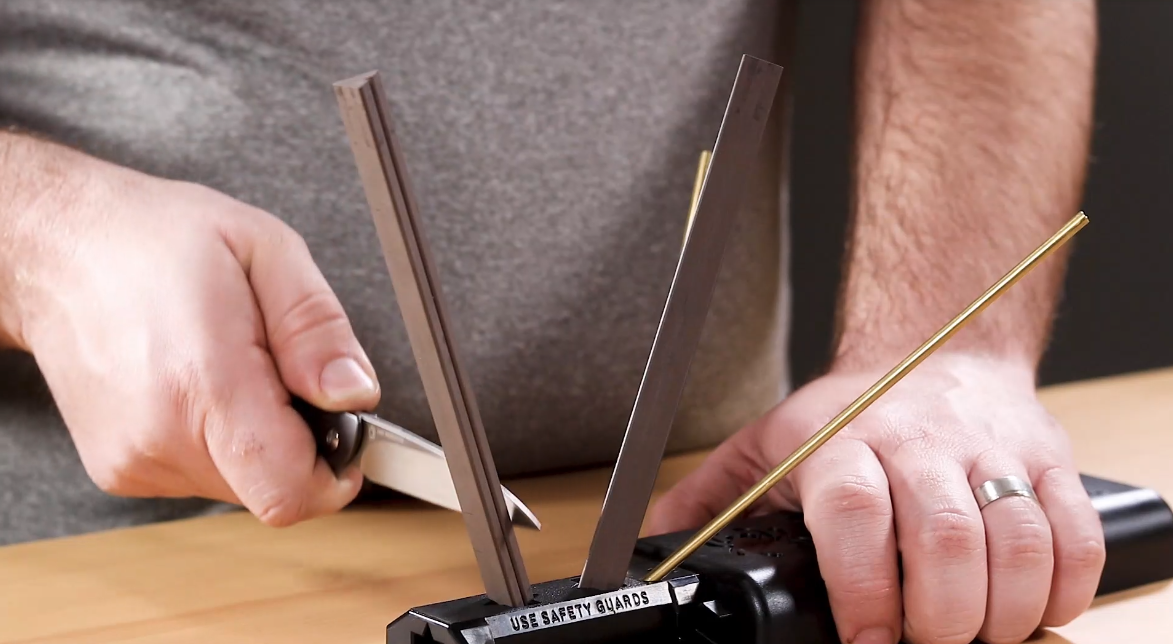
Do this twenty times on each side of the blade, then rotate the stones and perform twenty strokes per side again, this time on the flat side.
Repeat the same steps as before, this time using fine white stones, starting with the corner, and then the flat side of the triangle. Once you are finished, your edge should be hair popping sharp. At this point, your blade should be able to cut paper, but we aren’t done yet. The stand also has a couple of other ways of holding the stones, allowing you to easily sharpen other tools such as chisels, scissors, and even straight razors.
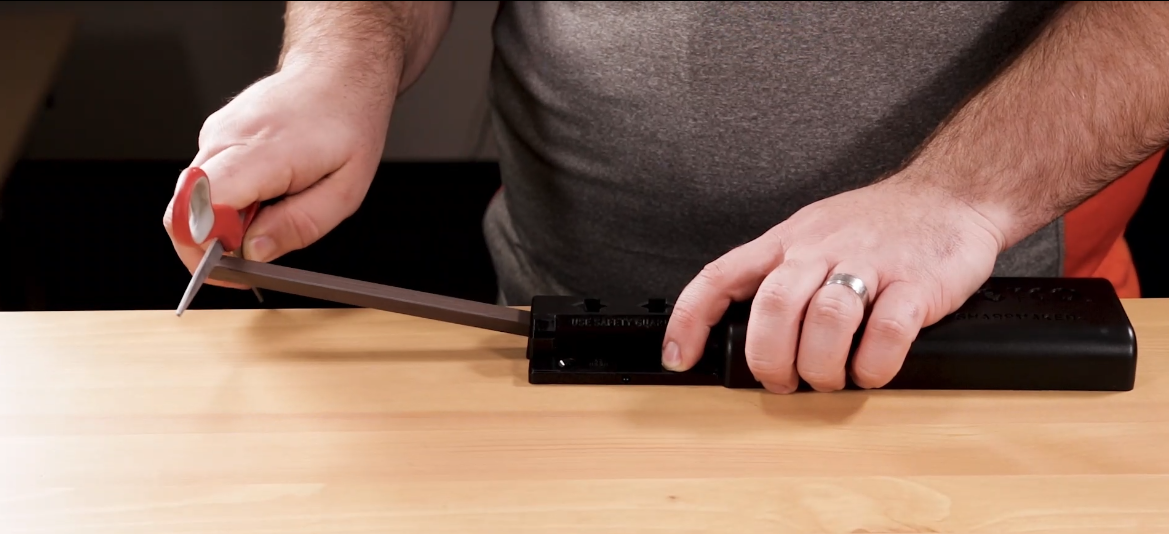
The Sharpmaker is a truly versatile device that is a classic for a reason – it just plain works.
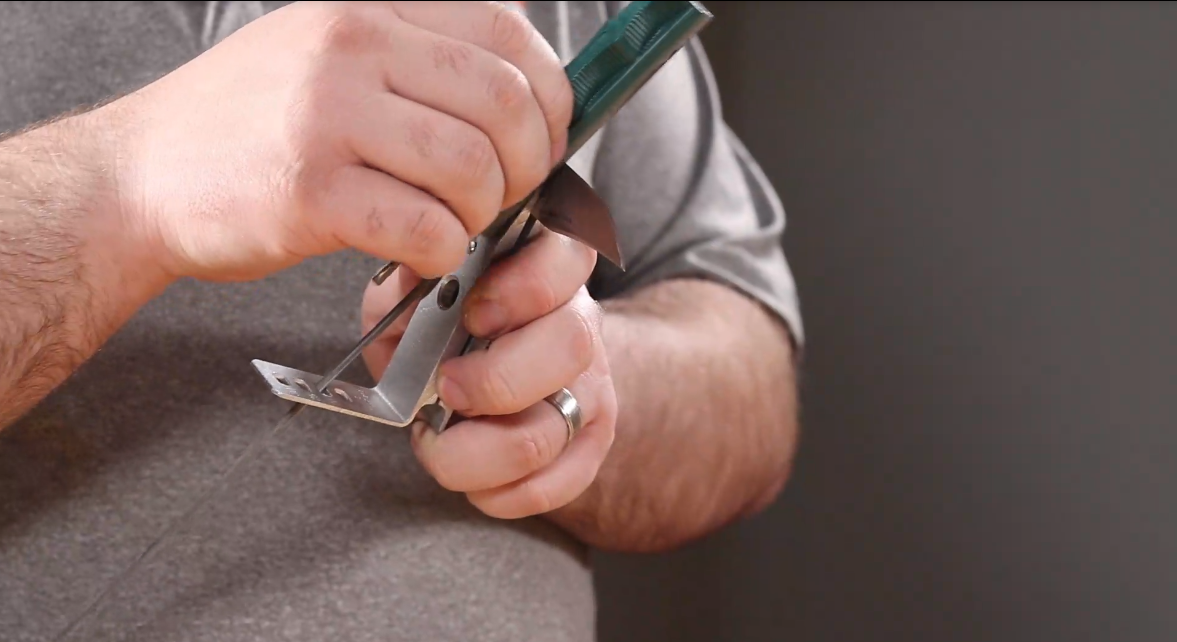
Another system worth checking out that offers even more control over angles than the Sharpmaker is the Lansky Universal Knife Sharpening System.
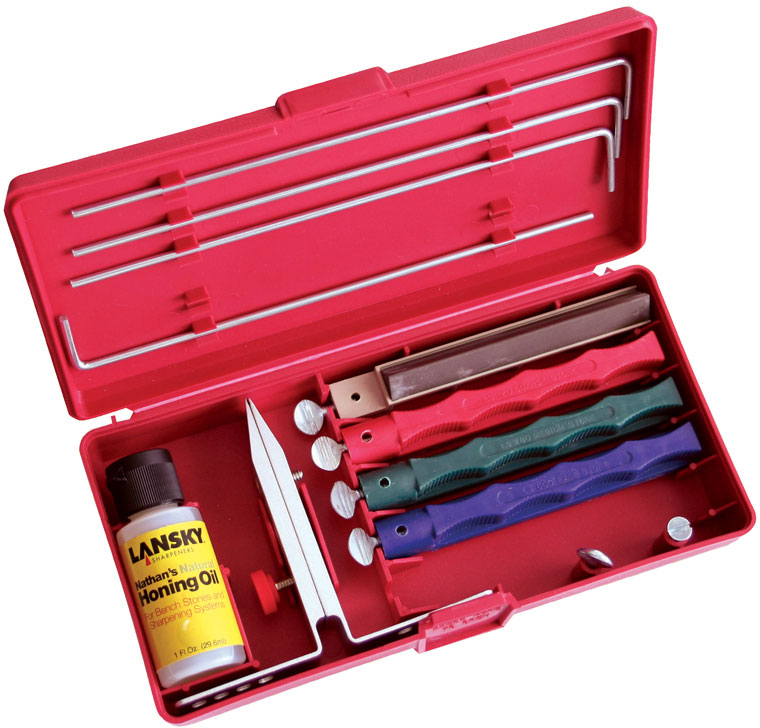
This set comes with a clamp that holds your blade steady and provides guide holes for the included stones so you can maintain the proper angle for your blade. Along with honing oil, the standard set comes with coarse, medium, and fine stones and is a great starting point. For a little extra money, higher-end sets come with more grits but they can also be purchased separately, as the standard set’s case comes with extra slots for storage if you choose to upgrade. The process here is simple. Clamp the spine of your blade into place and attach the guide rods to the stones you wish to use. Starting with the coarsest stone you need, choose your angle and insert the guide rod into the proper hole.
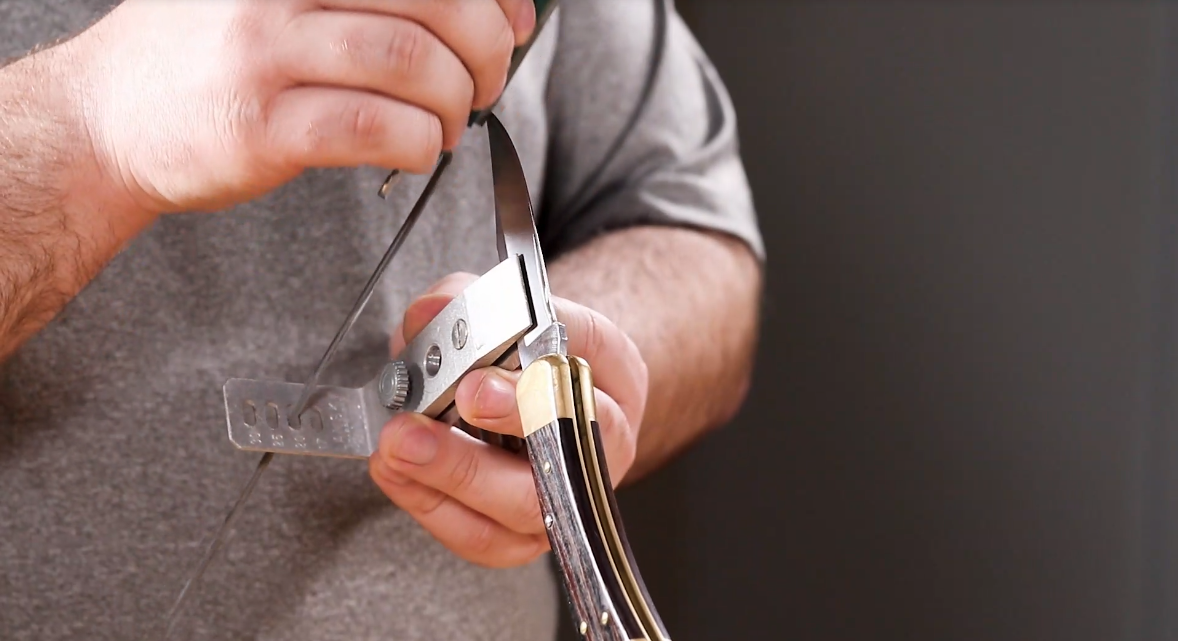
Sharpen as described earlier until you can raise a burr consistently on both sides, then move up to the next grit until your desired sharpness is achieved.
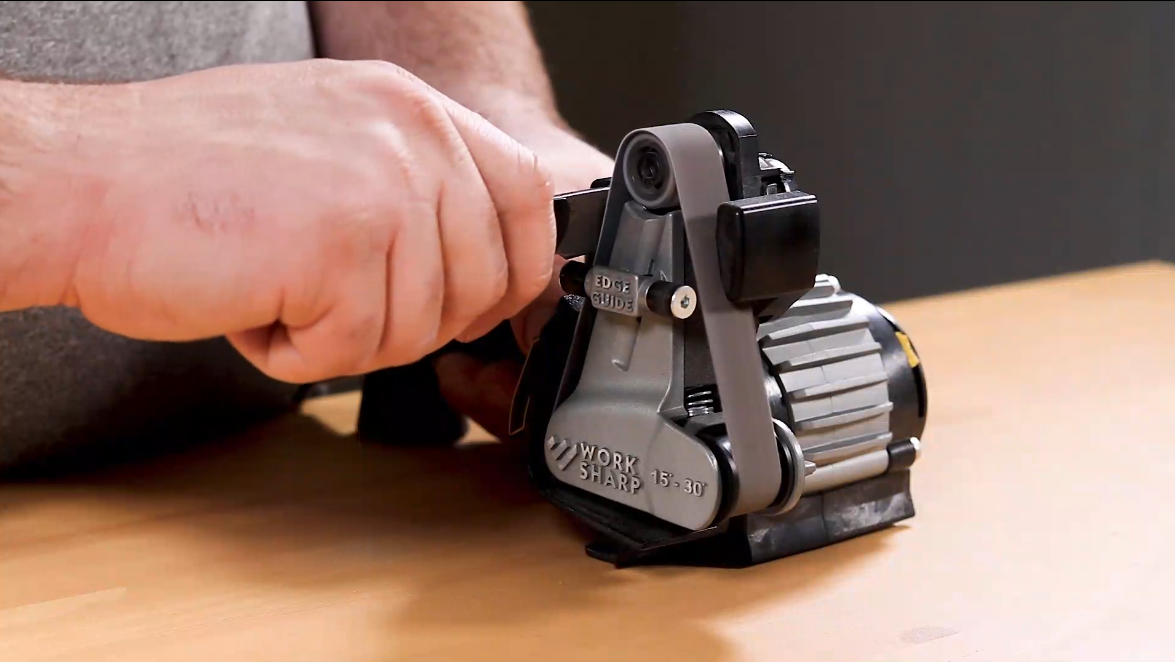
If you want to take your sharpening game to the next level, a powered unit from Work Sharp may be in order. Work Sharp has been raising the bar in the sharpening arena by thinking outside the box, and their Ken Onion Edition Knife & Tool Sharpener is one of our favorite units that they make, offering fast and accurate performance.
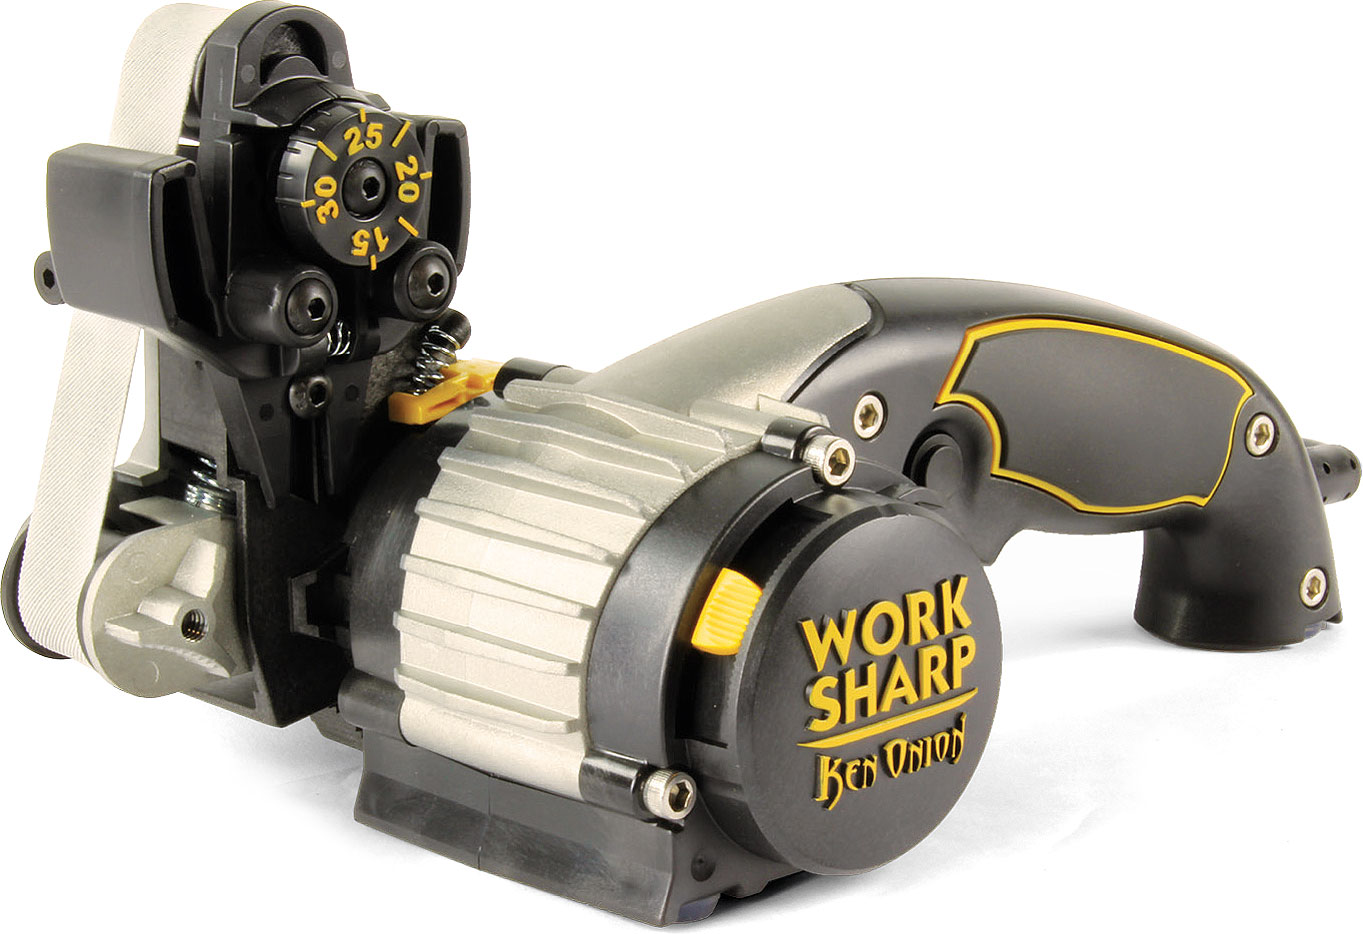
Unlike the previous units we showed you, the Ken Onion Work Sharp is driven by an electric motor, using abrasive belts and an adjustable angle guide to sharpen your edge.
After selecting your angle, set the heel of the blade on the belt, pull the trigger to start the motor, and pull the blade backward at a rate of one inch per second according to the manufacturer, stopping the motor before the tip of your knife passes the centerline of the belt. Then do the same for the opposite side. As with all the sharpening methods we’ve shown you, repeat these steps as necessary until the burr is consistent, then proceed to the next grit until desired sharpness is achieved.
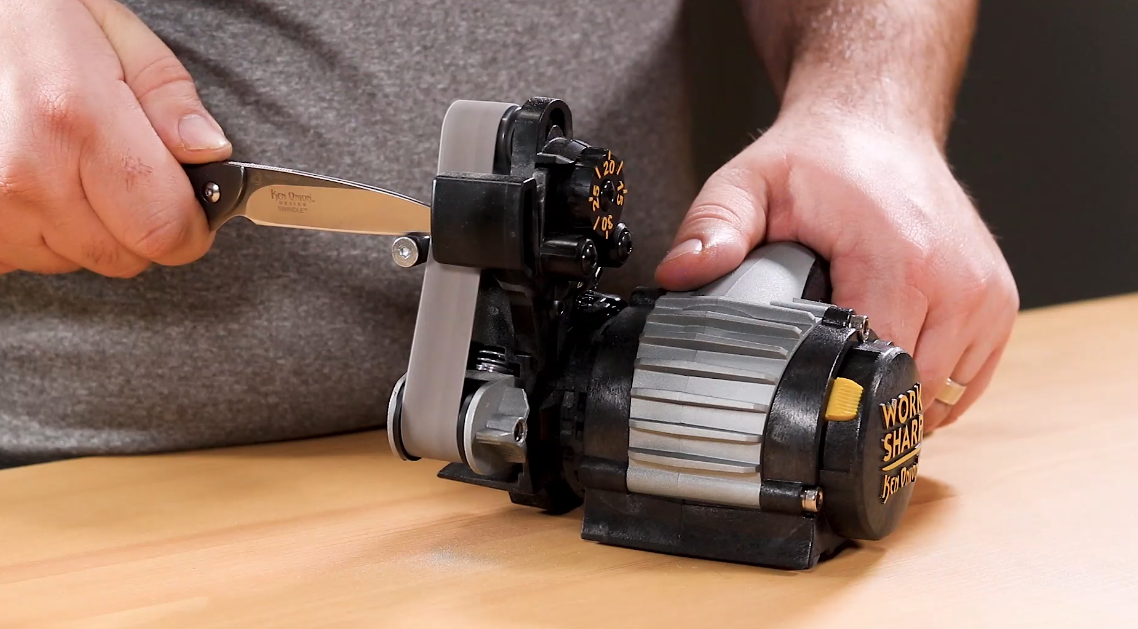
One thing to keep in mind when using this unit: the motor speed is adjustable, but make sure you don’t overheat your edge and ruin the temper. Keep things nice and slow until you are comfortable with the system.
Further enhancing the versatility of the Ken Onion Work Sharp is its ability to accept add-ons sold separately, including a tool grinding attachment and a blade grinding attachment, offering a form factor similar to professional knife grinders in a much smaller footprint.
As you can see, there are certainly differences between these three systems, but you won’t go wrong with any of them. Friends don’t let friends carry a dull knife, and these are units that we believe in, and not just because we sell them. We actually own them. The units you saw in this blog are ones that came from the KnifeCenter staff’s personal collections, where they have all given years of reliable service.
What questions do you have about using these sharpening systems? Let us know your tried and true tips in the comments below!
via Knife Center News Blog – Latest News
Sharpening 101: The Best Tips and Products for a Great Edge