Laravel 5.8 Form Validation Tutorial With Example is today’s topic. Laravel Framework provides many different approaches to validate your application’s form data. By default, Laravel’s base controller class uses the ValidateRequests trait which provides the convenient method to validate incoming HTTP request with a variety of powerful validation rules. We can use the Validation differently in Laravel. We can either use inside the controller’s method or create a FormRequest class to validate the incoming requests. In this tutorial, we will all ways to validate Laravel.
Laravel 5.8 Form Validation Tutorial
Okay, now the first step is to install Laravel 5.8. If you are new to Laravel 5.8, then check out my Laravel 5.8 CRUD tutorial on this blog. So, install the Laravel 5.8 using the following command. Right now, Laravel 5.8 is the latest version. So in the future, you may need to specify the version while installing the Laravel 5.8.
composer create-project --prefer-dist laravel/laravel blog
Okay, now go inside the project folder and open the project in the code editor.
Now, create a MySQL database and also connect that database to Laravel 5.8. Write the database credentials inside the .env file.
DB_CONNECTION=mysql
DB_HOST=127.0.0.1
DB_PORT=3306
DB_DATABASE=blog
DB_USERNAME=root
DB_PASSWORD=root
Create a FormController.php file using the following command.
php artisan make:controller FormController
Create two methods inside the FormController.php file.
<?php

// FormController.php

namespace App\Http\Controllers;

use Illuminate\Http\Request;

class FormController extends Controller
{
    public function create()
    {

    }

    public function store(Request $request)
    {

    }
}
Now, write the two routes inside the routes >> web.php file.
// web.php

Route::get('form', 'FormController@create')->name('form.create');
Route::post('form', 'FormController@store')->name('form.store');
Now, create a model and migration file using the following command.
php artisan make:model Form -m
Write the following code inside the [timestamp]_create_forms_table.php file.
// create_forms_table.php

public function up()
{
        Schema::create('forms', function (Blueprint $table) {
            $table->bigIncrements('id');
            $table->string('item_name');
            $table->string('sku_no');
            $table->integer('price');
            $table->timestamps();
        });
}
Now, create a table using the following command.
php artisan migrate
Also, to prevent mass assignment exception, add the $fillable property.
<?php

// Form.php

namespace App;

use Illuminate\Database\Eloquent\Model;

class Form extends Model
{
    protected $fillable = ['item_name', 'sku_no', 'price'];
}
Inside the views folder, create layout.blade.php file and add the following code.
<!DOCTYPE html>
<html lang="en">
<head>
  <meta charset="UTF-8">
  <meta name="viewport" content="width=device-width, initial-scale=1.0">
  <meta http-equiv="X-UA-Compatible" content="ie=edge">
  <title>Laravel 5.8 Form Validation Example Tutorial</title>
  <link href="" rel="stylesheet" type="text/css" />
</head>
<body>
  <div class="container">
    @yield('content')
  </div>
  <script src="" type="text/js"></script>
</body>
</html>
Now, in the same folder, create one file called create.blade.php and add the following code.
<!-- create.blade.php -->

@extends('layout')

@section('content')
<style>
  .uper {
    margin-top: 40px;
  }
</style>
<div class="card uper">
  <div class="card-header">
    Add Item
  </div>
  <div class="card-body">
    @if ($errors->any())
      <div class="alert alert-danger">
        <ul>
            @foreach ($errors->all() as $error)
              <li></li>
            @endforeach
        </ul>
      </div><br />
    @endif
      <form method="post" action="">
          <div class="form-group">
              @csrf
              <label for="name">Item Name:</label>
              <input type="text" class="form-control" name="item_name"/>
          </div>
          <div class="form-group">
              <label for="price">SKU Number :</label>
              <input type="text" class="form-control" name="sku_no"/>
          </div>
          <div class="form-group">
              <label for="quantity">Item Price :</label>
              <input type="text" class="form-control" name="price"/>
          </div>
          <button type="submit" class="btn btn-primary">Create Item</button>
      </form>
  </div>
</div>
@endsection
Now, write the FormController’s create() function.
// FormController.php

public function create()
{
    return view('create');
}
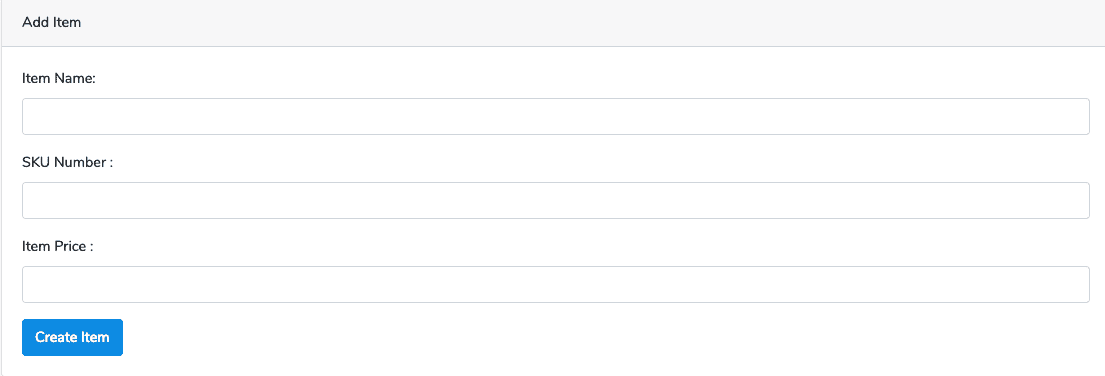
Now, you can access the form on this URL: http://localhost:8000/form.
Writing The Validation Logic
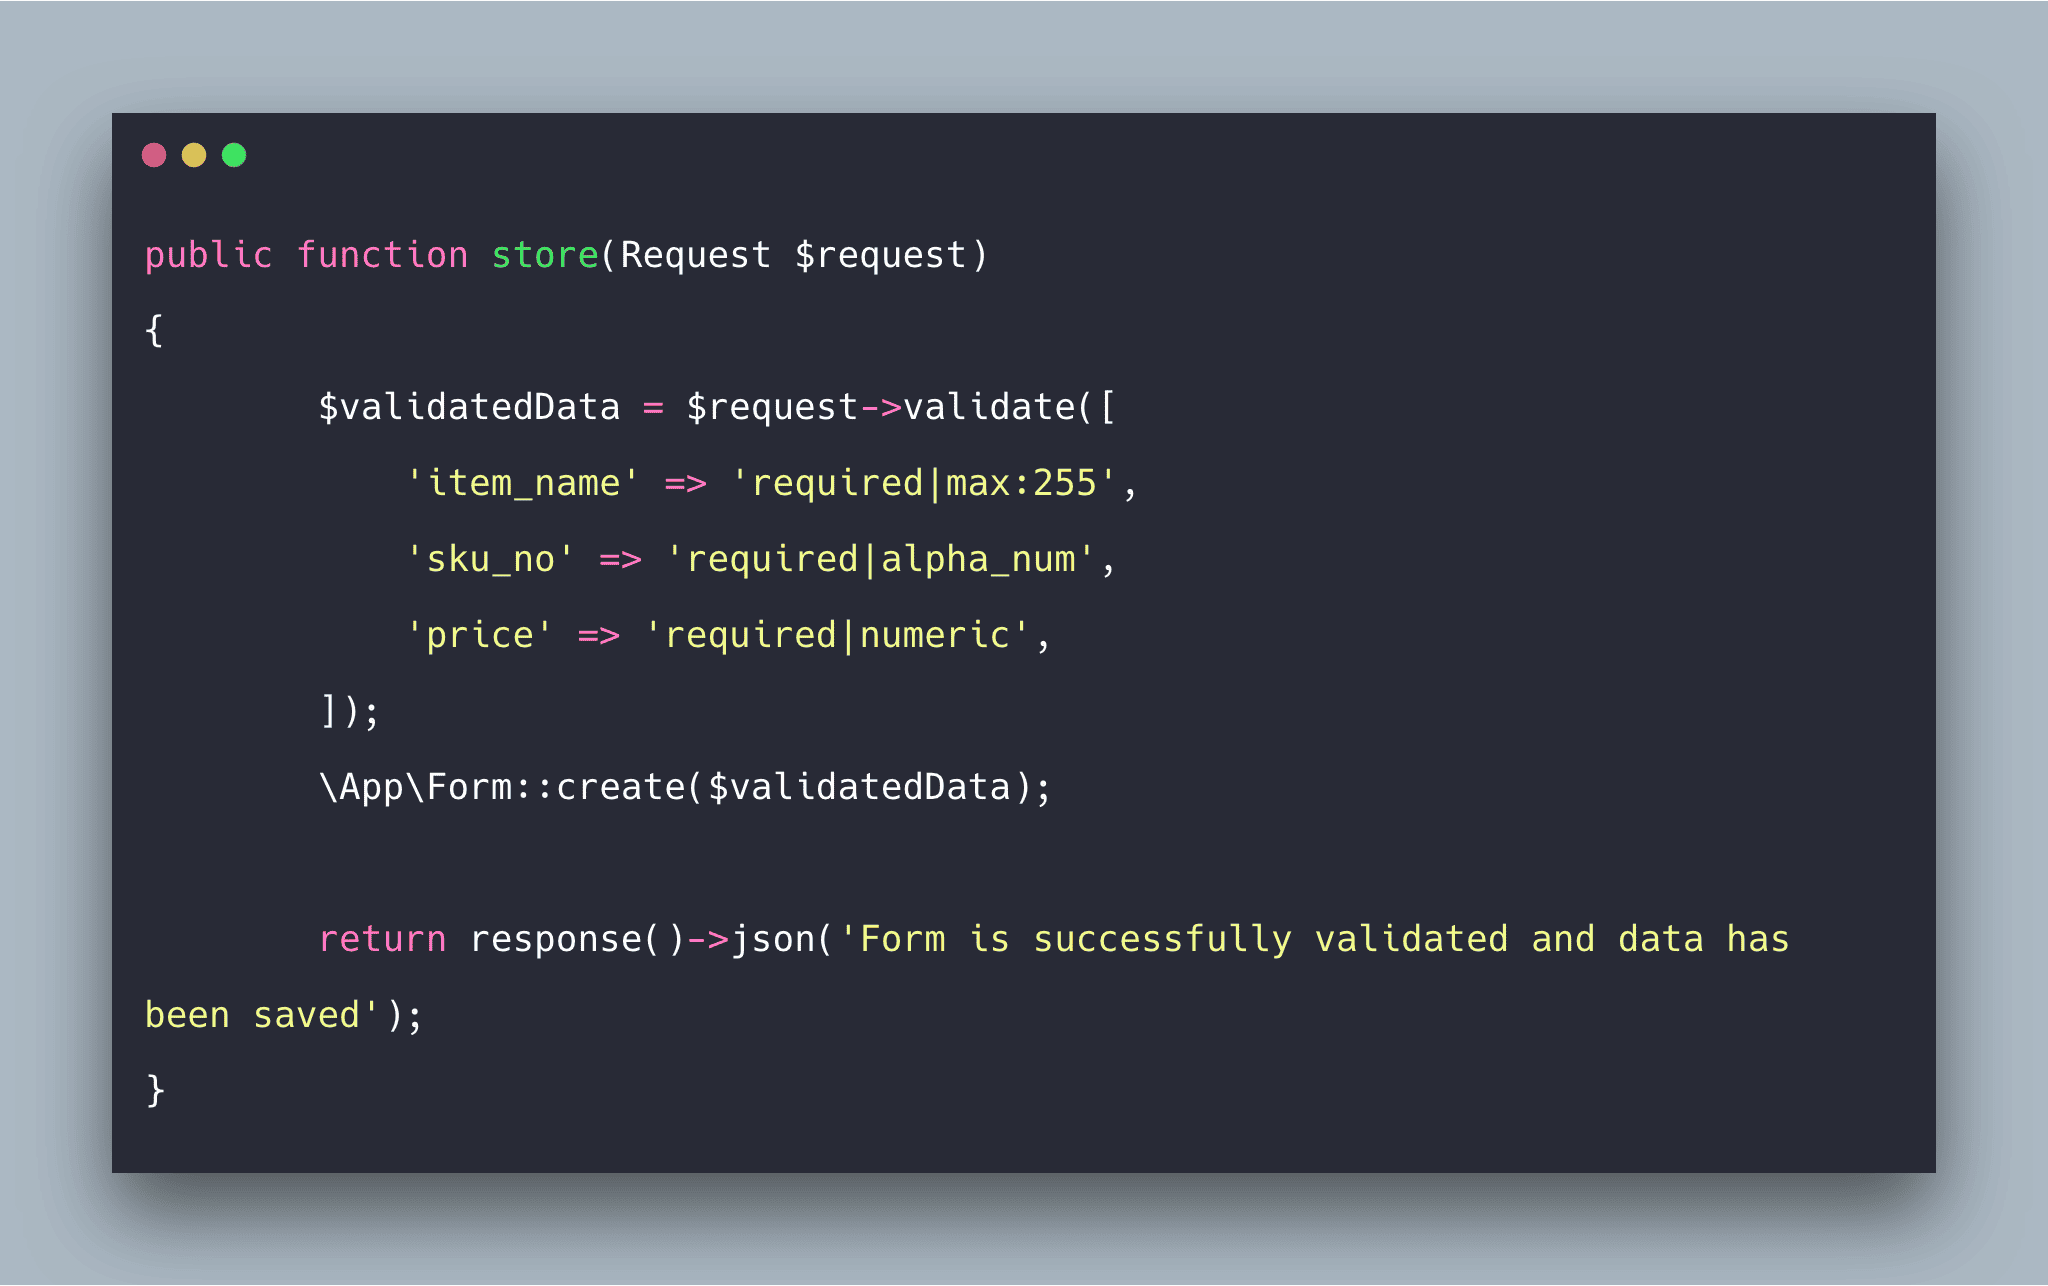
Okay, now we can write the validation logic inside FormController’s store() function.
// FormController.php

public function store(Request $request)
{
        $validatedData = $request->validate([
            'item_name' => 'required|max:255',
            'sku_no' => 'required|alpha_num',
            'price' => 'required|numeric',
        ]);
        \App\Form::create($validatedData);

        return response()->json('Form is successfully validated and data has been saved');
}
As you can see, we have passed the desired validation rules into the validate() method. Again, if the validation fails, the proper response will automatically be generated. If the validation passes, our controller will continue executing normally and save the data in the database, and we get the json response.
If we submit the form without filling any values, then we get the error response like the following.
Stopping On First Validation Failure
Sometimes you may have requirement to stop running validation rules on an attribute after the first validation failure. To do so, assign the bail rule to the attribute.
// FormController.php

$validatedData = $request->validate([
      'item_name' => 'bail|required|max:255',
      'sku_no' => 'required|alpha_num',
      'price' => 'required|numeric',
 ]);
In this example, if the max rule on the item_name attribute fails, the max rule won’t checked. Rules will be validated in the order they are assigned.
Displaying Validation Errors
Laravel will automatically redirect the user back to their previous location. Also, all of the validation errors will automatically be flashed to a session.
Notice that we did not have to explicitly bind the error messages to a view in our GET route. It is because Laravel will check for the errors in the session data, and automatically bind them to the view if they are available.
In our example, we have iterated the $errors array variable inside the create.blade.php file. That is why we user can see the errors.
@if ($errors->any())
      <div class="alert alert-danger">
        <ul>
            @foreach ($errors->all() as $error)
              <li></li>
            @endforeach
        </ul>
      </div><br />
@endif
Form Request Validation in Laravel 5.8
In the above example, we have written the validation rules inside the controller function. We can also create a separate file to write the validation rules. For more complex validation scenarios, you may wish to create a “form request.” Form requests are the custom request classes that contain validation logic. To create a form request class, use the make: request Artisan CLI command.
php artisan make:request FieldRequest
It will create a file inside the app >> Http >> Requests folder called FieldRequest.php file.
Let’s add a few validation rules inside the rules method.
// FieldRequest.php

public function rules()
{
    return [
         'item_name' => 'bail|required|max:255',
         'sku_no' => 'required|alpha_num',
         'price' => 'required|numeric',
    ];
}
Also, you need to return true from the authorize() method inside the FieldRequest.php file. If you plan to have an authorization logic in another part of your application, return true from the authorize() method.
// FieldRequest.php

public function authorize()
{
        return true;
}
So, now, you do not need to re-write these rules inside the FormController.php’s store() function.
You need to import the FieldRequest namespace inside the FormController.php file and pass the FormRequest as a dependency injection to the store function.
<?php

// FormController.php

namespace App\Http\Controllers;

use Illuminate\Http\Request;
use App\Http\Requests\FieldRequest;

class FormController extends Controller
{
    public function create()
    {
        return view('create');
    }

    public function store(FieldRequest $request)
    {
        $validatedData = $request->validated();
        \App\Form::create($validatedData);

        return response()->json('Form is successfully validated and data has been saved');
    }
}
If the validation fails, the redirect response will be generated to send a user back to their previous location. The errors will also be flashed to a session, so they are available for display.
Customizing The Error Messages
You may customize the error messages used by the form request by overriding the messages method. This method should return an array of attribute/rule pairs and their corresponding error messages.
// FieldRequest.php

  /**
   * Get the error messages for the defined validation rules.
   *
   * @return array
   */
    public function messages()
    {
        return [
            'item_name.required' => 'An Item Name is required',
            'sku_no.required'  => 'An SKU NO is required',
            'price.required'  => 'The price is required',
        ];
    }
Save the file and again submit the form without any values and you will see these error messages instead of default error messages.
Manually Creating Validators
If you do not want to use a validate() method on the request, you may create the validator instance manually using the Validator facade. The make method on the facade generates a new validator instance.
// FormController.php

use Validator;

public function store(Request $request)
{
    $validatedData = Validator::make($request->all(), [
        'item_name' => 'bail|required|max:255',
        'sku_no' => 'required|alpha_num',
        'price' => 'required|numeric',
    ])->validate();

     \App\Form::create($validatedData);

     return response()->json('Form is successfully validated and data has been saved');
}
It will also give us the same output. If you would like to create the validator instance manually but still take advantage of the automatic redirection offered by the requests to validate() method, you may call the validate() method on an existing validator instance.
For more validation, you can check out Laravel 5.8’s official documentation.
Finally, Laravel 5.8 Form Validation Tutorial With Example is over.
The post Laravel 5.8 Form Validation Tutorial With Example appeared first on AppDividend.
via Planet MySQL
Laravel 5.8 Form Validation Tutorial With Example


