https://barreto.jp/assets/images/chatgpt-plugin-with-laravel/7-local-plugin-ip.png
Starting last week (May 12), OpenAI rolled out the plugins for ChatGPT plus users. This means that we can not only use the plugins from their store but also create our own plugins.
In this article, we will go through the process of creating a plugin for ChatGPT using Laravel.
The plugin will be a very simple web browser that will fetch the HTML content of a given URL, but this concept can be applied to any other use case.
Why a browser? Because it’s a simple example.
TL;DR: The code is available at github.com/juampi92/chatgpt-plugin-in-laravel.
Step 0 – Setup
Start by creating a new laravel project
composer create-project laravel/laravel chatgpt-browse-plugin
composer require guzzlehttp/guzzle
We will need the guzzlehttp/guzzle package to make HTTP requests using the Laravel HTTP Client.
Step 1 – Plugin configuration
ChatGPT requires us to have a plugin manifesto. This file is a JSON file that contains information about the plugin, such as the name, description, logo, etc.
We will need to locate it in the following URL localhost:8000/.well-known/ai-plugin.json.
For reasons that will be explained later, we will create the file inside resources/ instead of public.
mkdir resources/.well-known
touch resources/.well-known/ai-plugin.json
{
    "schema_version": "v1",
    "name_for_human": "My Local Web Browser Plugin",
    "name_for_model": "MyLocalWebBrowser",
    "description_for_human": "Plugin for browsing the web locally in the name of ChatGPT.",
    "description_for_model": "Plugin for browsing websites locally and getting their content.",
    "auth": {
        "type": "none"
    },
    "api": {
        "type": "openapi",
        "url": "http://localhost:8000/openapi.yaml",
        "is_user_authenticated": false
    },
    "logo_url": "http://localhost:8000/logo.png",
    "contact_email": "support@example.com",
    "legal_info_url": "http://www.example.com/legal"
}
Notes:
- If you decide to use a different port, make sure to update the
urlfields (api.url and logo_url). - Also, if you decide to use a different name, make sure
name_for_modeldoesn’t have any spaces.
To make the file available to the public, we need to do two things:
- Update the routes in
routes/web.php:
Route::get('.well-known/ai-plugin.json', fn () =>
    File::get(resource_path('.well-known/ai-plugin.json')));
- Update
config/cors.phpto have'paths' => ['*'],.
The reason why we can’t use the /public directory is because
the plugin will be hosted on a different domain and the browser
will block the request due to CORS.
If you intend to host the plugin on a server, you can use
the /public directory and configure apache/nginx to allow
CORS on static files.
Step 2 – Making it browse
Now we need to create the API that will be used by ChatGPT to browse the web.
Let’s create a new controller:
php artisan make:controller BrowseController
And the content of the controller should look something like this:
use Illuminate\Support\Facades\Http;

public function __invoke(Request $request): JsonResponse
{
    ['url' => $url] = $request->validate([
        'url' => 'required|url',
    ]);

    $response = Http::withHeaders([
            'User-Agent' => 'Mozilla/5.0 (Windows NT 10.0; Win64; x64) AppleWebKit/537.36 (KHTML, like Gecko) Chrome/96.0.4664.45 Safari/537.36',
        ])
            ->get($url);

    return new JsonResponse([
        'response' => $response->body(),
    ]);
}
Add the controller to routes/api.php:
Route::get('/browse', BrowseController::class);
Step 3 – API Documentation
In order for ChatGPT to understand how to use our plugin,
we need to generate an OpenAPI specification.
GPT will read the specification and decide when and how to use your endpoints,
so it’s important that the API is clear.
To generate the actual yaml file, we will use the zircote/swagger-php package.
composer require zircote/swagger-php --dev
Now we need to update the Controller using the OpenApi Annotations:
/**
 * @OA\Info(title="MyLocalWebBrowserAPI", version="0.1")
 */
class BrowseController extends Controller
{
    /**
     * @OA\Get(
     *     path="/api/browse",
     *     summary="Get HTML content of an URL",
     *     @OA\Parameter(
     *         name="url",
     *         in="query",
     *         description="URL to fetch the HTML from",
     *         required=true,
     *         @OA\Schema(
     *             type="string",
     *             example="http://example.com"
     *         )
     *     ),
     *     @OA\Response(
     *         response=200,
     *         description="HTML content of the URL",
     *         @OA\JsonContent(
     *            type="object",
     *            required={"response"},
     *            @OA\Property(
     *              property="response",
     *              type="string",
     *              description="Raw HTML content of the URL"
     *           )
     *         )
     *     )
     * )
     */
To generate our OpenAPI specification, we run the following:
./vendor/bin/openapi app -o resources/openapi.yaml
And, for the same reasons mentioned before, add
the following route to routes/web.php:
Route::get('openapi.yaml', fn () =>
    File::get(resource_path('openapi.yaml')));
Step 4 – Serving
To run our plugin, simply call
php artisan serve --port=8000
Step 5 – Installing the plugin
Now that we have our plugin ready, we need to install it in ChatGPT.
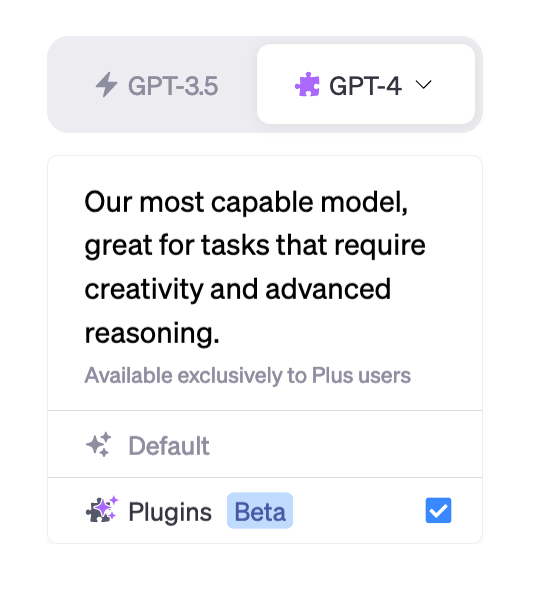
When creating a new GPT-4 chat, you can click on the “Plugins” button and then go to the Plugin store.
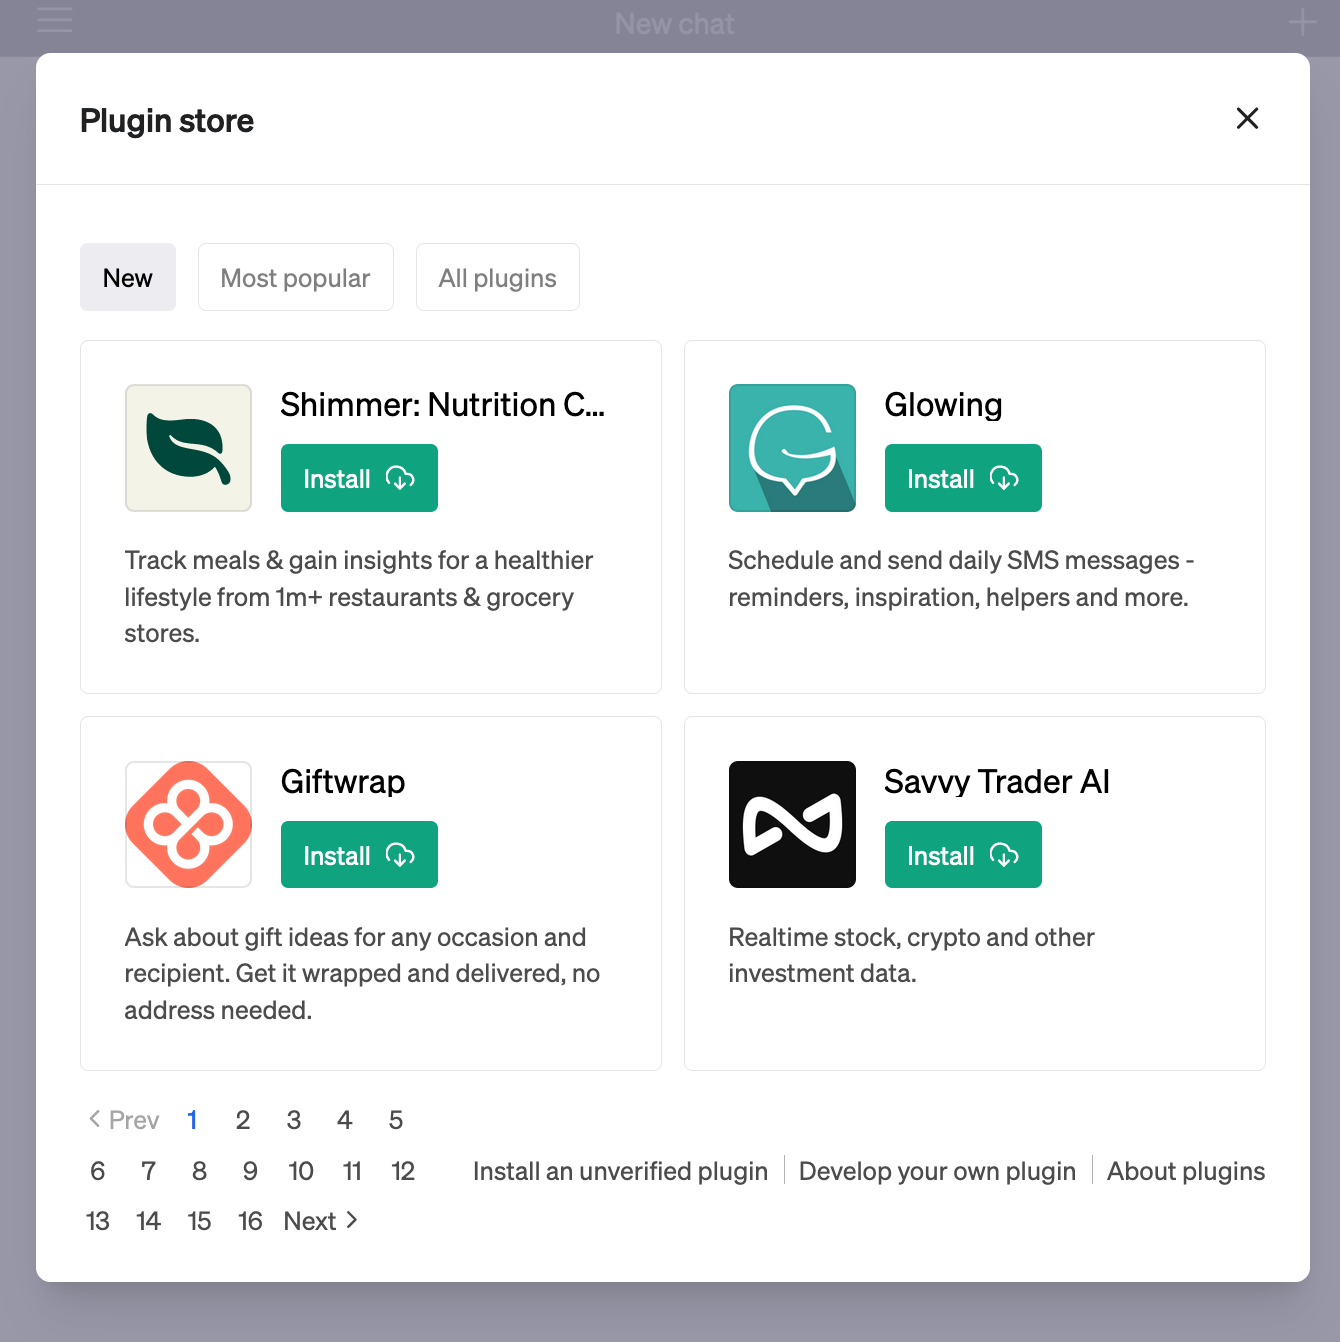
From there, we go to the Plugin Store, and at the bottom, we click on Develop your own plugin.
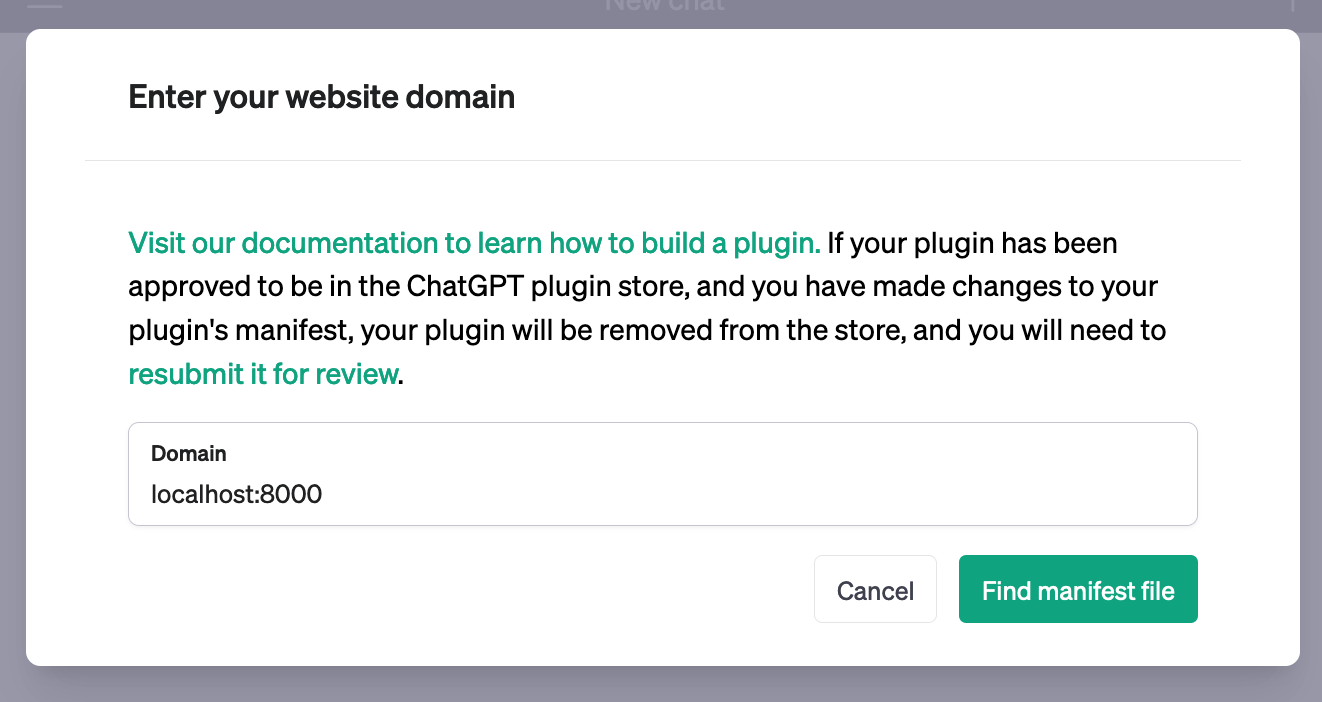
Here we are presented with a form to fill in the domain of our plugin. We input localhost:8000 (if you changed the port, make sure to use the correct one).
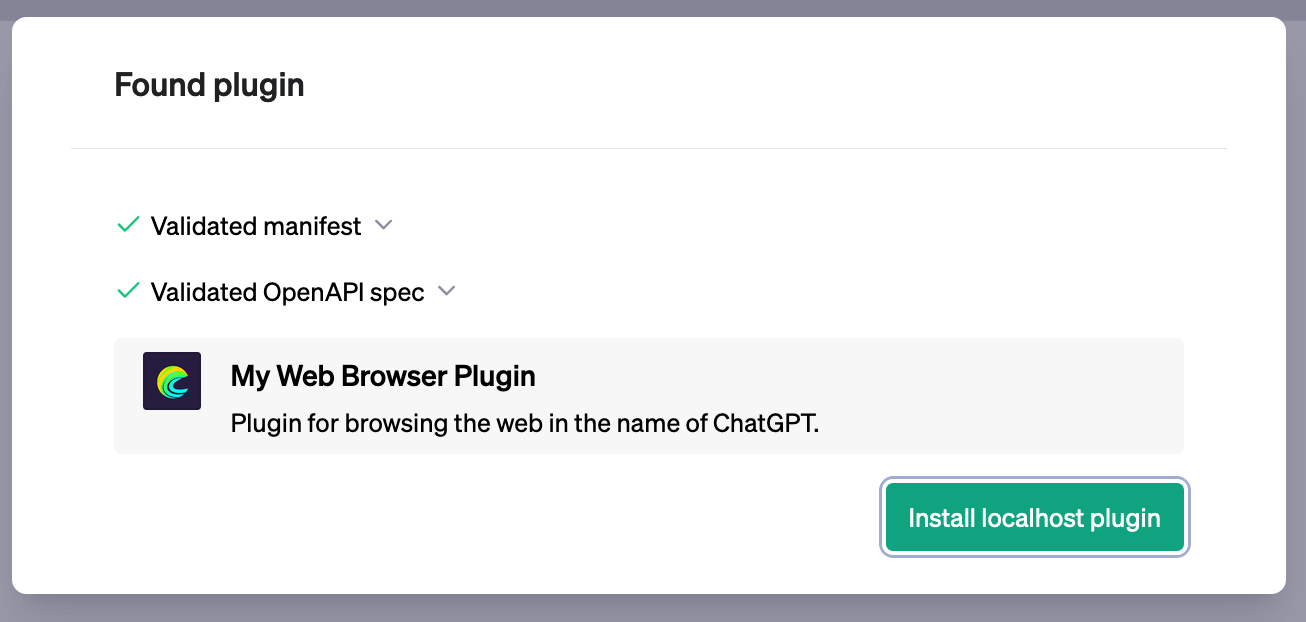
If everything went well, you will see the following screen:

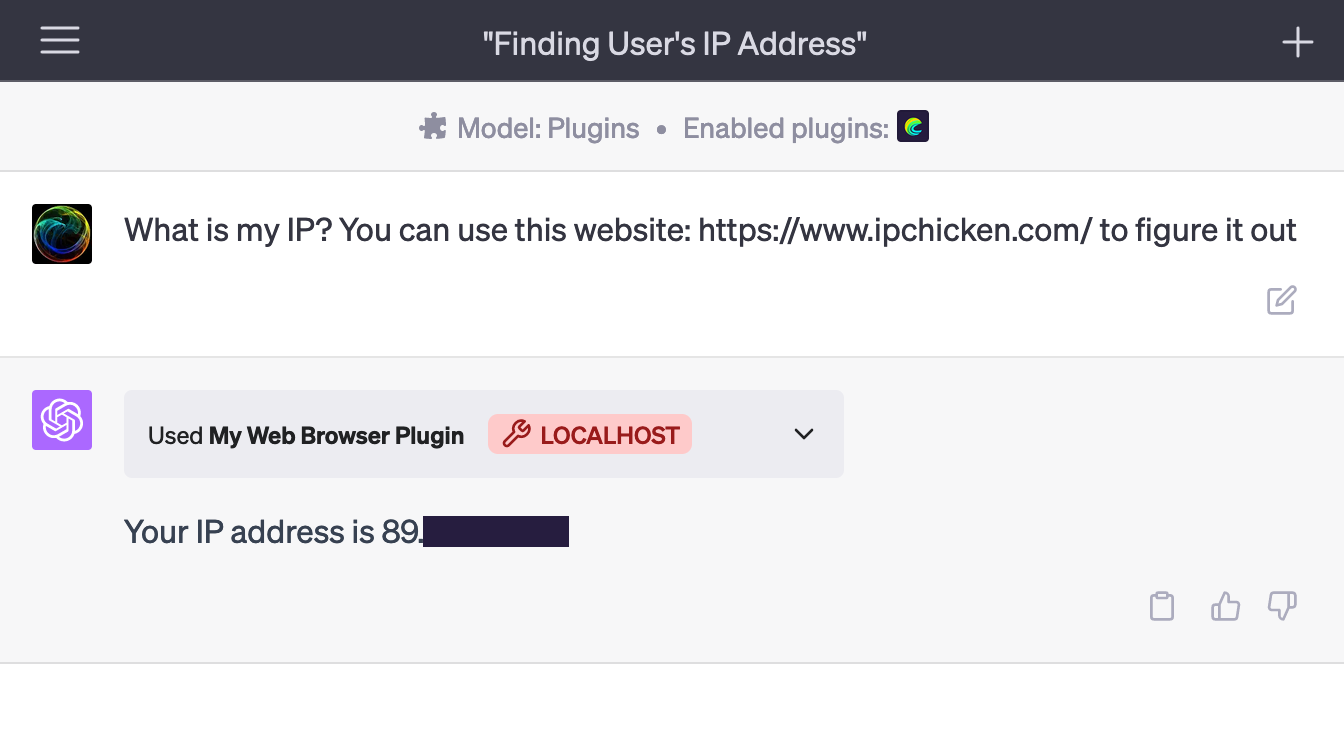
Step 6 – Using the plugin
Now that we have our plugin installed, we can use it in our chat.
ChatGPT will decide when to use your plugin depending on your description and OpenAPI specification,
so in the case of our browser plugin, simply giving a URL will do.
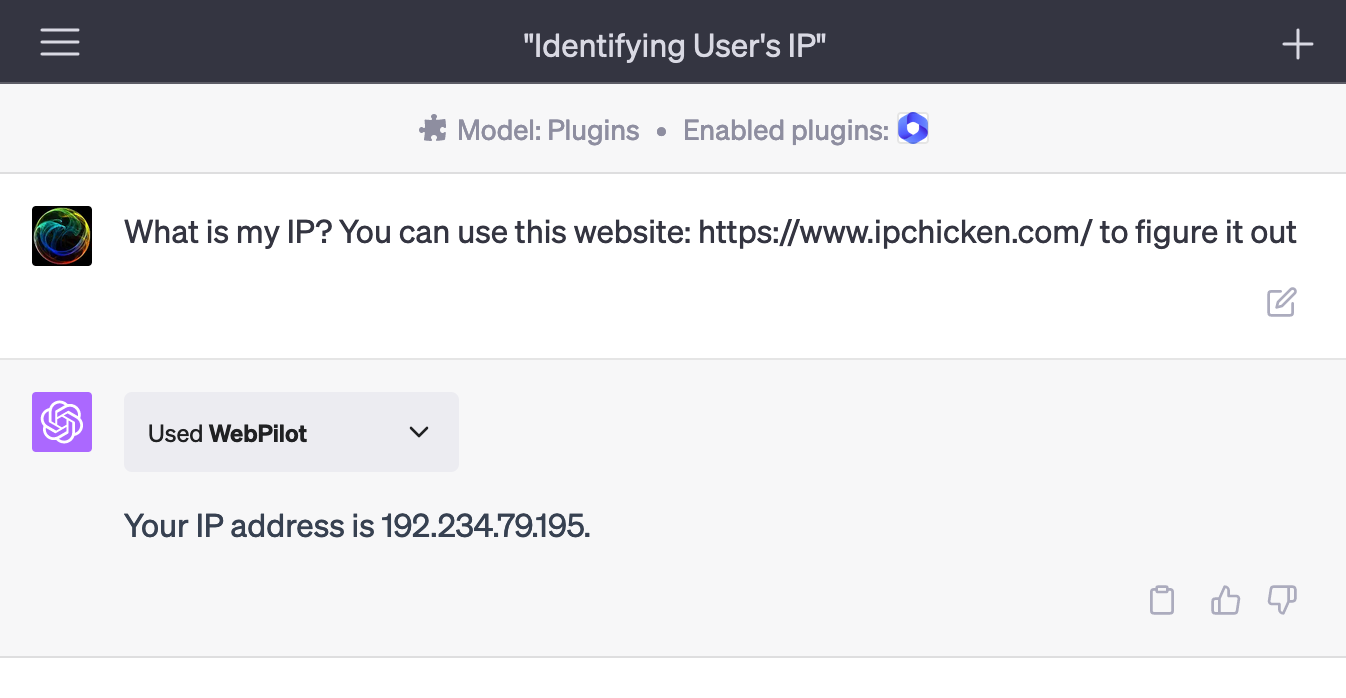
You might be wondering: why not just use WebPilot, the plugin that comes with ChatGPT?
The truth is that you can use WebPilot. The only difference is that
WebPilot uses a hosted server to browse. A server that can be rate-limited by websites, and you can’t customize.
This is an example using WebPilot:
And here is with our plugin:
Conclusion
In this simple article, we saw how to create a plugin for ChatGPT using Laravel.
If you would like to see the whole code, you can find it here: juampi92/chatgpt-plugin-in-laravel. I added a few more features, like transforming the content into markdown, so there is less content to send to ChatGPT, and so hitting the characters limit less often.
Laravel News Links