https://laracoding.com/wp-content/uploads/2023/12/laravel-call-external-api.png
In this tutorial, we’ll create a Laravel application that interacts with an external API to fetch and display a paginated list of posts. We’ll also implement buttons that trigger delete and update calls to the external API. Calling external APIs allow us to integrate with any third parties that exposes their functionality accordingly.
Note the data will be fetched externally but the updates and deletes will be simulated since the test API (jsonplaceholder.typicode.com) we’re using is read-only.
We will be using the Laravel built-in Http facade to send the API calls. While you could also use Guzzle to do this, using the Http facade is the recommended way to go about it. Using the Http facade offers a concise syntax that is in line with Laravel and adds more features like mocking HTTP responses for automated testing.
Let’s get started!
Step 1: Set Up Your Laravel Project
Create a new Laravel project or use an existing one:
laravel new blog-cms
cd blog-cms
Step 2: Create Controller
Create a controller by running:
php artisan make:controller PostControllerStep 3: Add Controller Code
Now let’s add code to the PostController to implement methods to show, update, and delete posts by triggering calls to the external posts API:
<?php

namespace App\Http\Controllers;

use Illuminate\Http\Request;
use Illuminate\Support\Facades\Http;

class PostController extends Controller
{
 public function index()
 {
 $response = Http::get('https://jsonplaceholder.typicode.com/posts');
 $posts = $response->json();

 return view('posts.index', ['posts' => $posts]);
 }

 public function edit($id)
 {
 $response = Http::get('https://jsonplaceholder.typicode.com/posts/' . $id);
 $post = $response->json();

 return view('posts.edit', ['post' => $post]);
 }

 public function update(Request $request, $id)
 {
 // Simulates update logic for a real application (not supported by this API)
 $response = Http::put('https://jsonplaceholder.typicode.com/posts/' . $id, [
 'title' => $request->input('title'),
 'body' => $request->input('body'),
 ]);

 // Simulated response for successful or failed update
 if ($response->successful()) {
 return redirect()->route('posts.index')->with('success', 'Post updated successfully!');
 } else {
 return redirect()->route('posts.index')->with('error', 'Failed to update post. Please try again.');
 }
 }

 public function destroy($id)
 {
 // Simulates deletion logic for a real application (not supported by this API)
 $response = Http::delete('https://jsonplaceholder.typicode.com/posts/' . $id);

 // Simulated response for successful or failed deletion
 if ($response->successful()) {
 return redirect()->route('posts.index')->with('success', 'Post deleted successfully!');
 } else {
 return redirect()->route('posts.index')->with('error', 'Failed to delete post. Please try again.');
 }
 }
}
Step 4: Define Routes
Define routes for post actions in routes/web.php as follows:
use App\Http\Controllers\PostController;

Route::get('/', [PostController::class, 'index'])->name('posts.index');
Route::get('/posts/{id}/edit', [PostController::class, 'edit'])->name('posts.edit');
Route::put('/posts/{id}', [PostController::class, 'update'])->name('posts.update');
Route::delete('/posts/{id}', [PostController::class, 'destroy'])->name('posts.destroy');
Step 5: Create a Base Layout
Let’s use a simple layout that is based on bootstrap 5 that can show any content along with any success or error message that may occur. Create a file resources/views/layouts/app.blade.php and add:
<!DOCTYPE html>
<html lang="en">
<head>
 <!-- Other meta tags -->
 <link href="https://cdn.jsdelivr.net/npm/bootstrap@5.3.0/dist/css/bootstrap.min.css" rel="stylesheet">
 <link href="https://cdn.jsdelivr.net/npm/bootstrap-icons/font/bootstrap-icons.css" rel="stylesheet">
 <!-- Other CSS -->
</head>
<body>

 <div class="container mt-4">

 <!-- Display success or error messages -->
 @if (session('success'))
 <div class="alert alert-success">

 </div>
 @endif

 @if (session('error'))
 <div class="alert alert-danger">

 </div>
 @endif

 @yield('content')

 </div>
</body>
</html>
Step 6: Create a View to Show Posts From API
Generate a Blade view to display the paginated list of posts. Create a file resources/views/posts/index.blade.php and add:
@extends('layouts.app')

@section('content')
 <div class="container mt-4">
 <h1>Posts</h1>
 <div class="table-responsive mt-3">
 <table class="table table-striped">
 <thead>
 <tr>
 <th>Title</th>
 <th>Body</th>
 <th>Actions</th>
 </tr>
 </thead>
 <tbody>
 @foreach($posts as $post)
 <tr>
 <td></td>
 <td></td>
 <td>
 <div class="d-flex">
 <a href="" class="btn btn-sm btn-primary me-2">
 <i class="bi bi-pencil"></i>
 </a>
 <form action="" method="POST">
 @csrf
 @method('DELETE')
 <button type="submit" class="btn btn-sm btn-danger">
 <i class="bi bi-trash"></i>
 </button>
 </form>
 </div>
 </td>
 </tr>
 @endforeach
 </tbody>
 </table>
 </div>
 </div>
@endsection
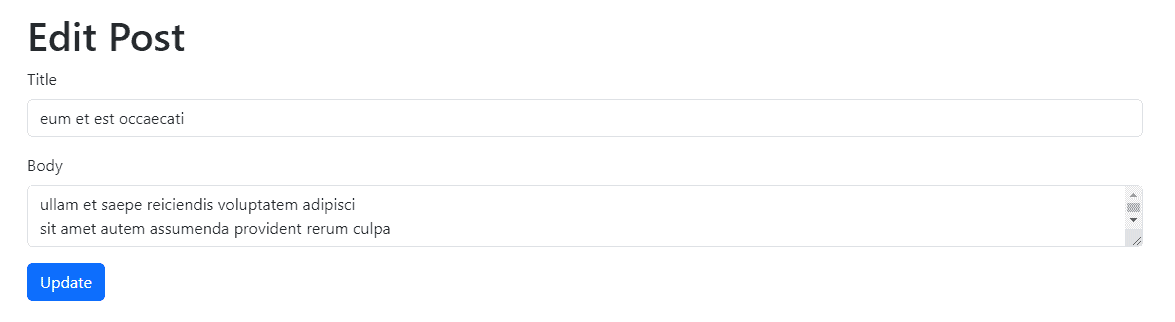
Step 7: Create Blade View for Edit Post From API
Create a Blade view for the post edit form in resources/views/posts/edit.blade.php. Include the form with populated data, the correct action/route, and @csrf:
@extends('layouts.app')

@section('content')
 <div class="container mt-4">
 <h1>Edit Post</h1>
 <form action="" method="POST">
 @csrf
 @method('PUT')
 <div class="mb-3">
 <label for="title" class="form-label">Title</label>
 <input type="text" class="form-control" id="title" name="title" value="">
 </div>
 <div class="mb-3">
 <label for="body" class="form-label">Body</label>
 <textarea class="form-control" id="body" name="body"></textarea>
 </div>
 <button type="submit" class="btn btn-primary">Update</button>
 </form>
 </div>
@endsection
Step 8: Test the Application
Run your Laravel server using php artisan serve and navigate to http://localhost:8000 in your browser. You’ll have a paginated list of posts with functional delete and edit buttons, and an edit form ready for updates.
Note: The buttons will work to show edit form and trigger updates as well as deletes calls to the external API. However, the data in the API will not actually change since it is a public read-only API made for testing purposes.

Conclusion
Good job! You’ve successfully created a Laravel application that fetches and displays posts from an external API. You’ve also added buttons to delete posts and update by sending the respective API calls from your controller. I’ve also covered some basic error handling that redirects with either a success or an error message whichever applies.
While the placeholder API I showed here is read-only and the edits and deletes have no effect on the data, the principle is the same for a real API.
With this knowledge you can go ahead and start integrating real-world REST API’s into your Laravel application. Happy coding!
References:
Laravel News Links